Fresh off NYFW, spring/summer 2014 trends aren’t just limited to fashion. Magazine editors, makeup artists, stylists, etc. all look to the runways to see what the hottest trends in beauty will be for the upcoming season.
Liner of all shapes and sizes, tangerine lipstick, the ponytail, and bare illuminated skin were some of the looks making their way down the runways.
If you have picked up a copy of the March issue of FASHION magazine or Elle Canada‘s Spring/Summer 2014 Beauty Trend Report you would have noticed P&G Beauty’s Spring Beauty Trend Report with nine different looks by Pantene Pro-V consulting stylist Justin German and CoverGirl makeup pro Amelie Ducharme that can be easily recreated at home using CoverGirl, Pantene, and Olay products.
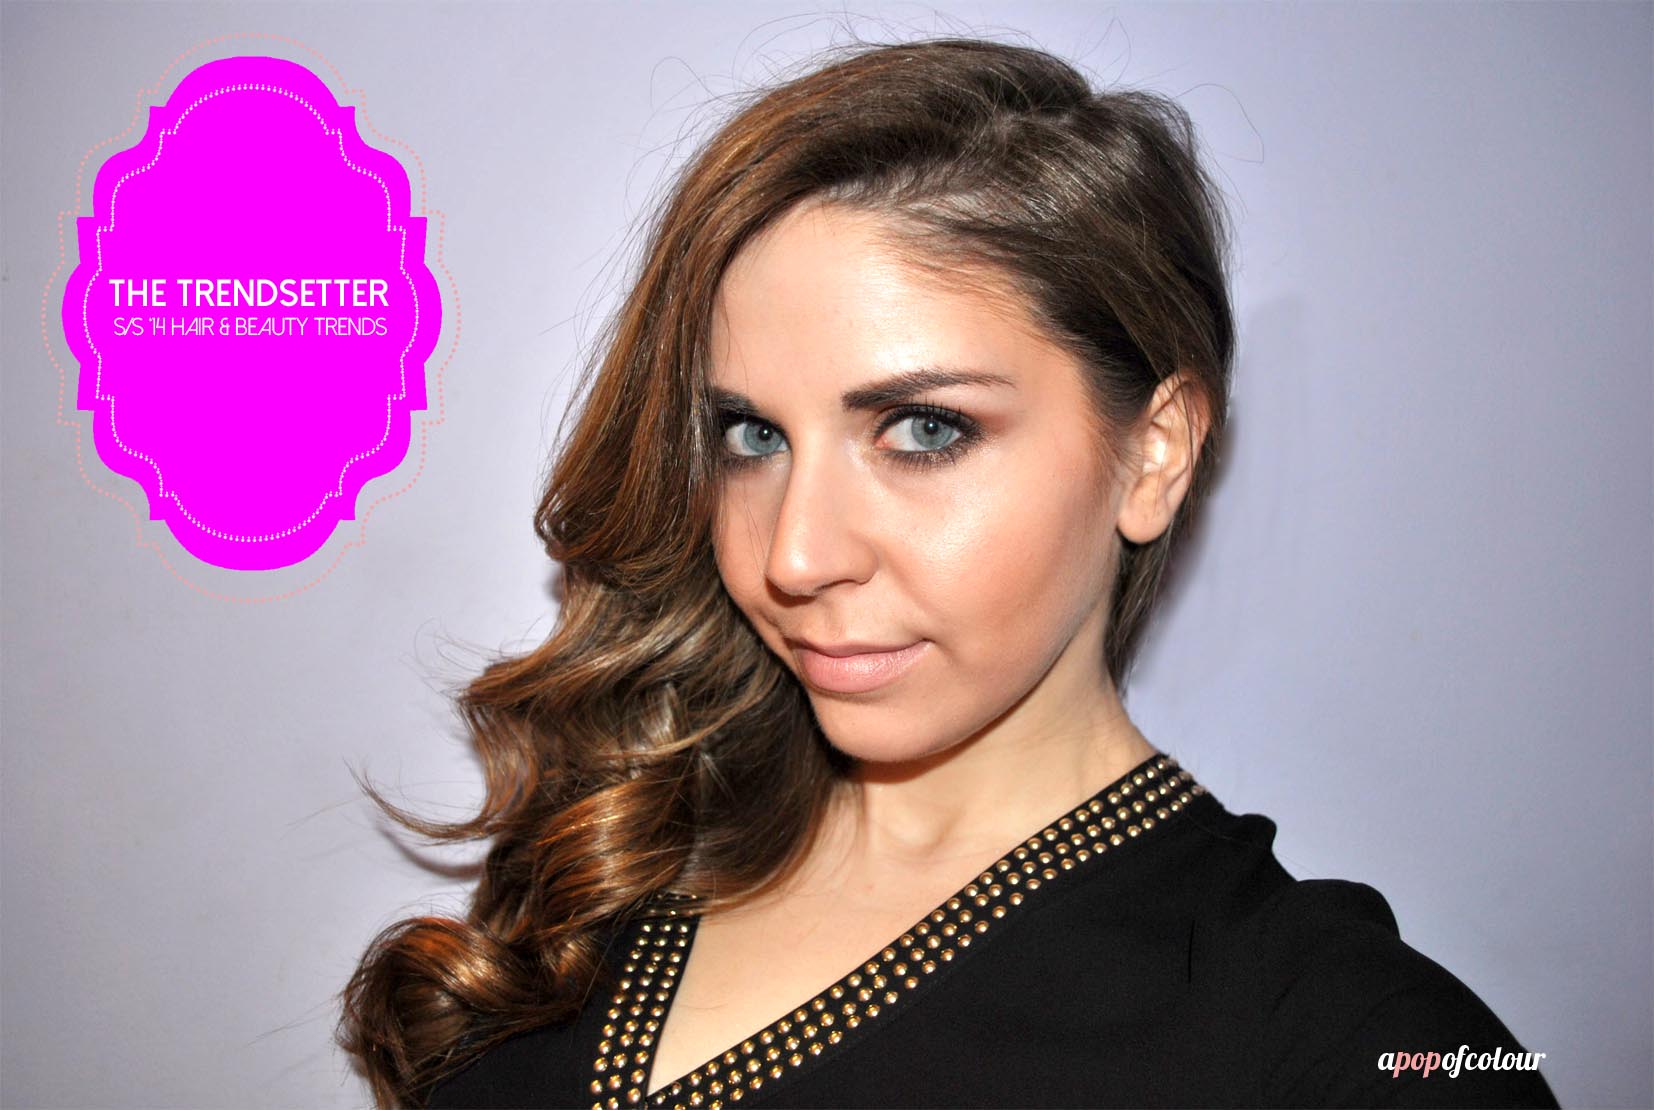
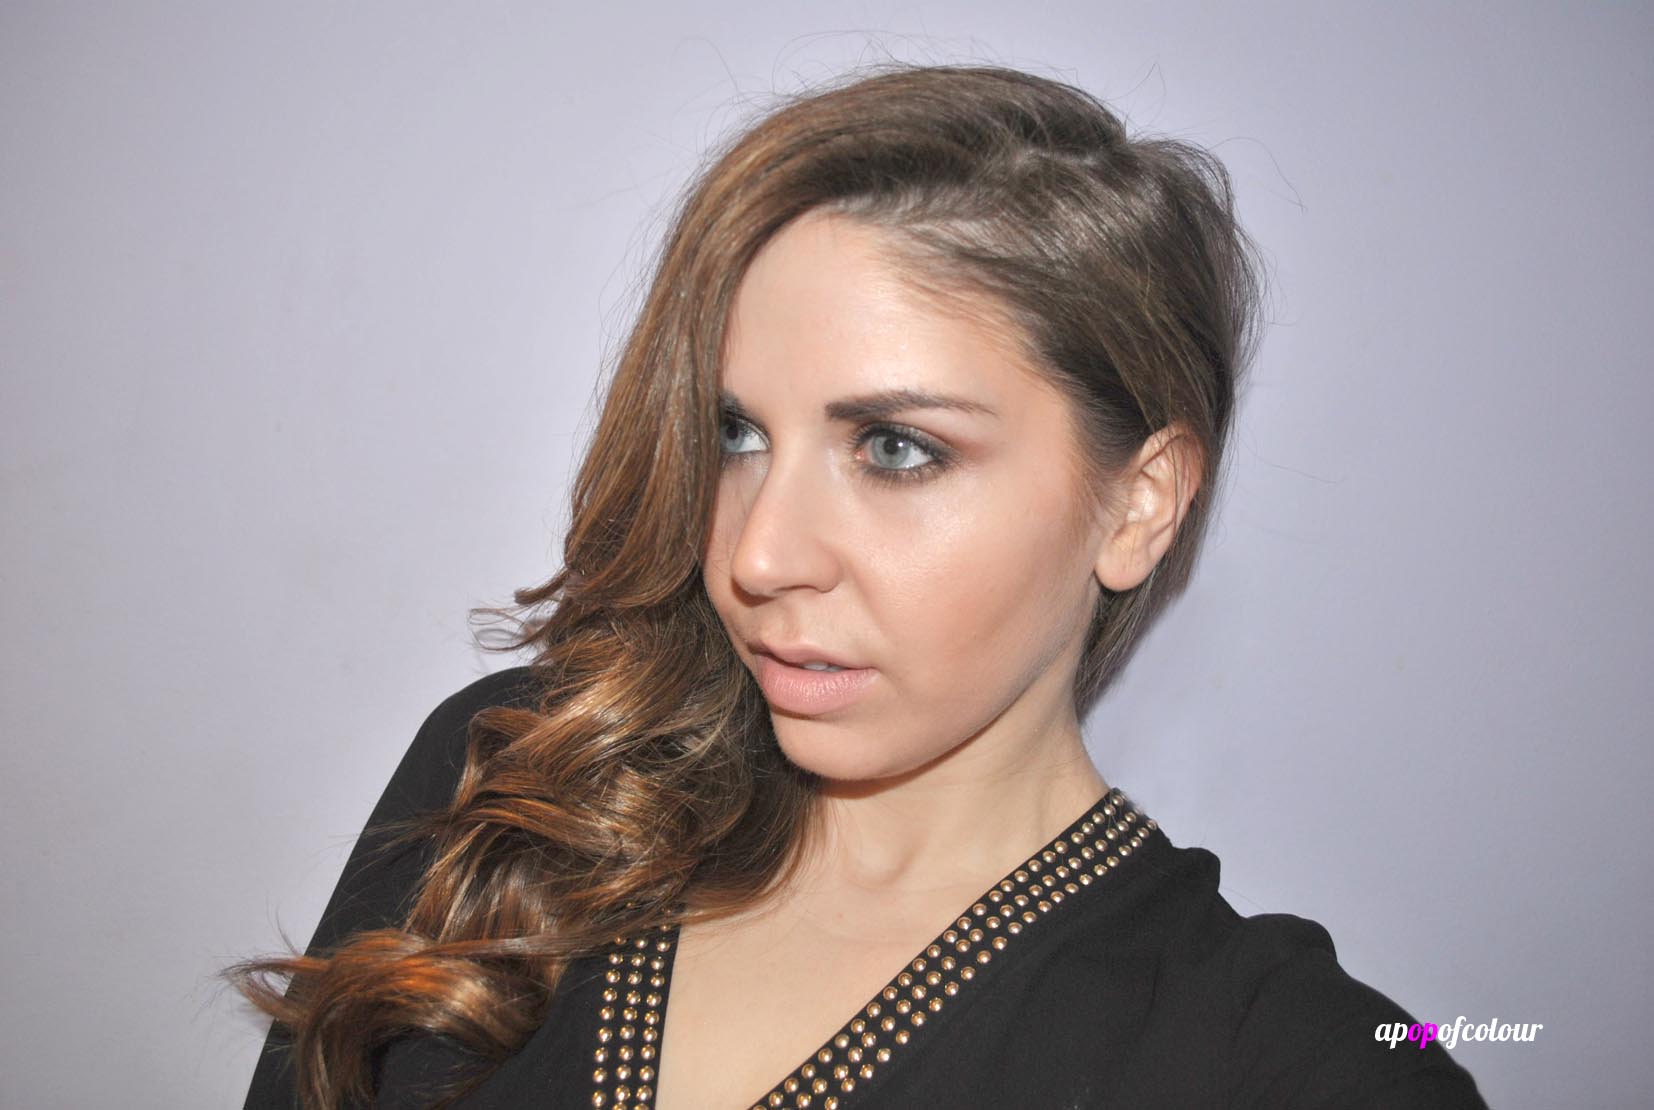
Us Beauty United bloggers were given the challenge of DIYing our favourite look from their Looking Glass YouTube page, and although I had a few favourites, I went with Wave Rave, which has bright luminous skin with lived-in waves and a brown smoky eye.
This look is super easy to recreate, watch the video above for a detailed description of how to do everything. Also, if you wanted to recreate this look yourself, here is a handy shopping list of everything you will need.
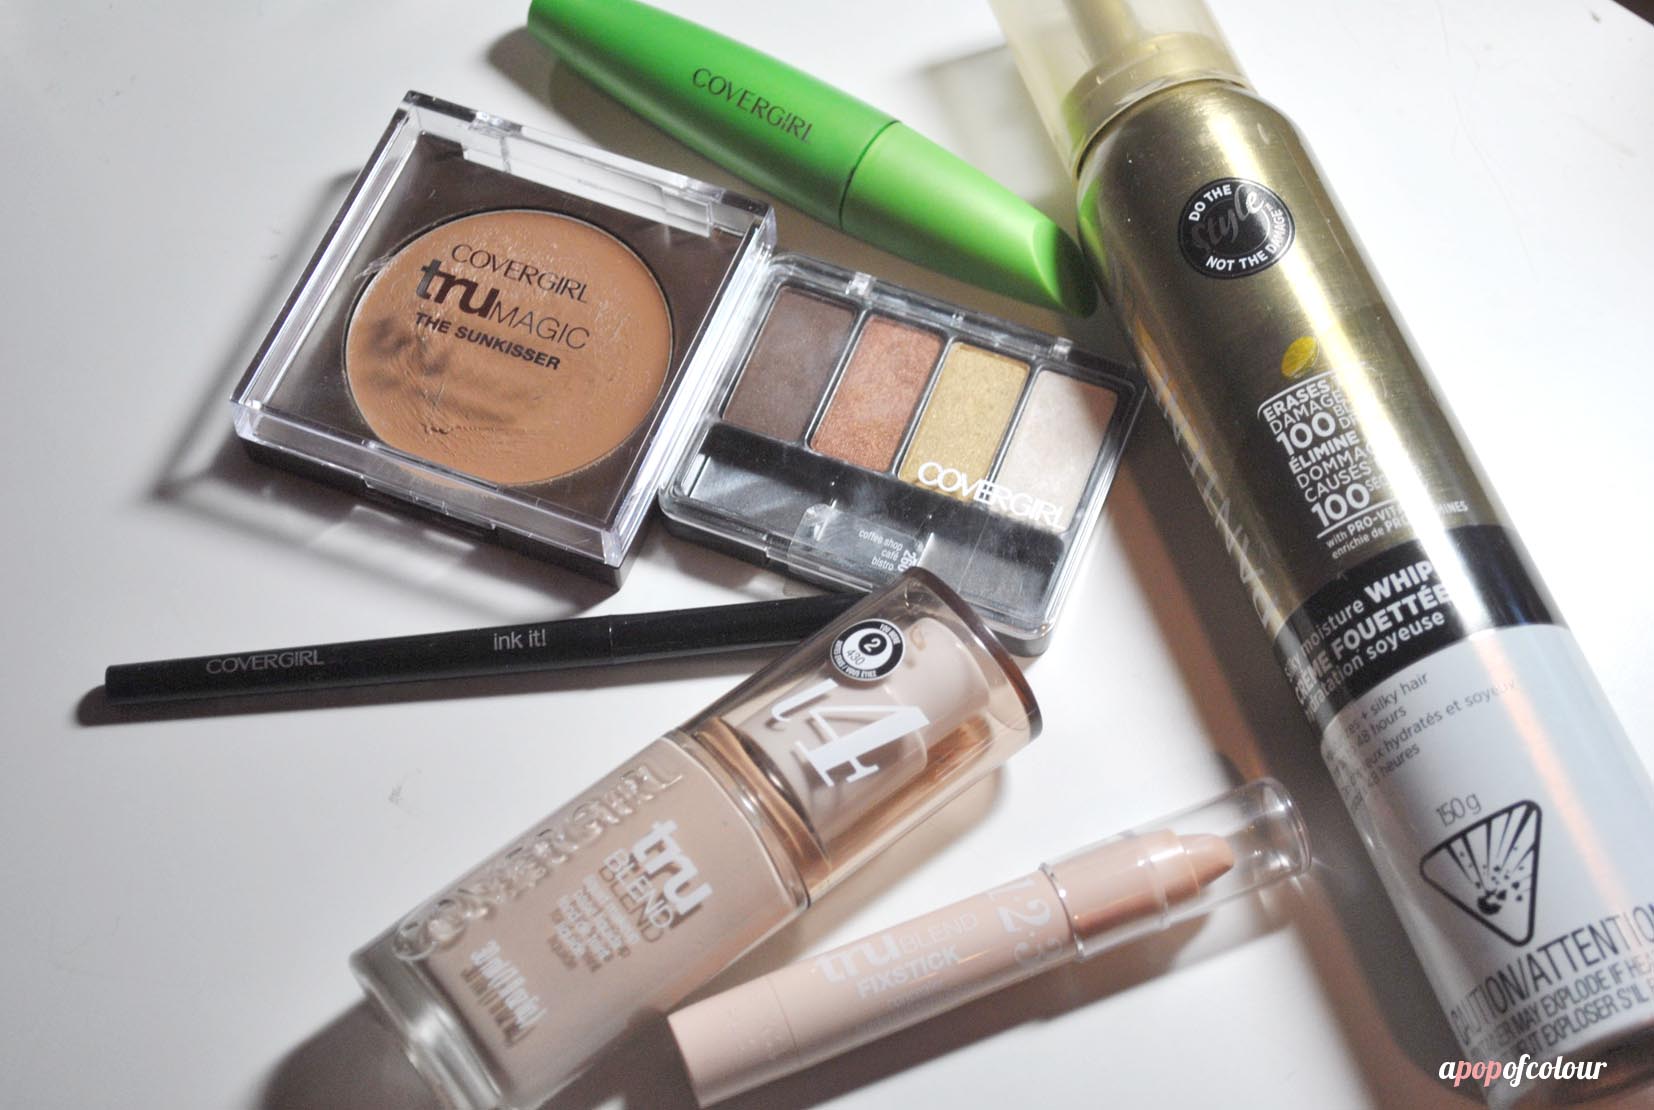
CoverGirl TruBlend Liquid Makeup (I used L4)
CoverGirl TruBlend Fixstick Concealer (I used L1)
CoverGirl TruMagic Luminizer
CoverGirl Eye Enhancers 4-Kit Shadow in Coffee Shop
CoverGirl Cheekers Blush in Golden Pink
Pantene Pro-V Daily Moisture Renewal Shampoo and Conditioner
Since the model is way darker than me, I did modify the look a bit. I chose to pick up CoverGirl’s TruMagic The Sunkisser Bronzing Balm instead of The Luminizer, as I actually used the white shadow from the quad as my highlight (I prefer a silver highlight to a golden one).
Since I am spring dreaming right now (seriously Winnipeg weather, how much more can we take?!), I am giving away a $50 gift card to Wal-Mart and a beauty shopping list so you can shop for all the P&G Beauty products to recreate your favourite Looking Glass look.
To enter, fill out the Rafflecopter below. You can get bonus points if you get on social media and let me know your favourite Looking Glass video look from their YouTube page with the hashtag #beautyunited.
Twitter: Follow and tweet at me (@shaynawiwierski) your favourite look. Make sure you use the hashtag #beautyunited. Facebook: Post on my Facebook page your favourite look using hashtag #beautyunited.
Contest closes next Monday, February 24, 2014. Must be Canadian to enter. Good luck!
Disclosure: I am a #BeautyUnited blogger. As part of my affiliation with this group I receive products and special access to P&G events. The opinions on this blog are my own.
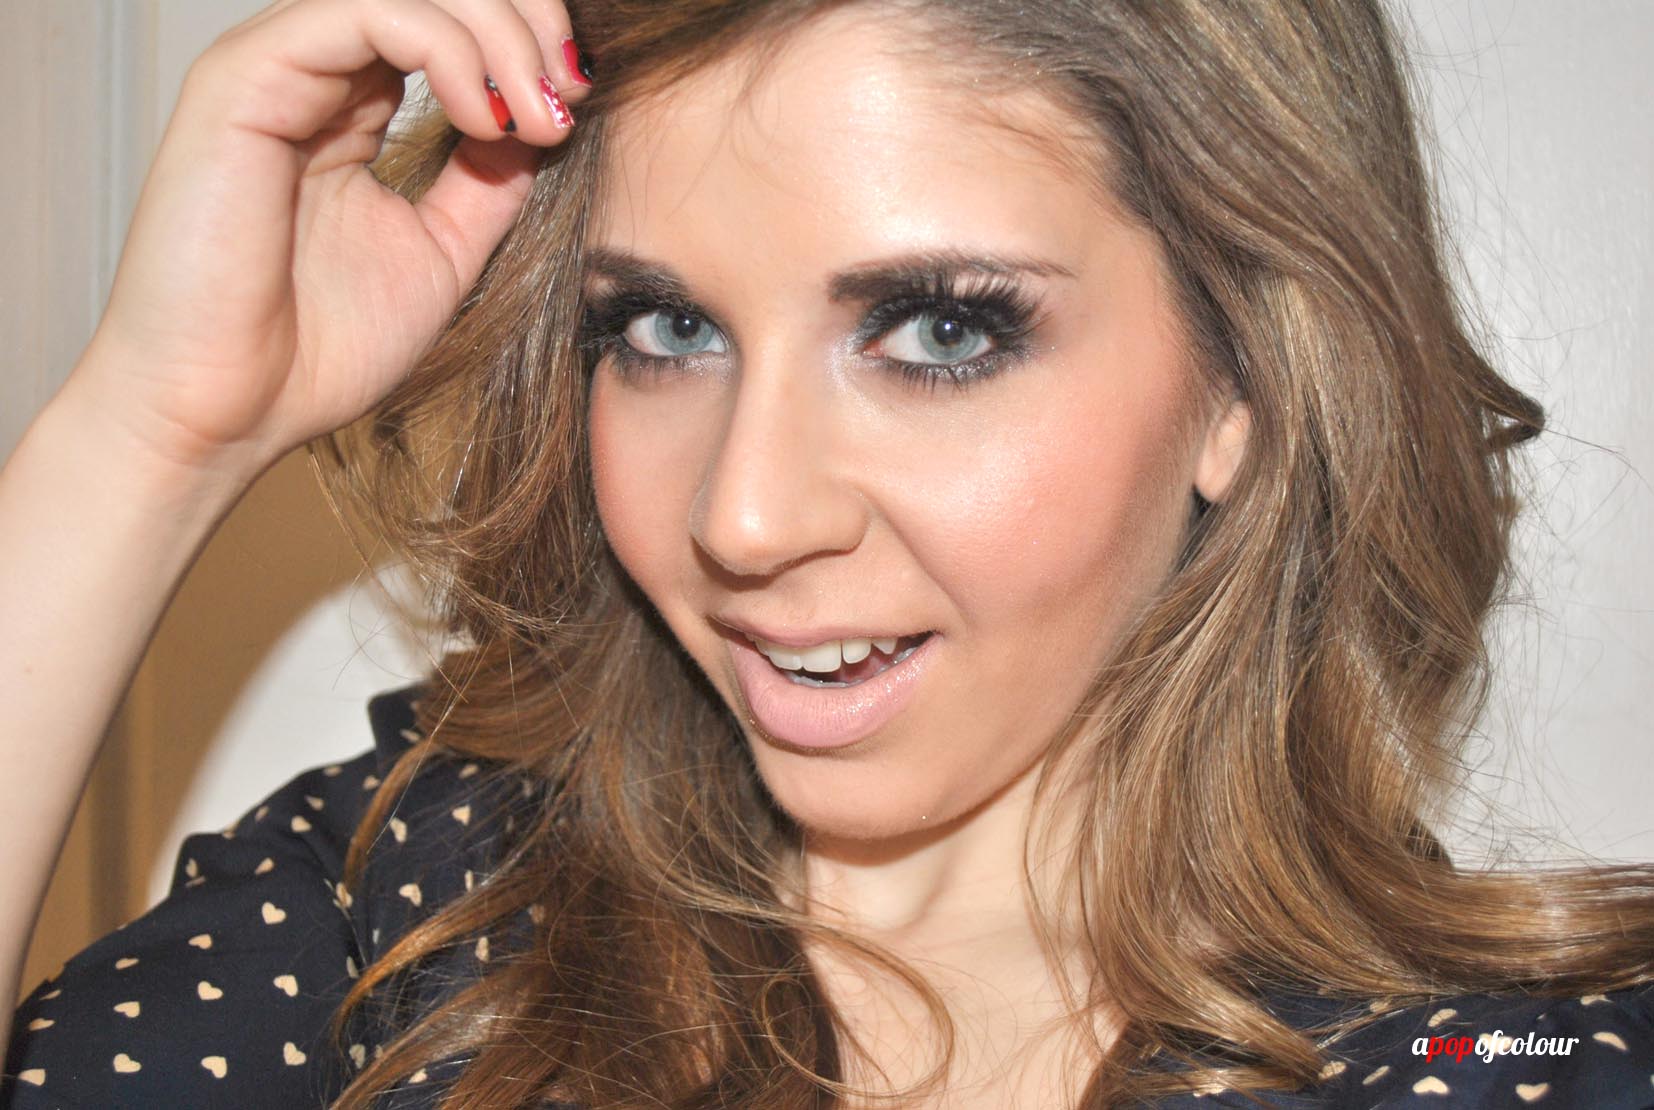
Happy Valentine’s Day! Although many just think of it as a Hallmark holiday, the day is much more than that. I’m wearing my favourite “Love” tank from H&M, rocking pink on my nails, and my valentine is my American Eskimo dog Ziggy (aka my main man).
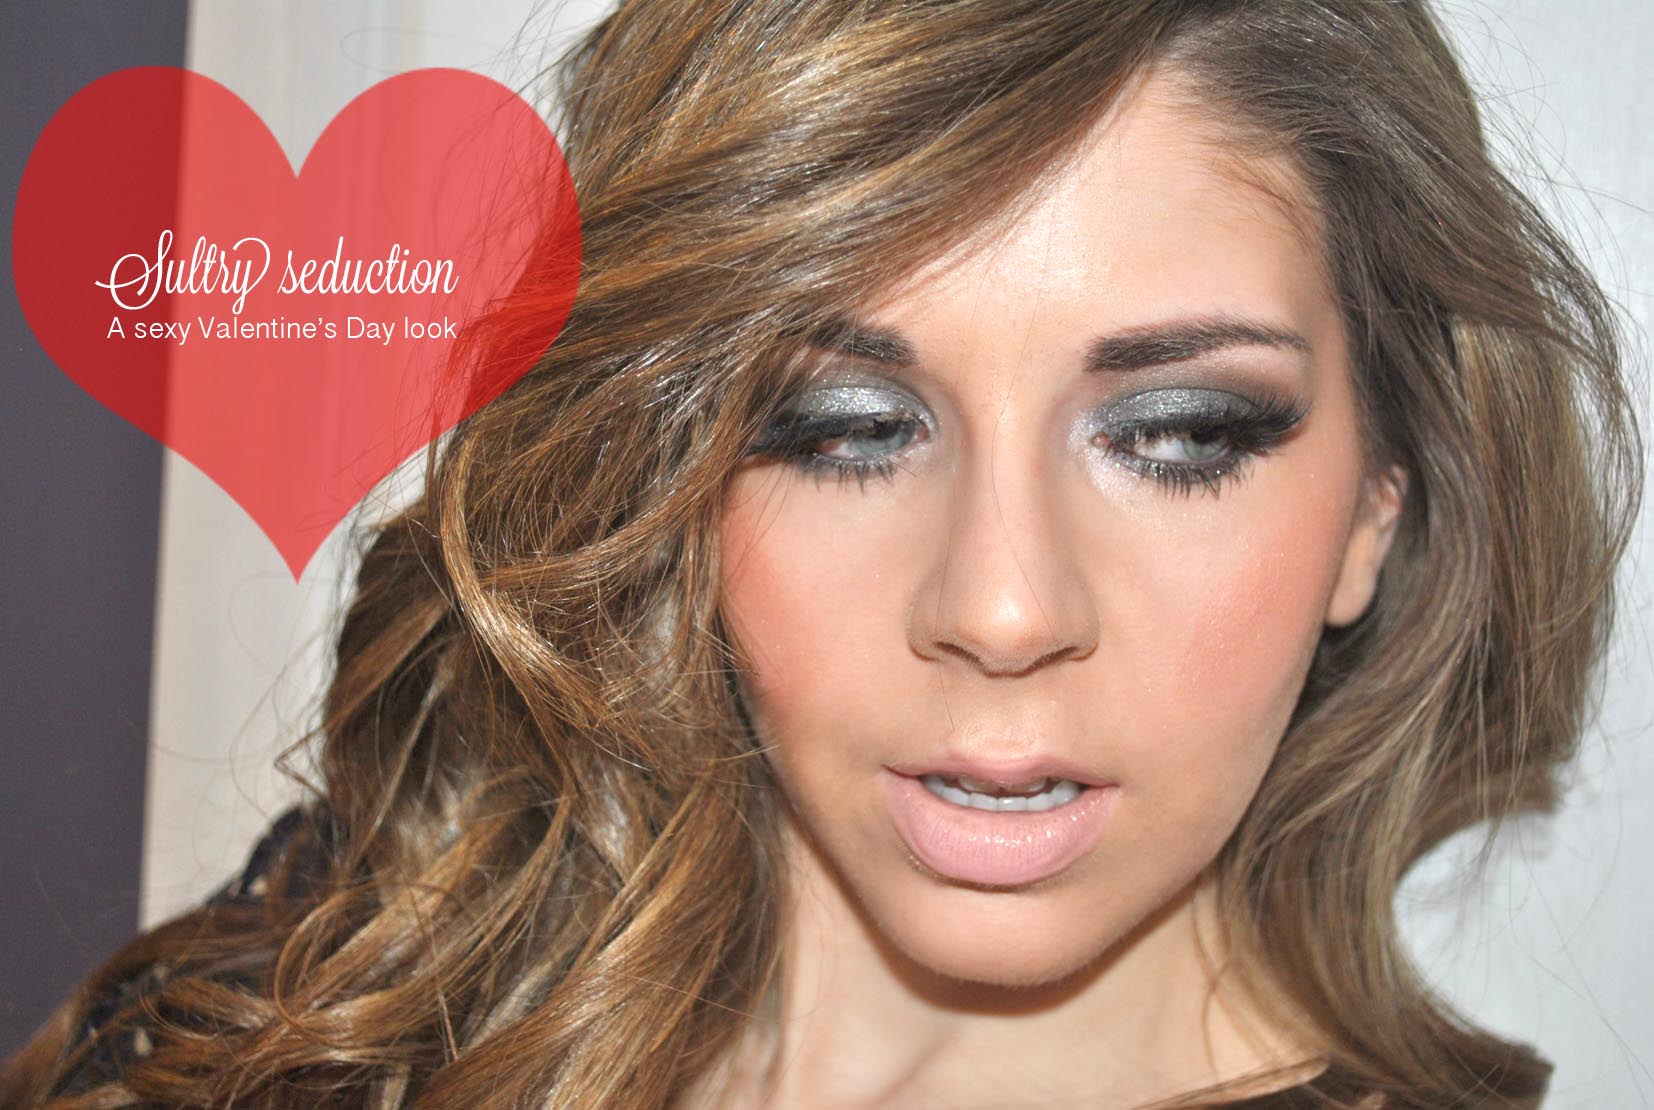
I’ll be heading to a dessert place tonight with my other valentine – or should I say my palentine/bestie/PR girl/life coach – Jessica and eat red velvet, but if you have a hot date tonight and want to up the sex factor, I have created just the look for you.
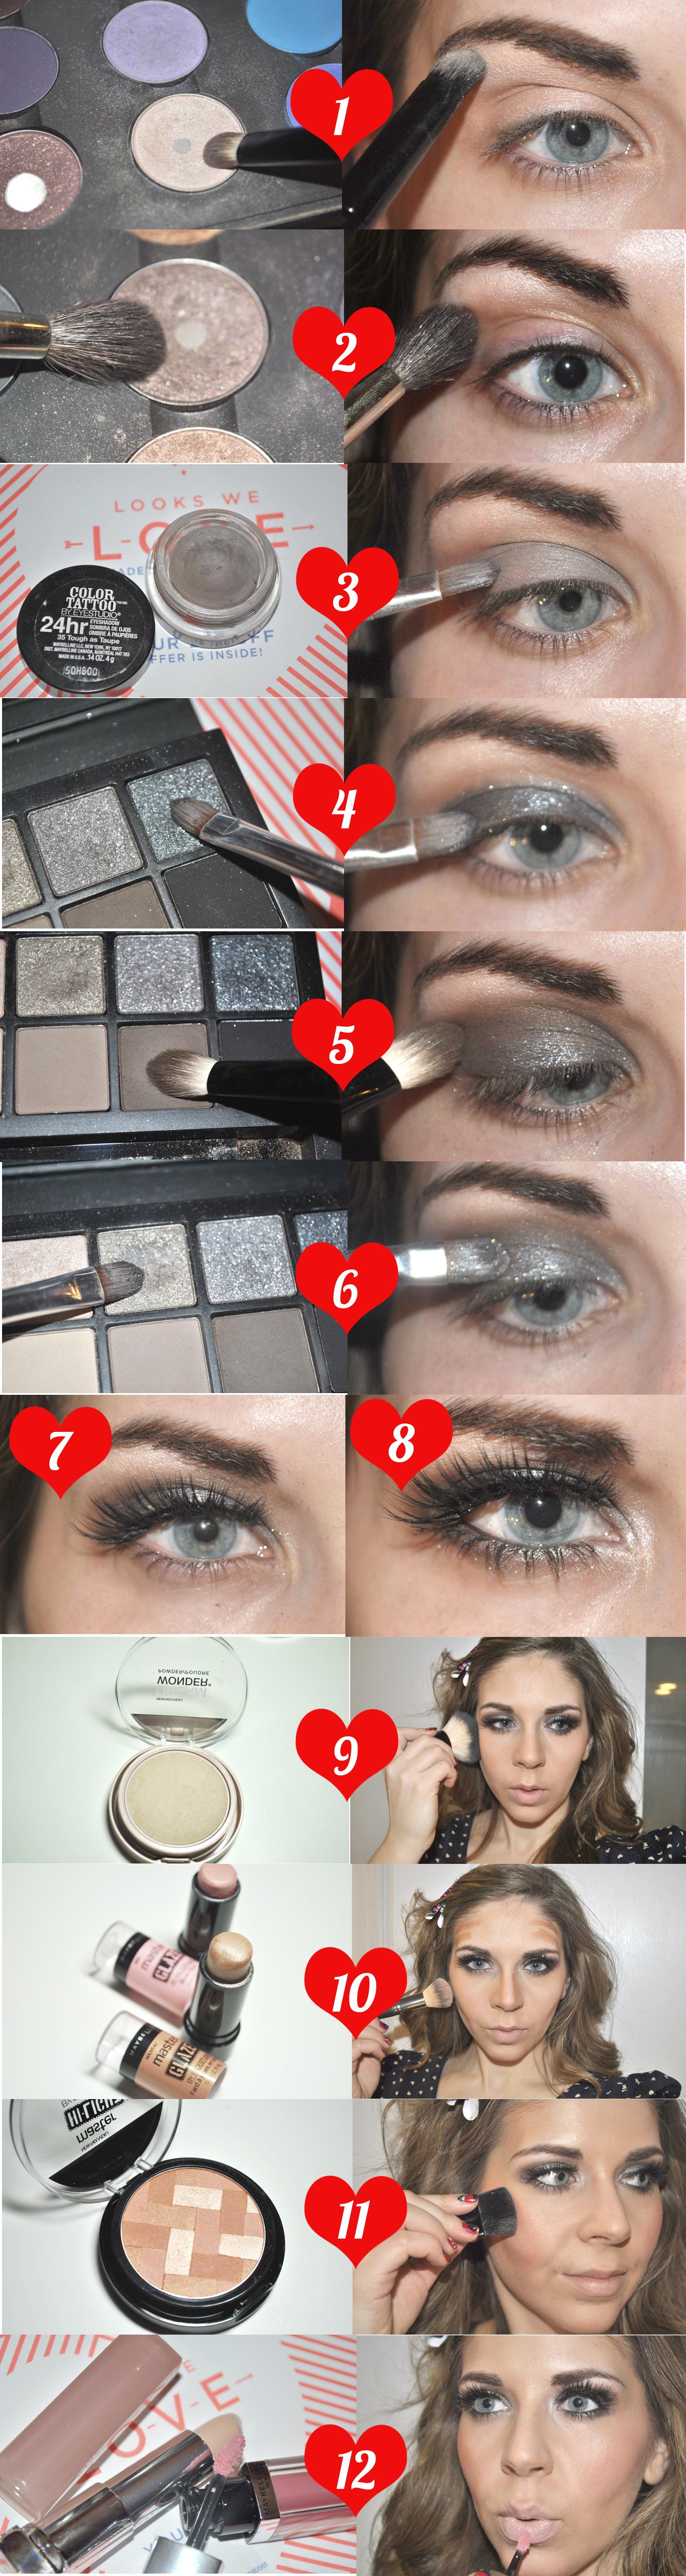
1. Starting with the eyes since we are using dark colours, fill in your brows, then using a white shimmery colour, apply this along your brow bone. I used MAC Phloof! eyeshadow.
2. With a taupe shade, apply this with a fluffy crease brush right underneath your highlight, acting as a transition colour. I used Satin Taupe by MAC.
3. With a taupe cream shadow, acting as a base, apply this using a flat shader brush to your lids. I used Maybelline 24 Hour Color Tattoo in Tough as Taupe.
4. With a shimmery grey eyeshadow and a flat shader brush, pat this over the taupe base on your lids. The colour I used was from the Smashbox Full Exposure palette (the darkest glittery colour). These do tend to have a lot of fall out, so if you are using this palette, make sure you spray your brush first with either water or a setting spray so it adheres better.
5. With a matte dark taupe colour and a blending brush, work this into your crease, blending everything out.
6. With a silver colour, apply this on the centre of your lids, just to brighten up the lid area. The colour I used was also from the Smashbox Full Exposure palette.
7. Since the lids are so smoky, no liner is needed. Instead, curl your lashes and pop on some dramatic falsies. I used Velour Lashes in Lash in the City.
8. With that same sparkly grey colour we used on the lids, apply this along your lower lash line using a pencil brush. Then, apply a couple coats of mascara to your bottom lashes.
9. Moving onto the face. Apply your primer first, then put on your favourite liquid foundation. I used IT Cosmetics IT-O2 Ultra Repair Liquid Oxygen Foundation in Light. Over top, I used Maybelline Dream Wonder Powder in 15 Ivory over top to set it. Between the liquid and powder, I was left with perfect coverage.
10. For contouring and blush, I chose to go with a cream format. First, using the Maybelline Face Studio Master Glaze in Warm Nude, I applied this to the hollows of my cheekbones, my temples, along the sides of my nose and chin. Using a face brush, I buffed it all in. Then for blush, I used the same product but in Just-Pinched Pink on the apples of my cheeks and blended it up.
11. For a highlight, I used Maybelline’s Face Studio Master Hi-Light in Coral to my cheekbones for some extra colour and shine.
12. For the lips, I chose to go with two Maybelline products. First I applied the colour Bare All, which is a concealer-looking shade from their Color Sensational The Buffs collection (full review coming soon!). Over top, and to add some colour, I applied the Color Elixir by Color Sensational lip colour in Petal Pusher, a pretty baby pink gloss.
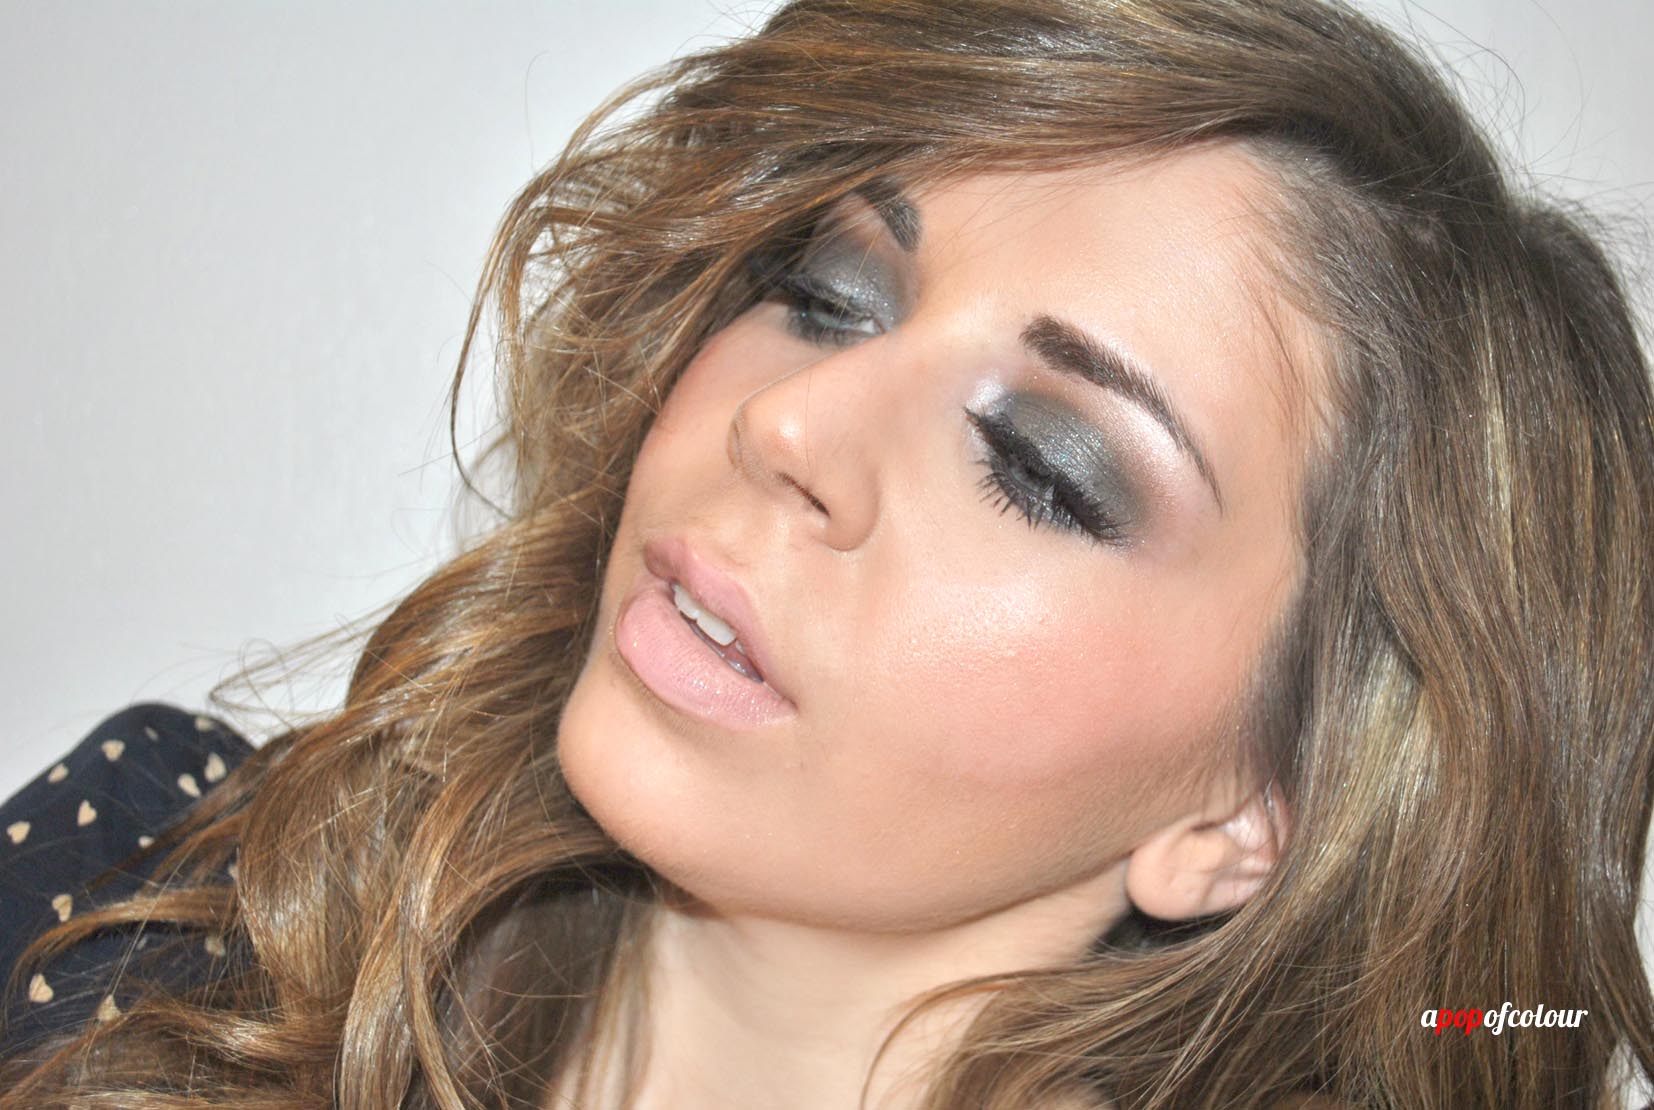
And that’s the final look! I actually forgot to apply a concealer, but judging from the photos, it doesn’t look like I really needed one. If I would have remembered, I would have applied IT Cosmetics Bye Bye Undereye in Light to highlight the area.
I love how this look came out and it’s definitely a lot more mature than the sweet look I posted on Monday.
I hope you all have a fab Valentine’s Day with whoever you spend it with!
Like what you read? Check out these related posts.
In case you have been living under a rock for the past few days, last Friday marked the opening of the XXII Winter Olympic Games in Sochi, Russia.
As one of the top three most-viewed sporting events (the Summer Olympics and the FIFA World Cup take the other spots), the Olympic Winter Games are an event that I look forward to every four years. My love for the games started with the 1998 Nagano Winter Olympics in Japan. I remember studying the event in school and from there, it has always been my favourite sporting event.
For the last Winter Olympics in Vancouver, I was actually a production assistant for APTN, where I got to watch a ton of the games and see them from a broadcasting perspective. I worked long hours, mostly every day, but it was so much fun and flew by, and honestly, if the opportunity would have popped up again for these games, I would have jumped at the chance to do it all over again.
I’m not a huge fan of the summer games, but maybe because I’m Canadian, I love watching winter sports way better. Plus, figure skating totally trumps any summer game there is.
Ask any of my friends and they will tell you that I’m not a sports person, but you can’t help but cheer and feel a sense of pride when the Olympics are on. I find myself decked out in HBC Team Canada gear and my official broadcasting jacket from the last games, and in true beauty blogger fashion, my nails just have to match!
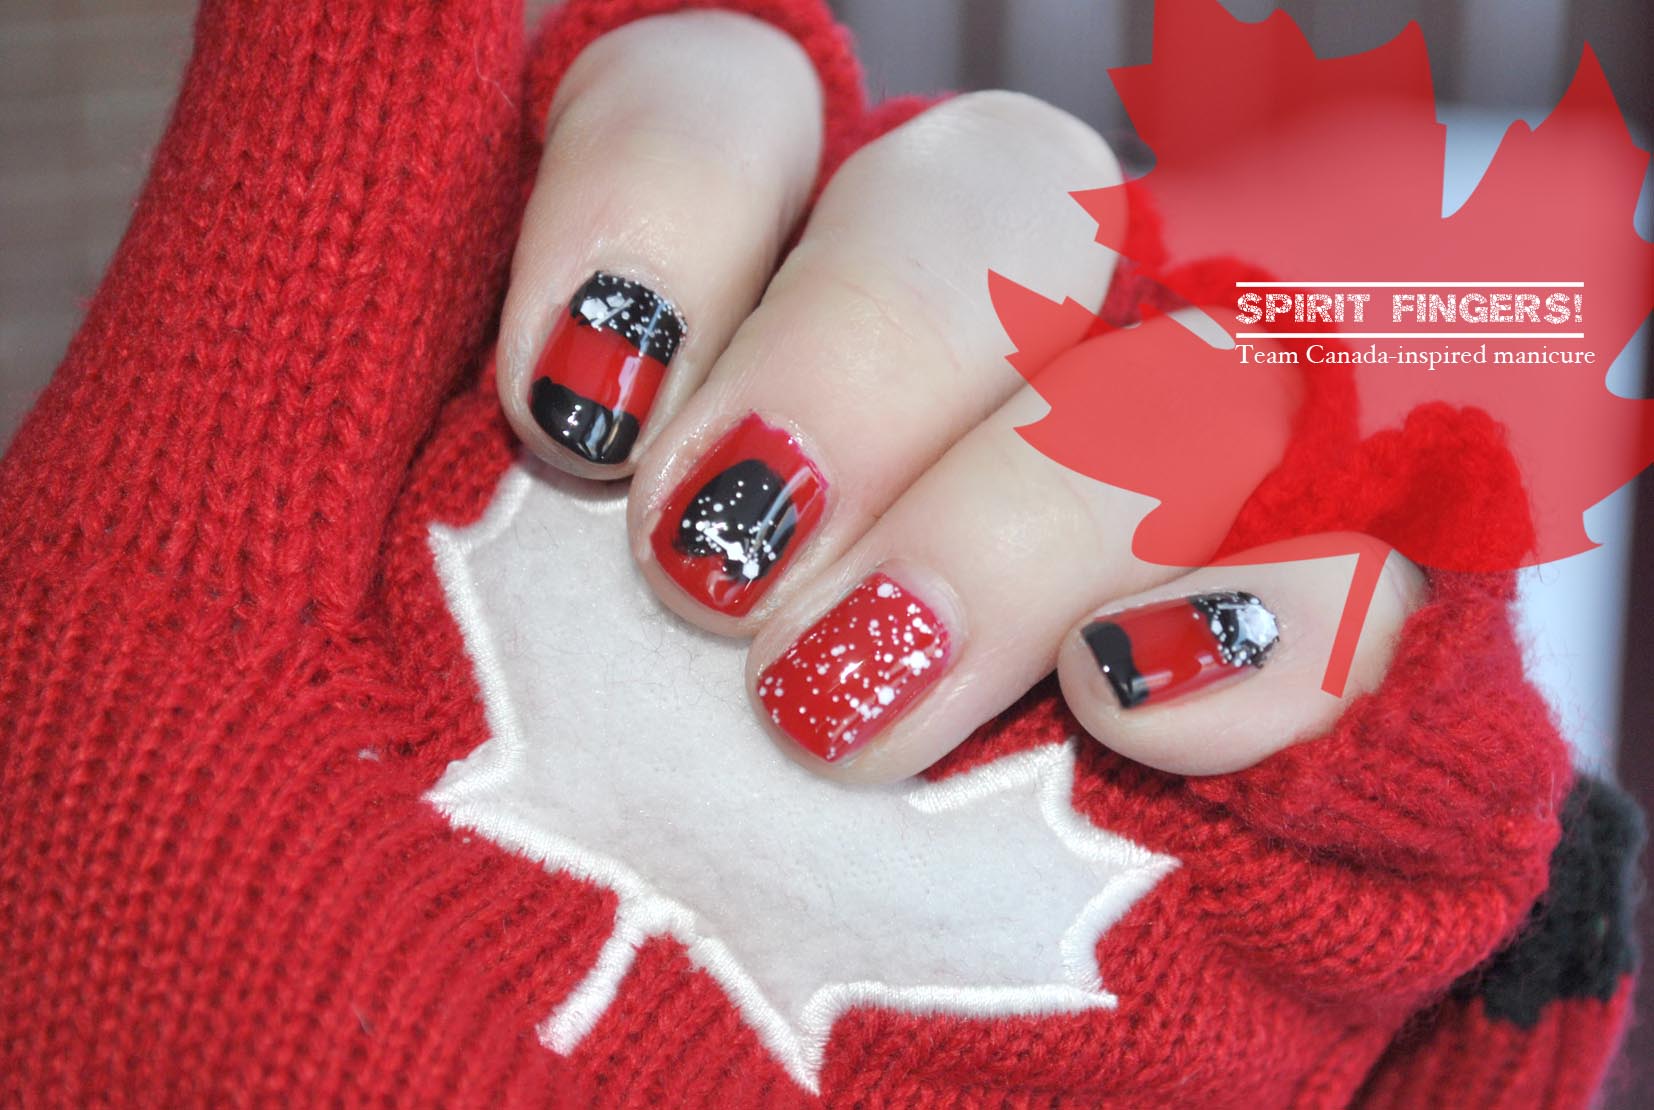
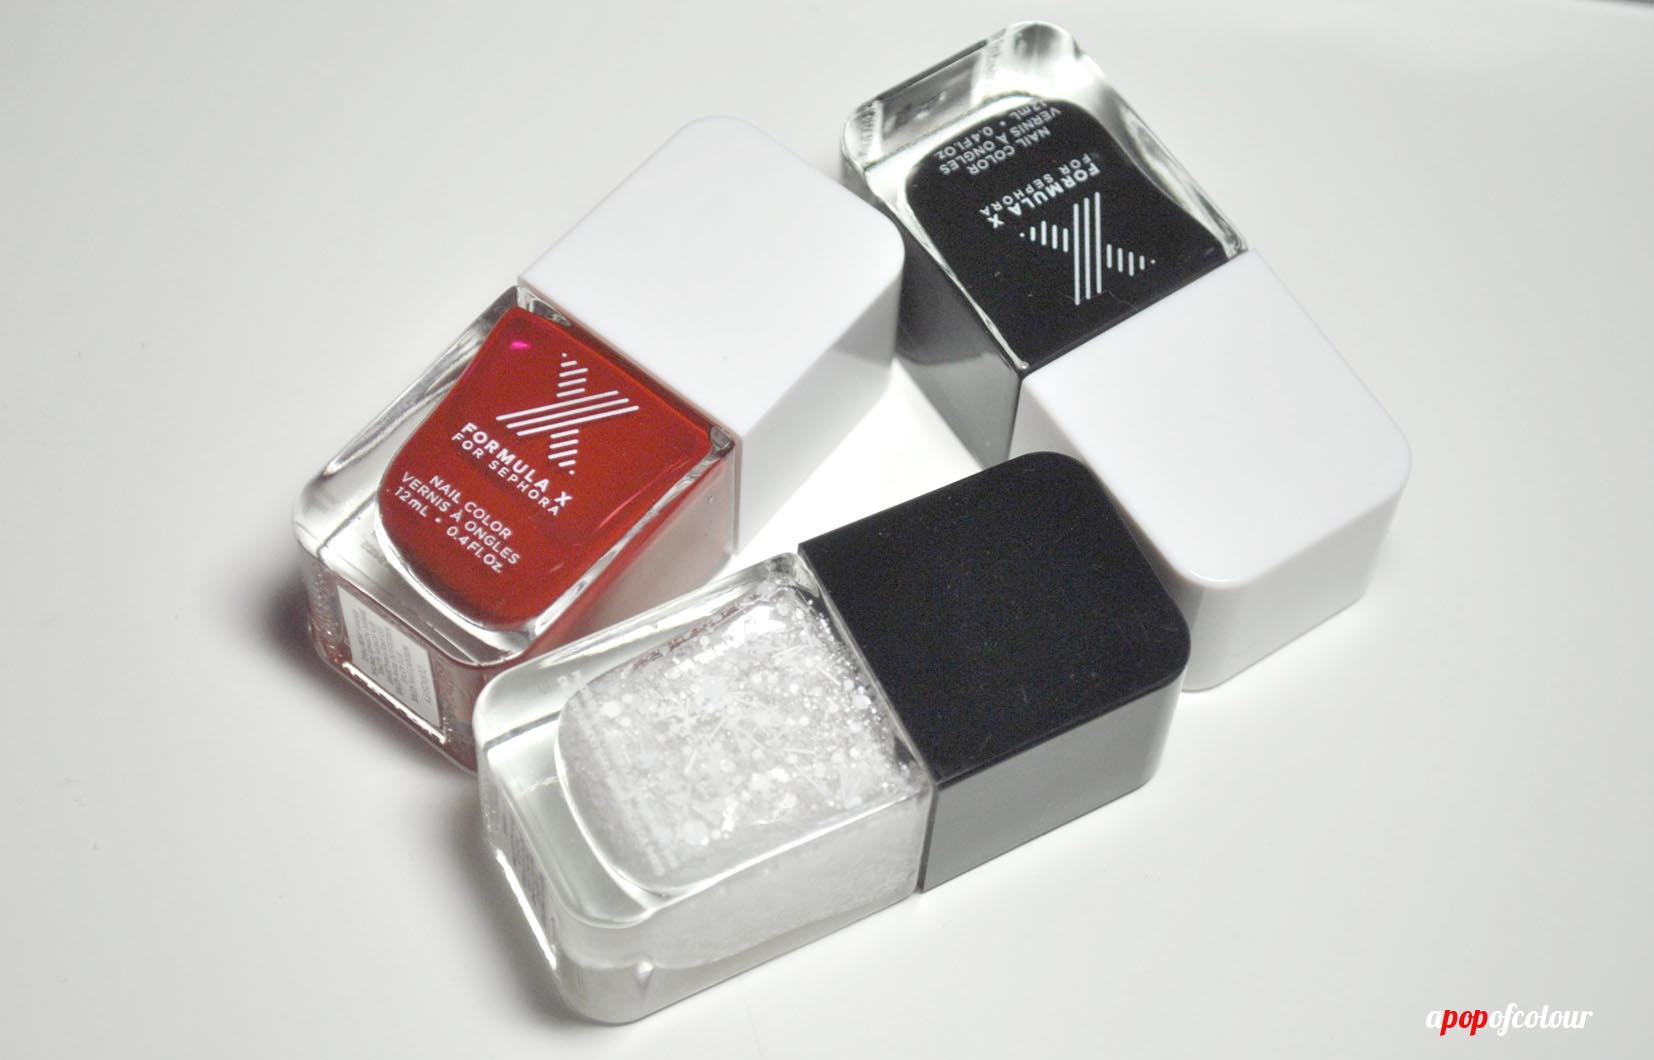
Celebrity manicurist Mar Y Soul has crafted a one-of-a-kind nail look using the Sephora FORMULA X products that will have your nails looking like gold. I have recreated it here and threw in a touch of my own.
I did use the Sephora FORMULA X system and the three colours pictured above (Curiosity – the red; Wham! – the speckled white; and Dark Matter – the black), of course, you can use any brand of polish to recreate this manicure – of shall I say, fanicure ;).
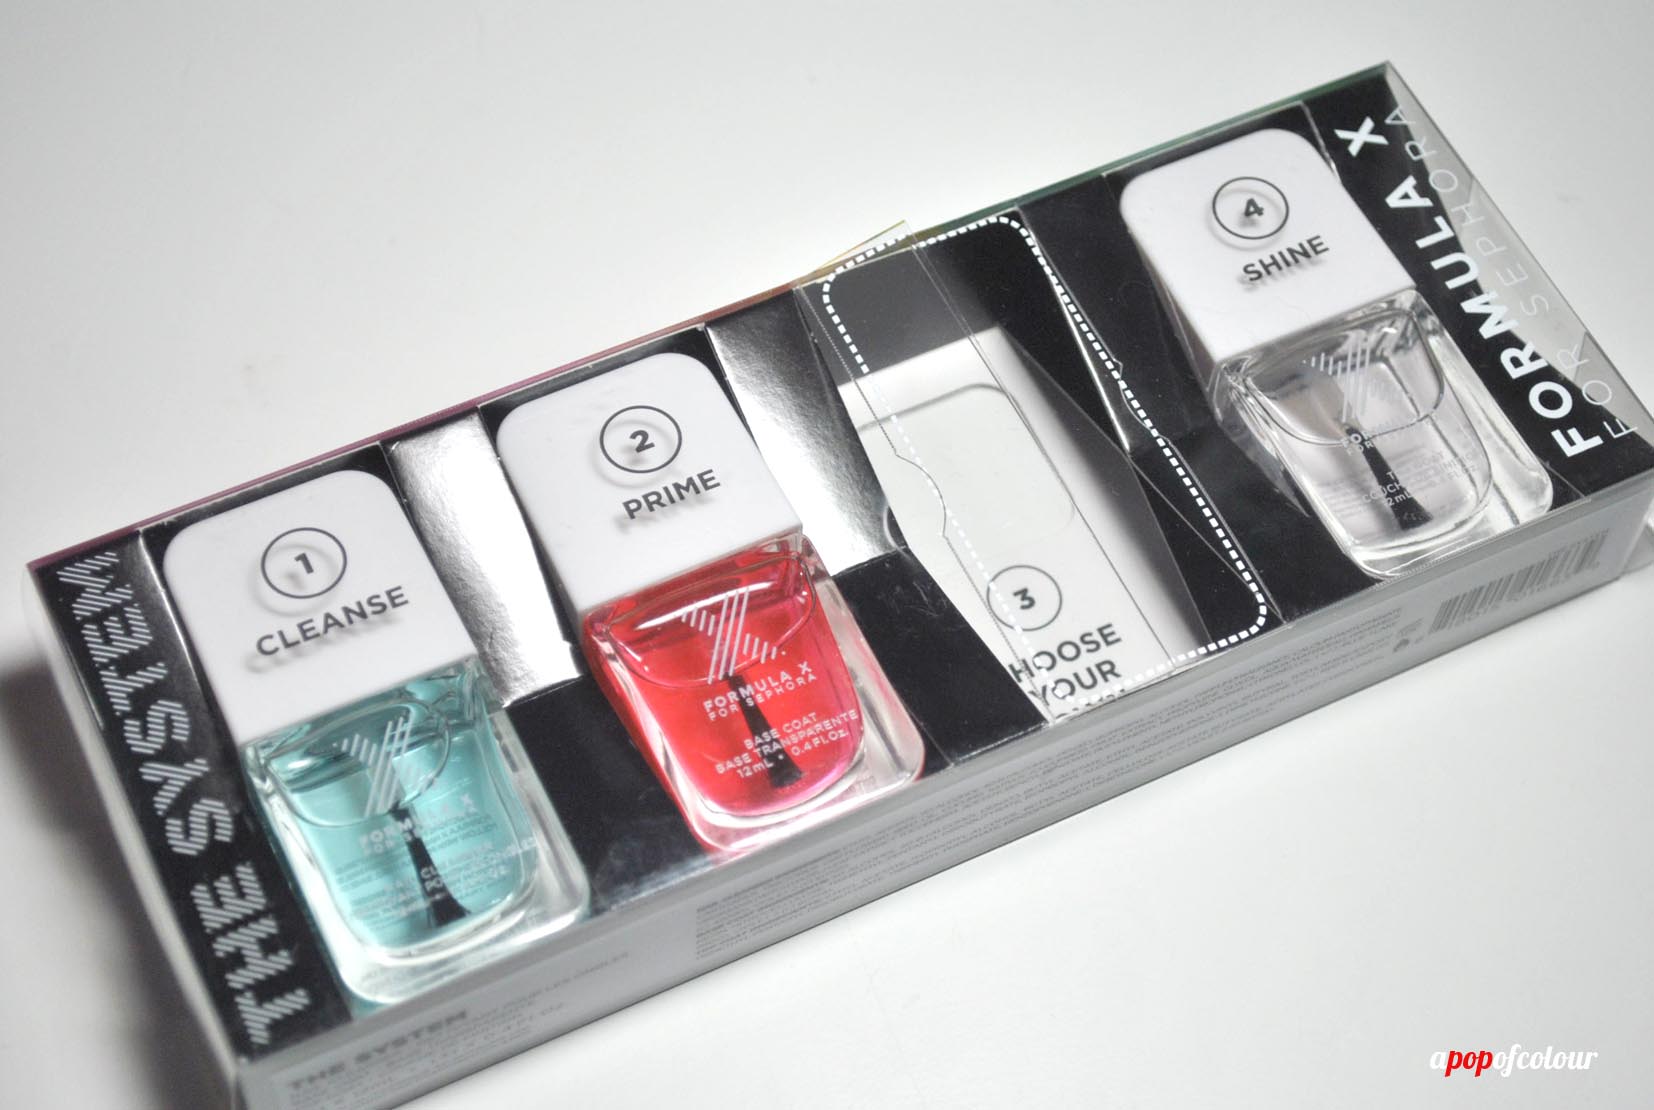
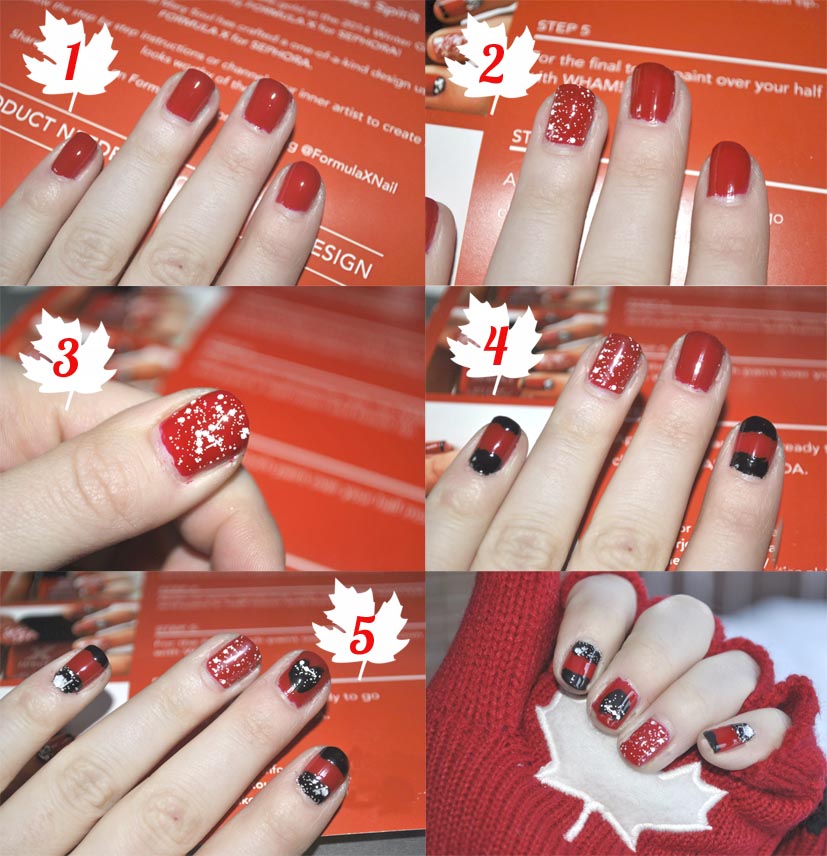
1. Use the Formula X System to prep your nails. Start with CLEANSE, then put on a coat of PRIME, the base coat.
Apply two coats of Curiosity, or a similar red polish to all your nails.
2 & 3. Apply Wham!, the speckled white colour on your ring finger and thumb.
4. With Dark Matter, or any black polish, paint a half moon and stripe on your index and pinky finger.
5. This step is my own – on your middle finger, paint a heart using the black polish. I actually used Sally Hansen I Heart Nail Art Striper in black for more precision, but you can use a brush and the black polish instead. Finally, paint Wham!, the speckled white on the half moons on your index and pinky and then on the black heart.
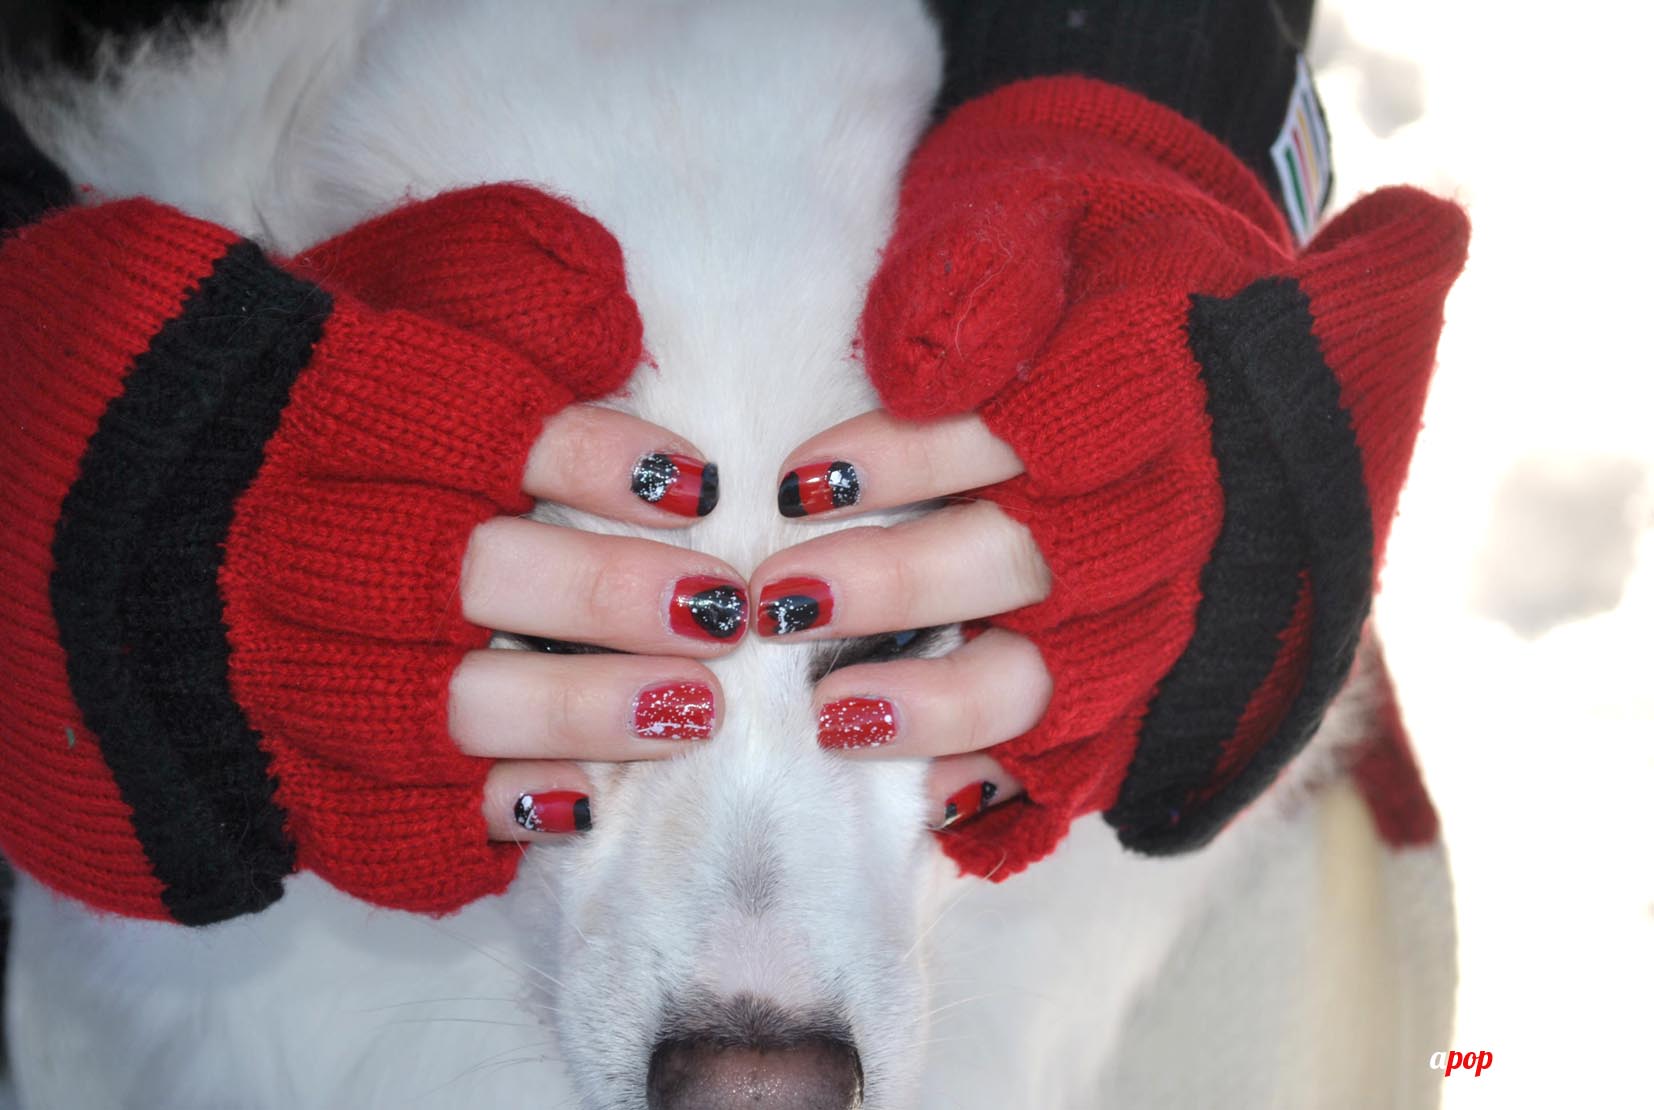
Seal everything with SHINE or a similar top coat.
And that’s the final look! Throw on your HBC Team Canada mittens and you are all set!