
Feb
2013
How to: liquid contour + highlight
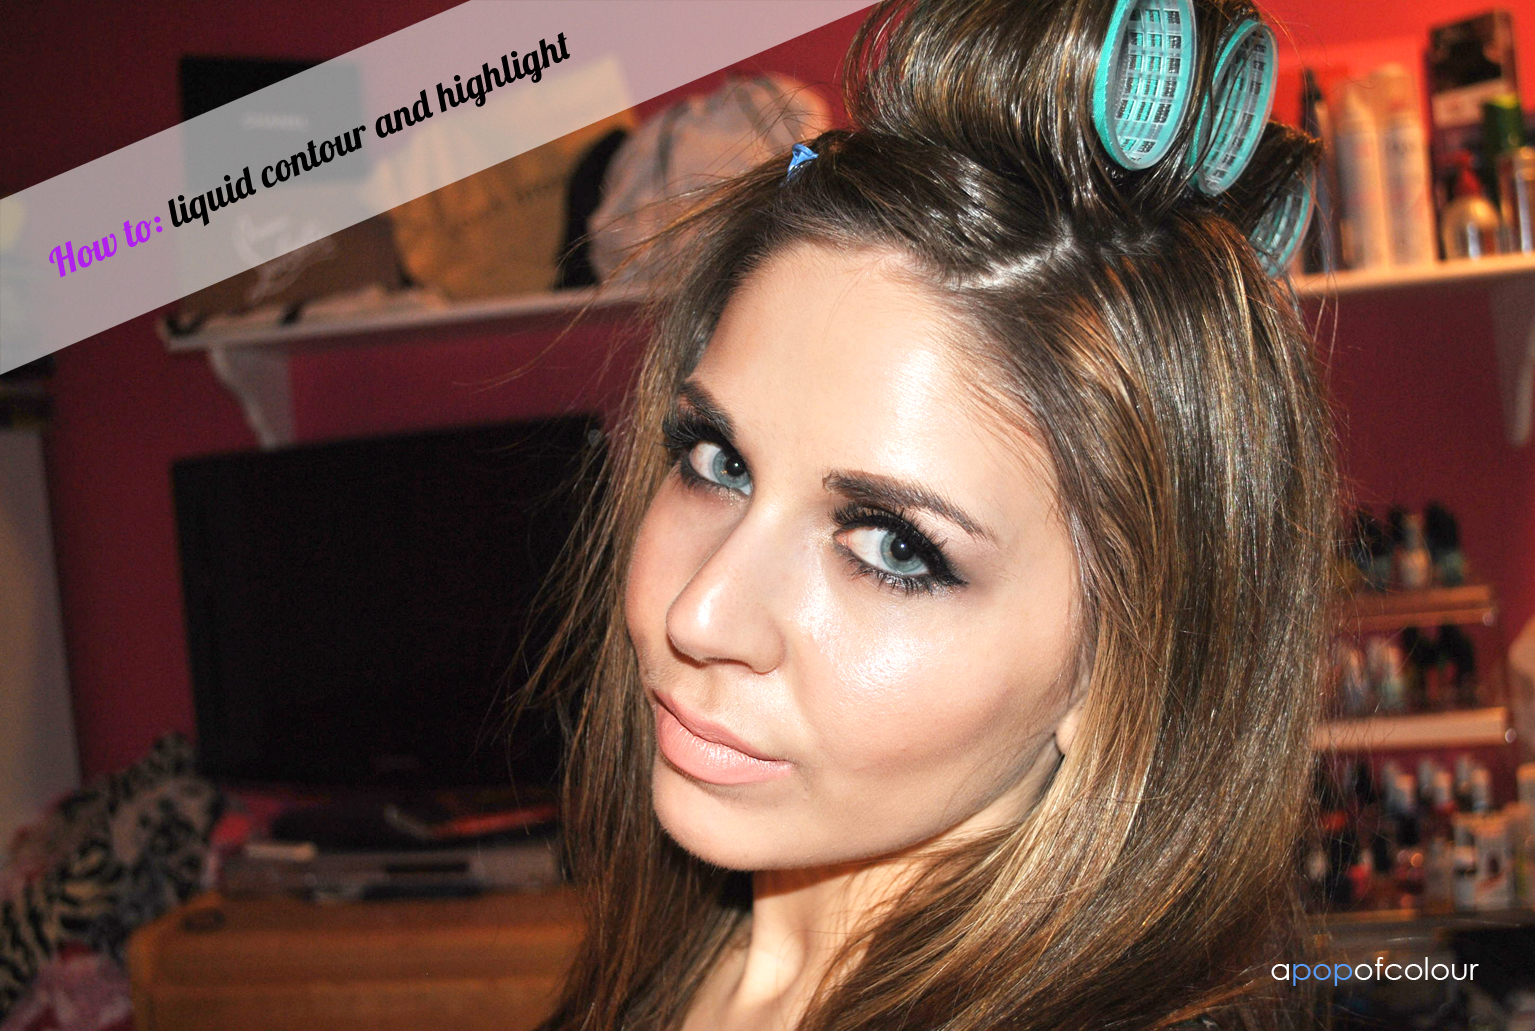
Ever since I realized the magic of a good contour and highlight, it has become part of my daily routine. I’ll usually stick with powder products but I have recently started to liquid contour and highlight (a la Kim Kardashian) if I have a night out or if I have a lot of time.
The same fundamental rules apply as a dry contour and highlight, but instead of using powder products, you use all liquid products, such as a liquid foundation or concealer. The biggest difference is instead of applying your contour and highlight over your foundation, you are applying it first and then masking it with the foundation so it’s all blended and looks natural.
Here are the steps I use to do it:
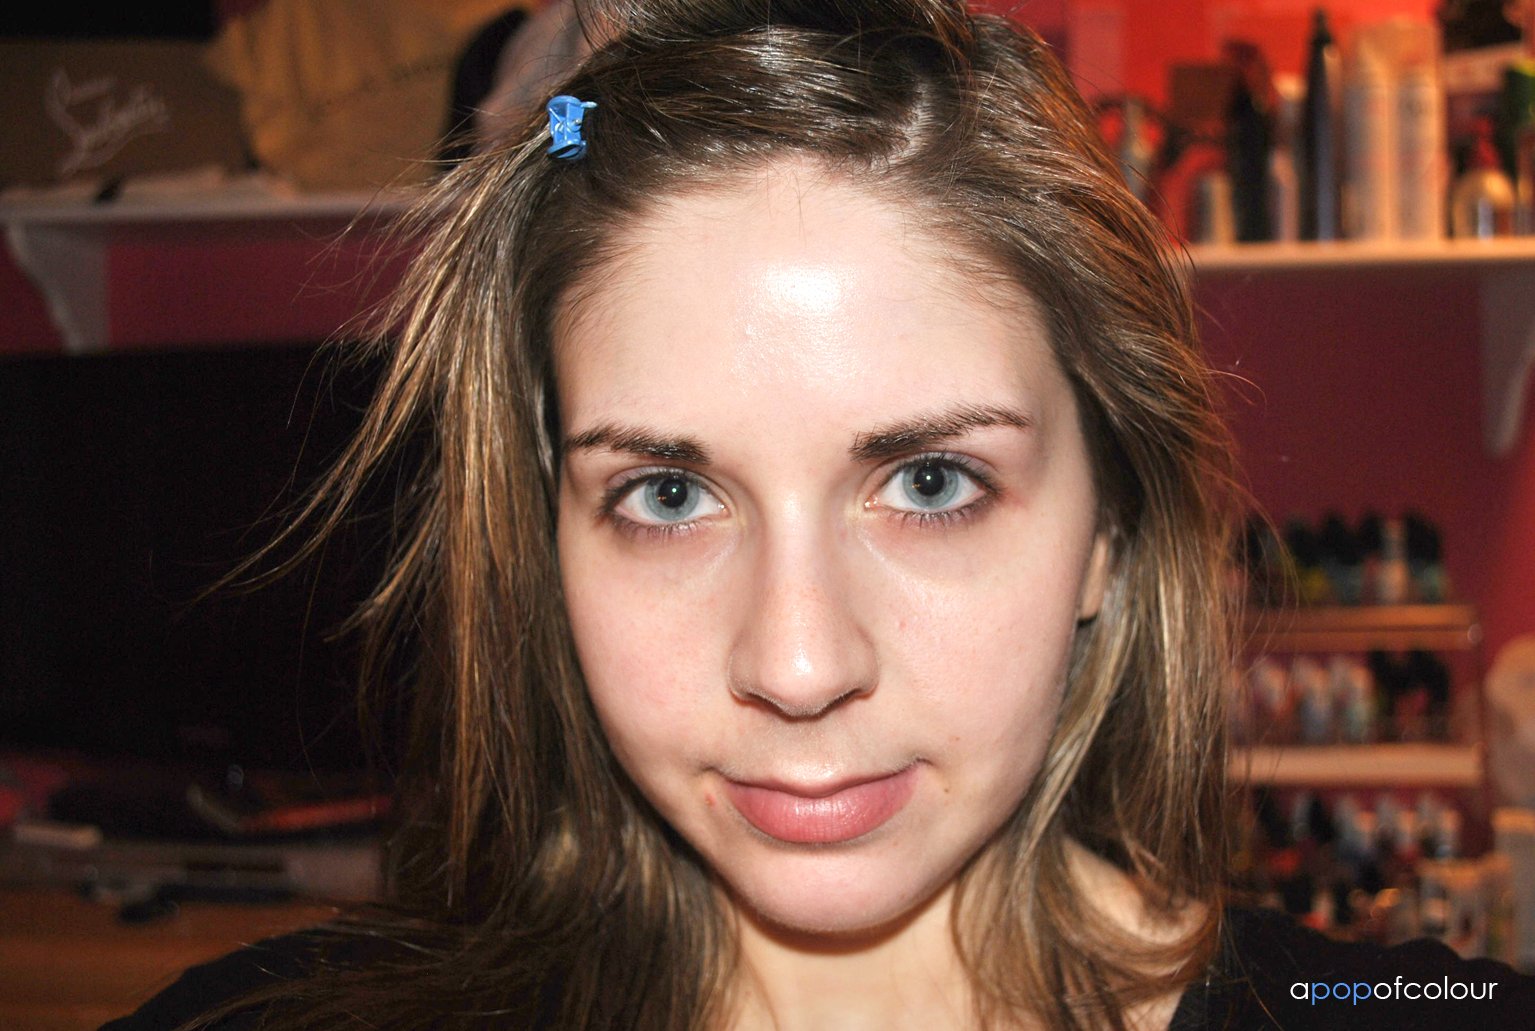
Here I am with no makeup on. I have pretty good skin aside from the occasional pimple and slight undereye shadow, which we are going to correct in the next step.
So the first thing I would do is apply a foundation primer. I can’t remember the exact one I used for this post, however, Benefit’s The POREfessional or Smashbox’s primer is really good.
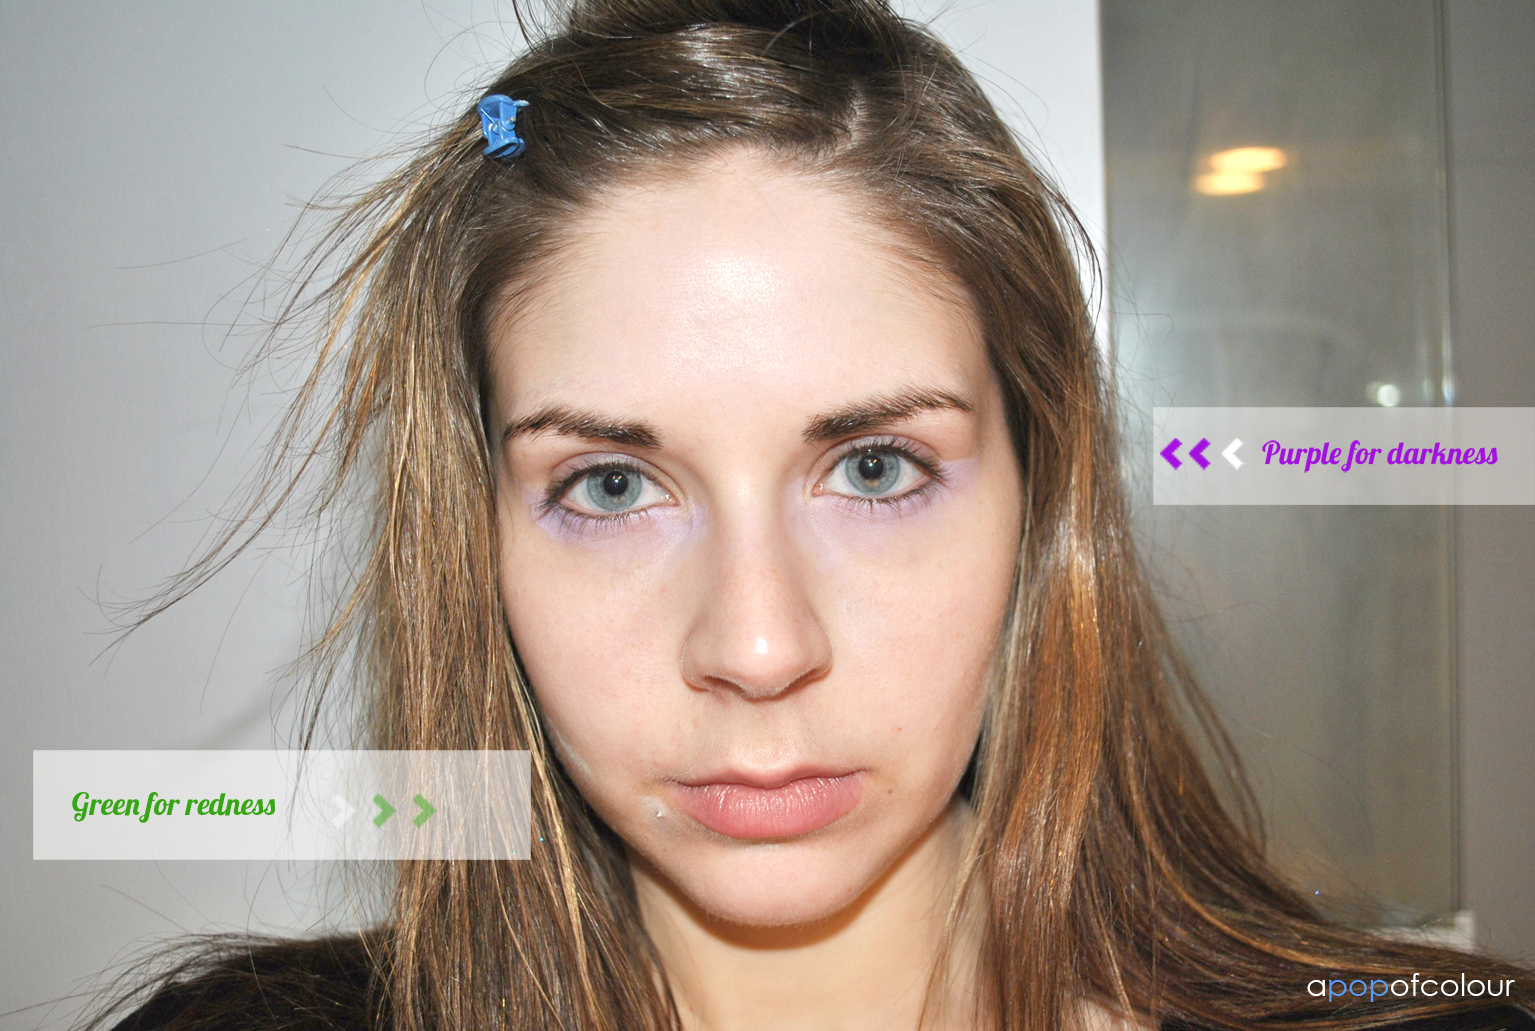
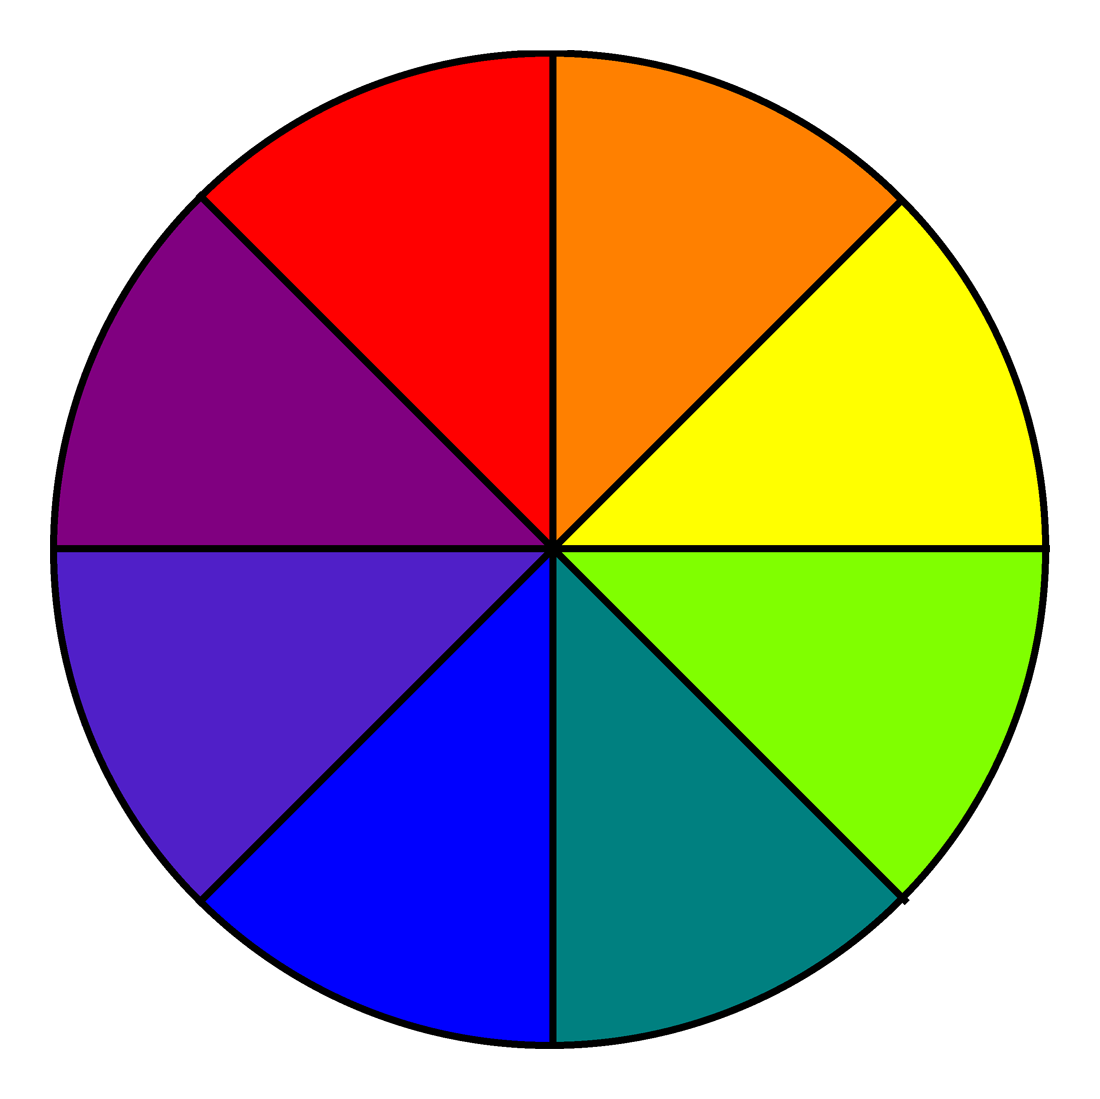 From there I usually go in with a colour corrector if I have time. I apply a purple corrector to under my eyes to neutralize darkness (although this is typically used to correct yellow) and a green concealer to any redness. This works based off the colour wheel, you look at what are opposites on the wheel to neutralize the colour and make the correction. So red masks green, purple masks yellow, etc. You often see green concealers in the drugstore, or Smashbox makes coloured primers, and no they are not for zombie makeup, it’s for colour correction.
I used NYX As If Concealer Stick in Pastel Green and the purple colour from the Make Up For Ever 5-Color Camouflage Palette in number two. Don’t blend the colour; when you blend it you are spreading it around. You want it to sit on top of what you want corrected.
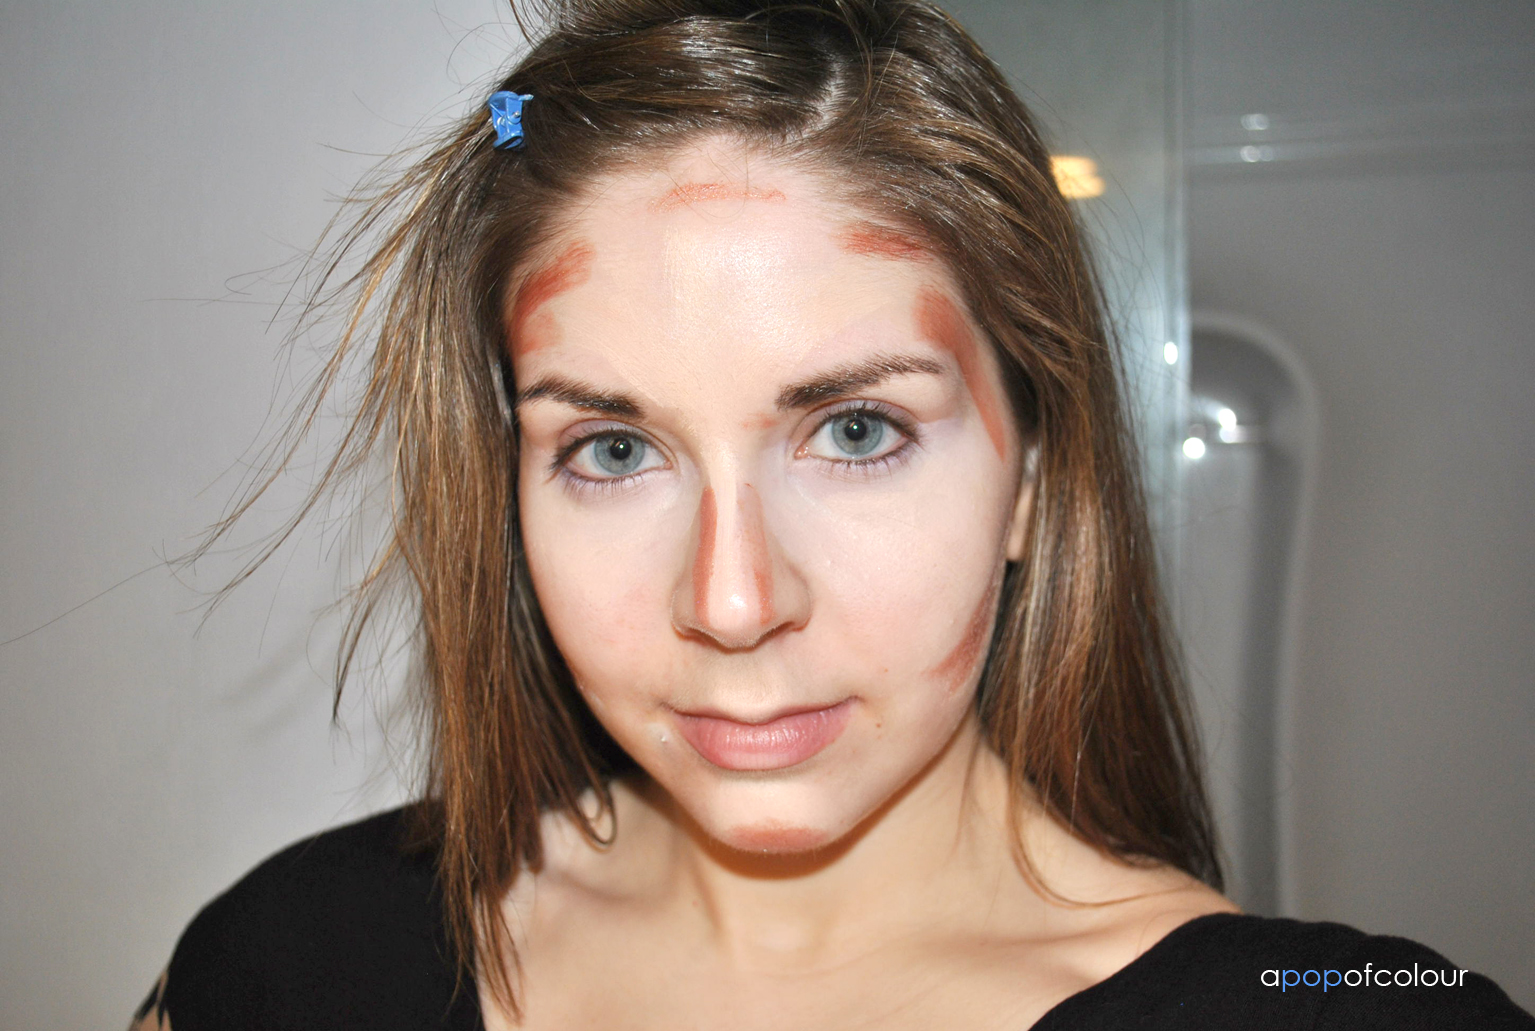
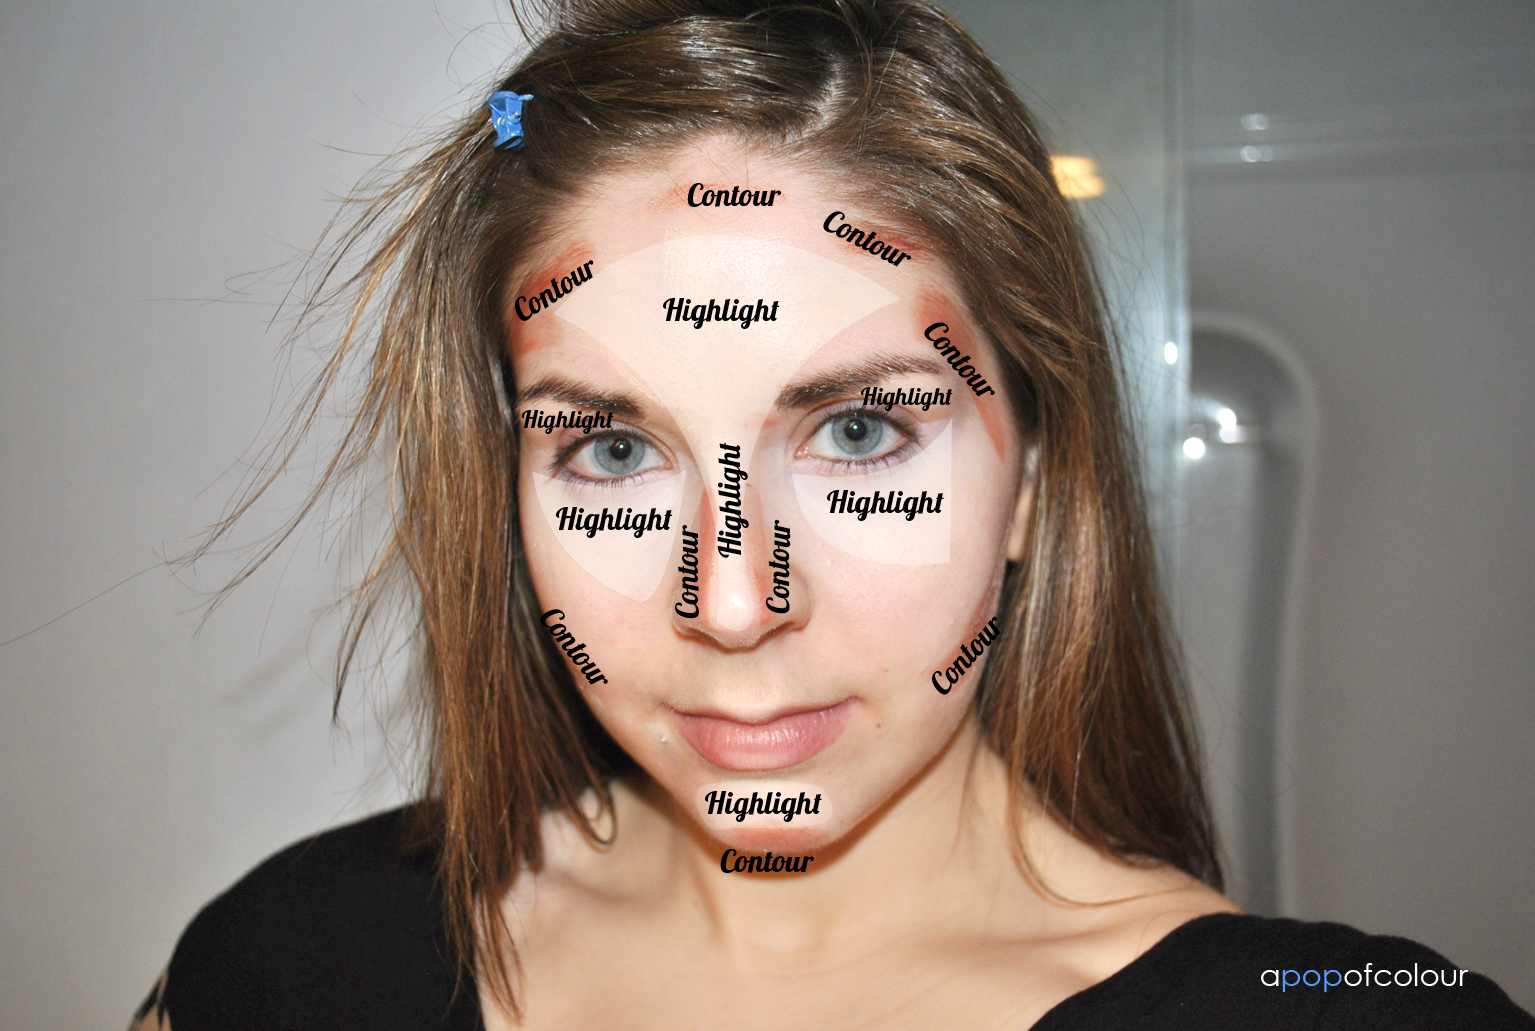
Alright, here is the important part – where to place the colour. Starting off with the highlight, apply a light-coloured concealer (so one that is at least two shades lighter than your skin tone) to under the eyes in a V shape, along the bridge of your nose, onto your forehead (drawn out like a fan), along your brow bone, and on your chin. See the chart above for a more detailed reference.
With either a liquid bronzer or a liquid foundation darker than your skin tone, apply this along the hollows of your cheekbones, onto your temples, along your hairline, on the sides of your nose (to slim your nose down – this part is optional), and right where your chin meets your neck. Don’t blend the colour, just leave it as is.
I used the lightest colour from the Make Up For Ever 5-Color Camouflage Palette and Clinique’s Blushwear Cream Stick in 01 Glow Blush.
Next is blending it all together so it looks natural.
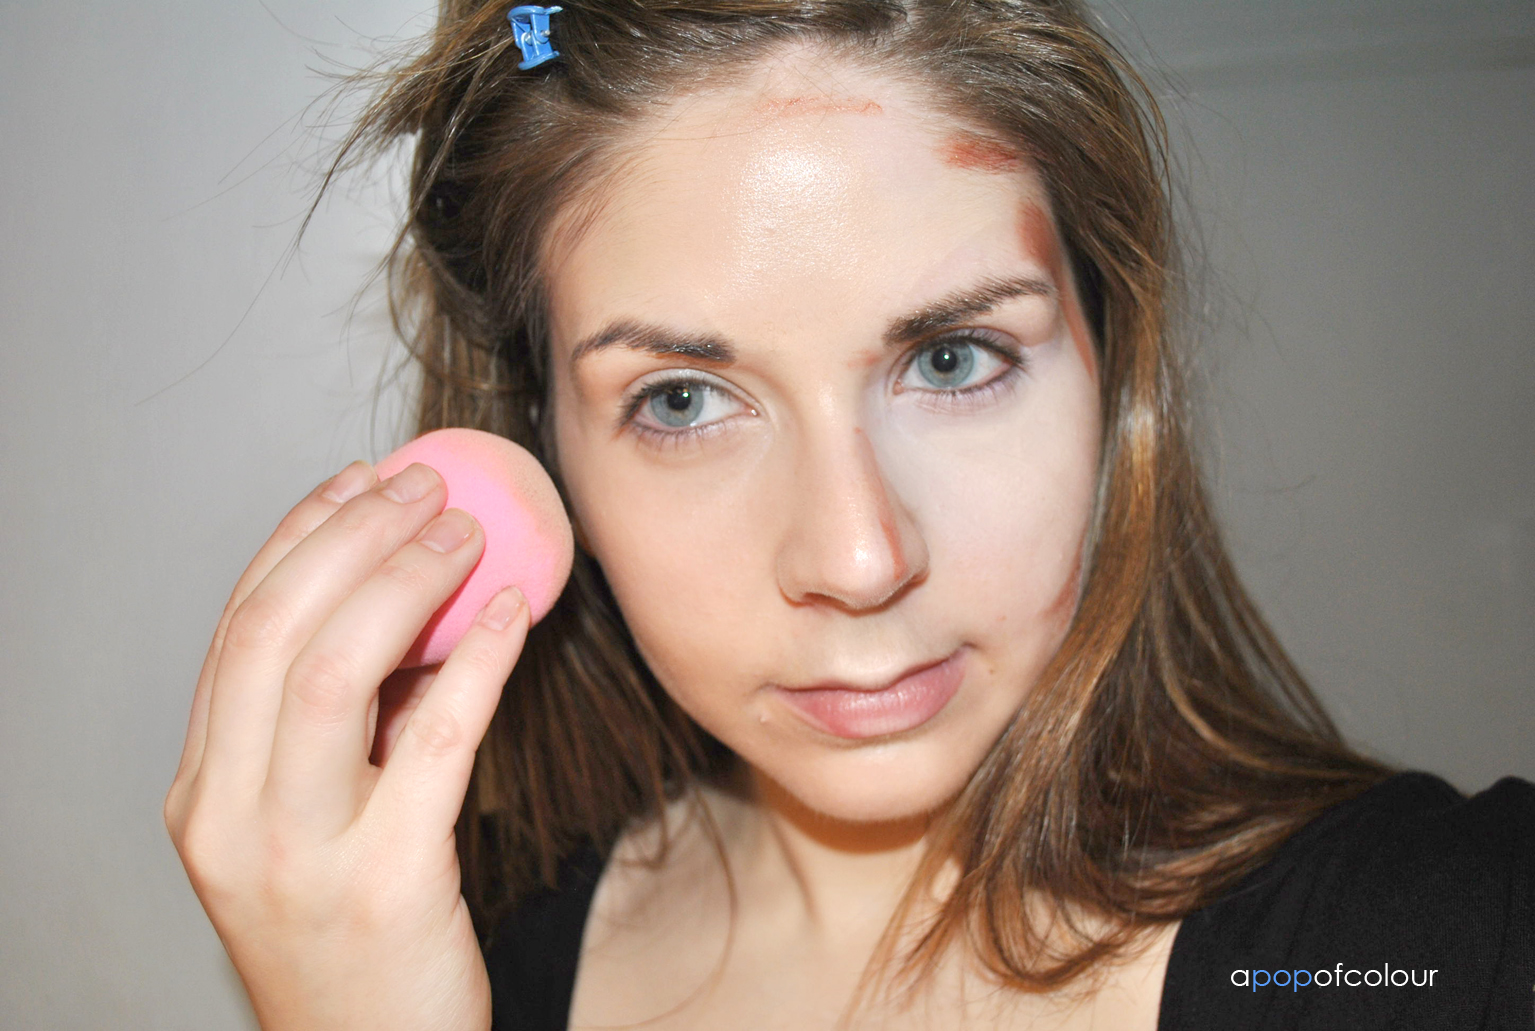
With a liquid foundation (I used IT Cosmetics IT-02 Ultra Repair Liquid Oxygen foundation in Light), and with a damp Beauty Blender, pat the foundation all over your face. As you do this, the harsh contouring and highlighting you painted on earlier will blend nicely under the foundation.
If you don’t have a Beauty Blender, you can use a brush, however, I like the effect the sponge gives as you are patting on the foundation, rather than rubbing it on. As a result, everything stays in place.
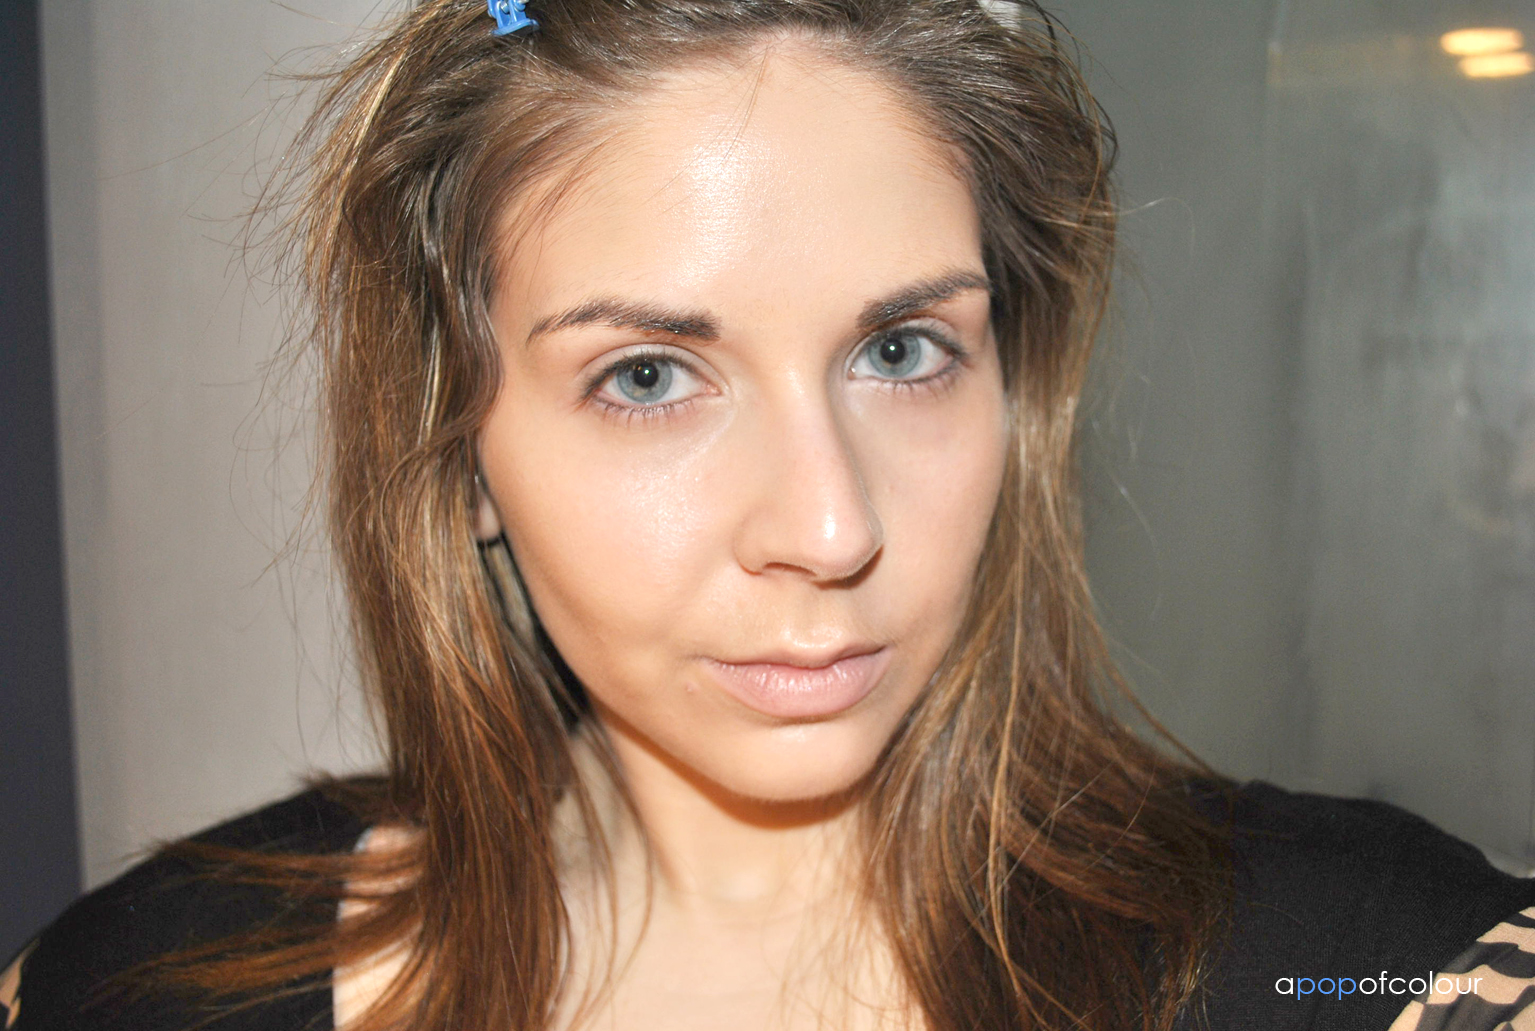
To finish the look you can apply a translucent powder (like Make Up For Ever’s HD Microfinish powder) or a powder foundation applied with a kabuki brush.
I do find that this is a more natural way of rocking a contour or highlight. It does look scary when you first apply the concealer and liquid bronzer, but when it’s all blended together it gives a nice, natural effect.
I hope this was helpful. If you would like to see this done in real time, there are a number of YouTube videos out there on this subject, this is just the way I do it.
Do you liquid contour and highlight?
Like what you read? Check out these related posts:
- Glitter dust: Fairy Halloween makeup
- Brown and beautiful: NARS Cordura duo
- The Holiday Collection: Urban Decay Naked Palette
- Easy brown smoky eye featuring Maybelline’s 24-Hour Color Tattoo in Tough as Taupe