
Feb
2013
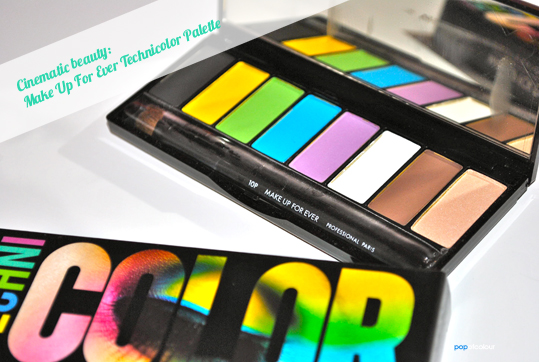
Cinematic beauty: Make Up For Ever Technicolor palette
I have always been fascinated with film. My genre of choice is horror, however, I love everything, whether it’s comedy, drama, a foreign film, or action. I could talk hours about the cinema.
When I heard that Make Up For Ever recently released a palette dedicated to the era of 1930’s cinema and the introduction of colour to film, I thought that was such an awesome idea for a palette.
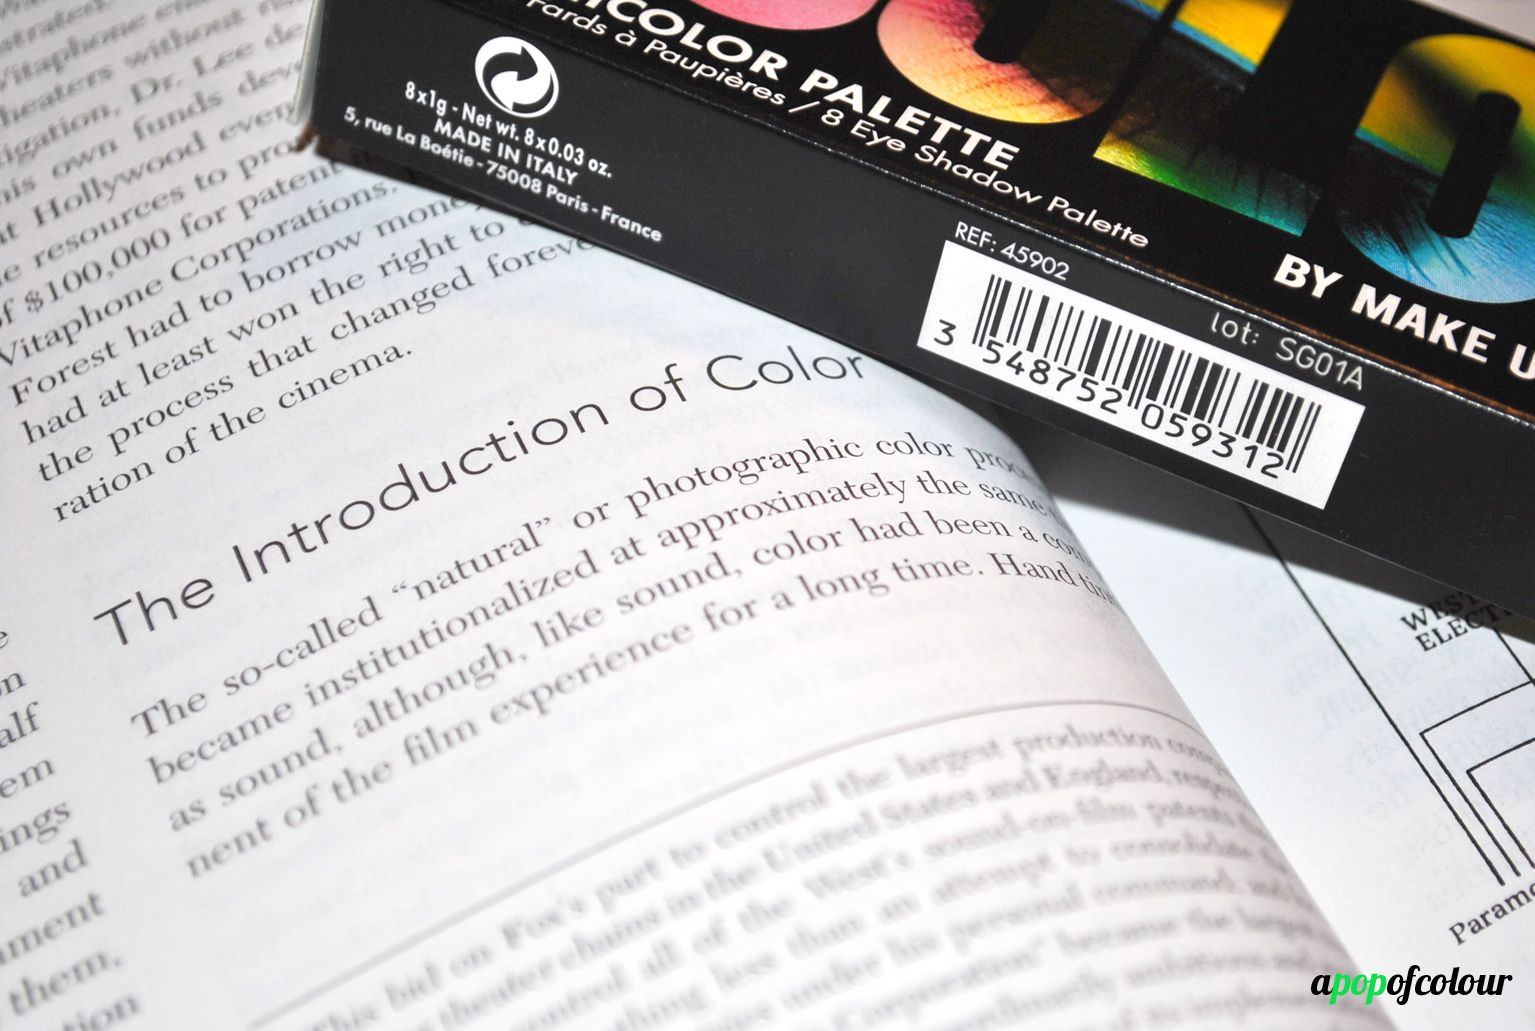
So here’s a little bit of history for you (taken straight from A History of Narrative Film, fourth edition by David A. Cook – I knew this university textbook would come in handy someday). The Technicolor Corporation was formed in 1915 in Boston by Dr. Herbert T. Kalmus, Dr. Daniel F. Comstock, and W. Burton Wescott as an offshoot of their successful industrial consulting firm, to exploit a two-colour additive process in which a prismatic beam-splitter produced separate red and green exposures in-camera and superimposed them in projection. They only produced one film in this process, however, its failure led Kalmus to abandon the additive system for a subtractive one (page 217).
In 1930, Technicolor was under contract for 36 features, some of the most lavishly produced in that year. By 1932, the production of Technicolor films had nearly ceased as the sudden rush to colour failed because audiences grew increasingly dissatisfied with the poor registration of the two-colour process, in which flesh tones could vary from pink to orange, and also because the process was expensive, adding as much as 30 per cent to the production costs of the average feature and raising distribution costs from three to five cents a foot over black and white.
In 1932, Technicolor perfected the three-colour system whose predictability and accuracy was to give it a virtual monopoly over the production of colour in motion pictures for the next 20 years (page 218).
The first live action film in three-colour Technicolour was Pioneer Film’ La Cucaracha (1934), a thinly plotted two-reel sort focusing on the romantic passions of two cantina dancers (page 219).
When I think of 1930’s cinema, two motion pictures come to mind, Gone with the Wind (1939) and The Wizard of Oz (1939), both of which were directed by Victor Flemming. Though not technically a full-length colour film, The Wizard of Oz presented the illusion of fantasy through its Technicolor sequences. The reality of the film was shot in sepia.
Gone with the Wind was the first film to be shot using Technicolor’s new, faster, fine-grained stock, a major technical breakthrough in that it cut lighting levels by 50 per cent, bringing them closer to those used for monochrome (page 220). Gone with the Wind also went on to sweep the Academy Awards in 1939 (appropriately so), and Ray Renahan and Ernest Haller shared the Oscar for its cinematography and William Cameron Menzies receined a special plaque for his “outstanding achievement in the use of color for the enhancement of dramatic mood” for the film (page 220).
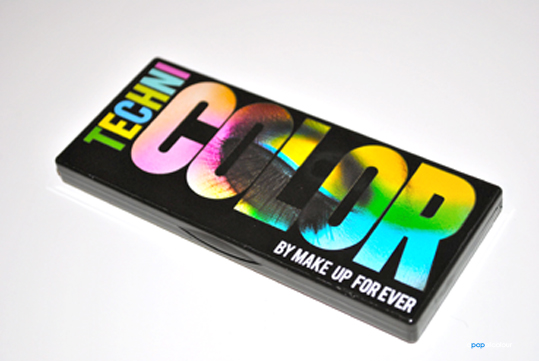
I took a few film courses in university and although I didn’t pursue a degree in it, the history of film has always intrigued me. That’s why I was so excited about this palette. The palette contains eight colours, four that make up the “black and white” movie era (a black, white, and brown – all matte shades- as well as a nude colour, which has a hint of shimmer), and the other four that represent the introduction of colour to cinema (purple, green, blue – all of which are matte – and a yellow with a hint of shimmer). All the colours, aside from the yellow shade which was created just for this palette, are part of Make Up For Ever’s regular line.
Now normally I wouldn’t be this excited about a colour palette, I mean really how often am I going to wear these colours? The thing is, the shades in this palette are just so gorgeous. Plus the juxtaposition between the fun colours and neutrals make this a must have. Lastly, they apply like a dream. This is my first foray into MUFE eyeshadows and I have to say, these are some of the best formulations I have ever used. They blend like a pro.
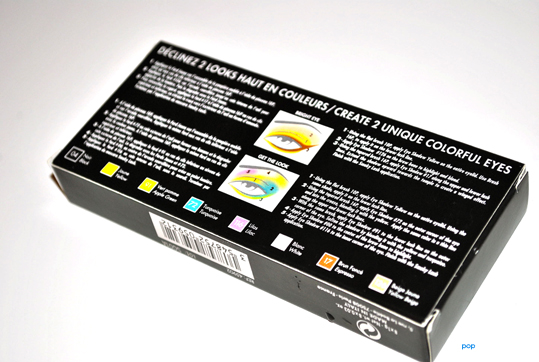
I decided to create two looks using this palette, one neutral, 1930’s Hollywood cinema, and a fun look using colour. Overall the neutrals will be getting more wear, however, I have been experimenting with the colours and they are fun to play around with and create looks.
The first look was easy because it’s a smouldering look; I wanted to go for old Hollywood glam. For the fun look, the only movie I could really think of that was adventurous with colour was Cleopatra (1963), starring Elizabeth Taylor (hello, blue eyeshadow); however, I wanted something that you could feel comfortable leaving your house wearing, so I chose to go a different route.
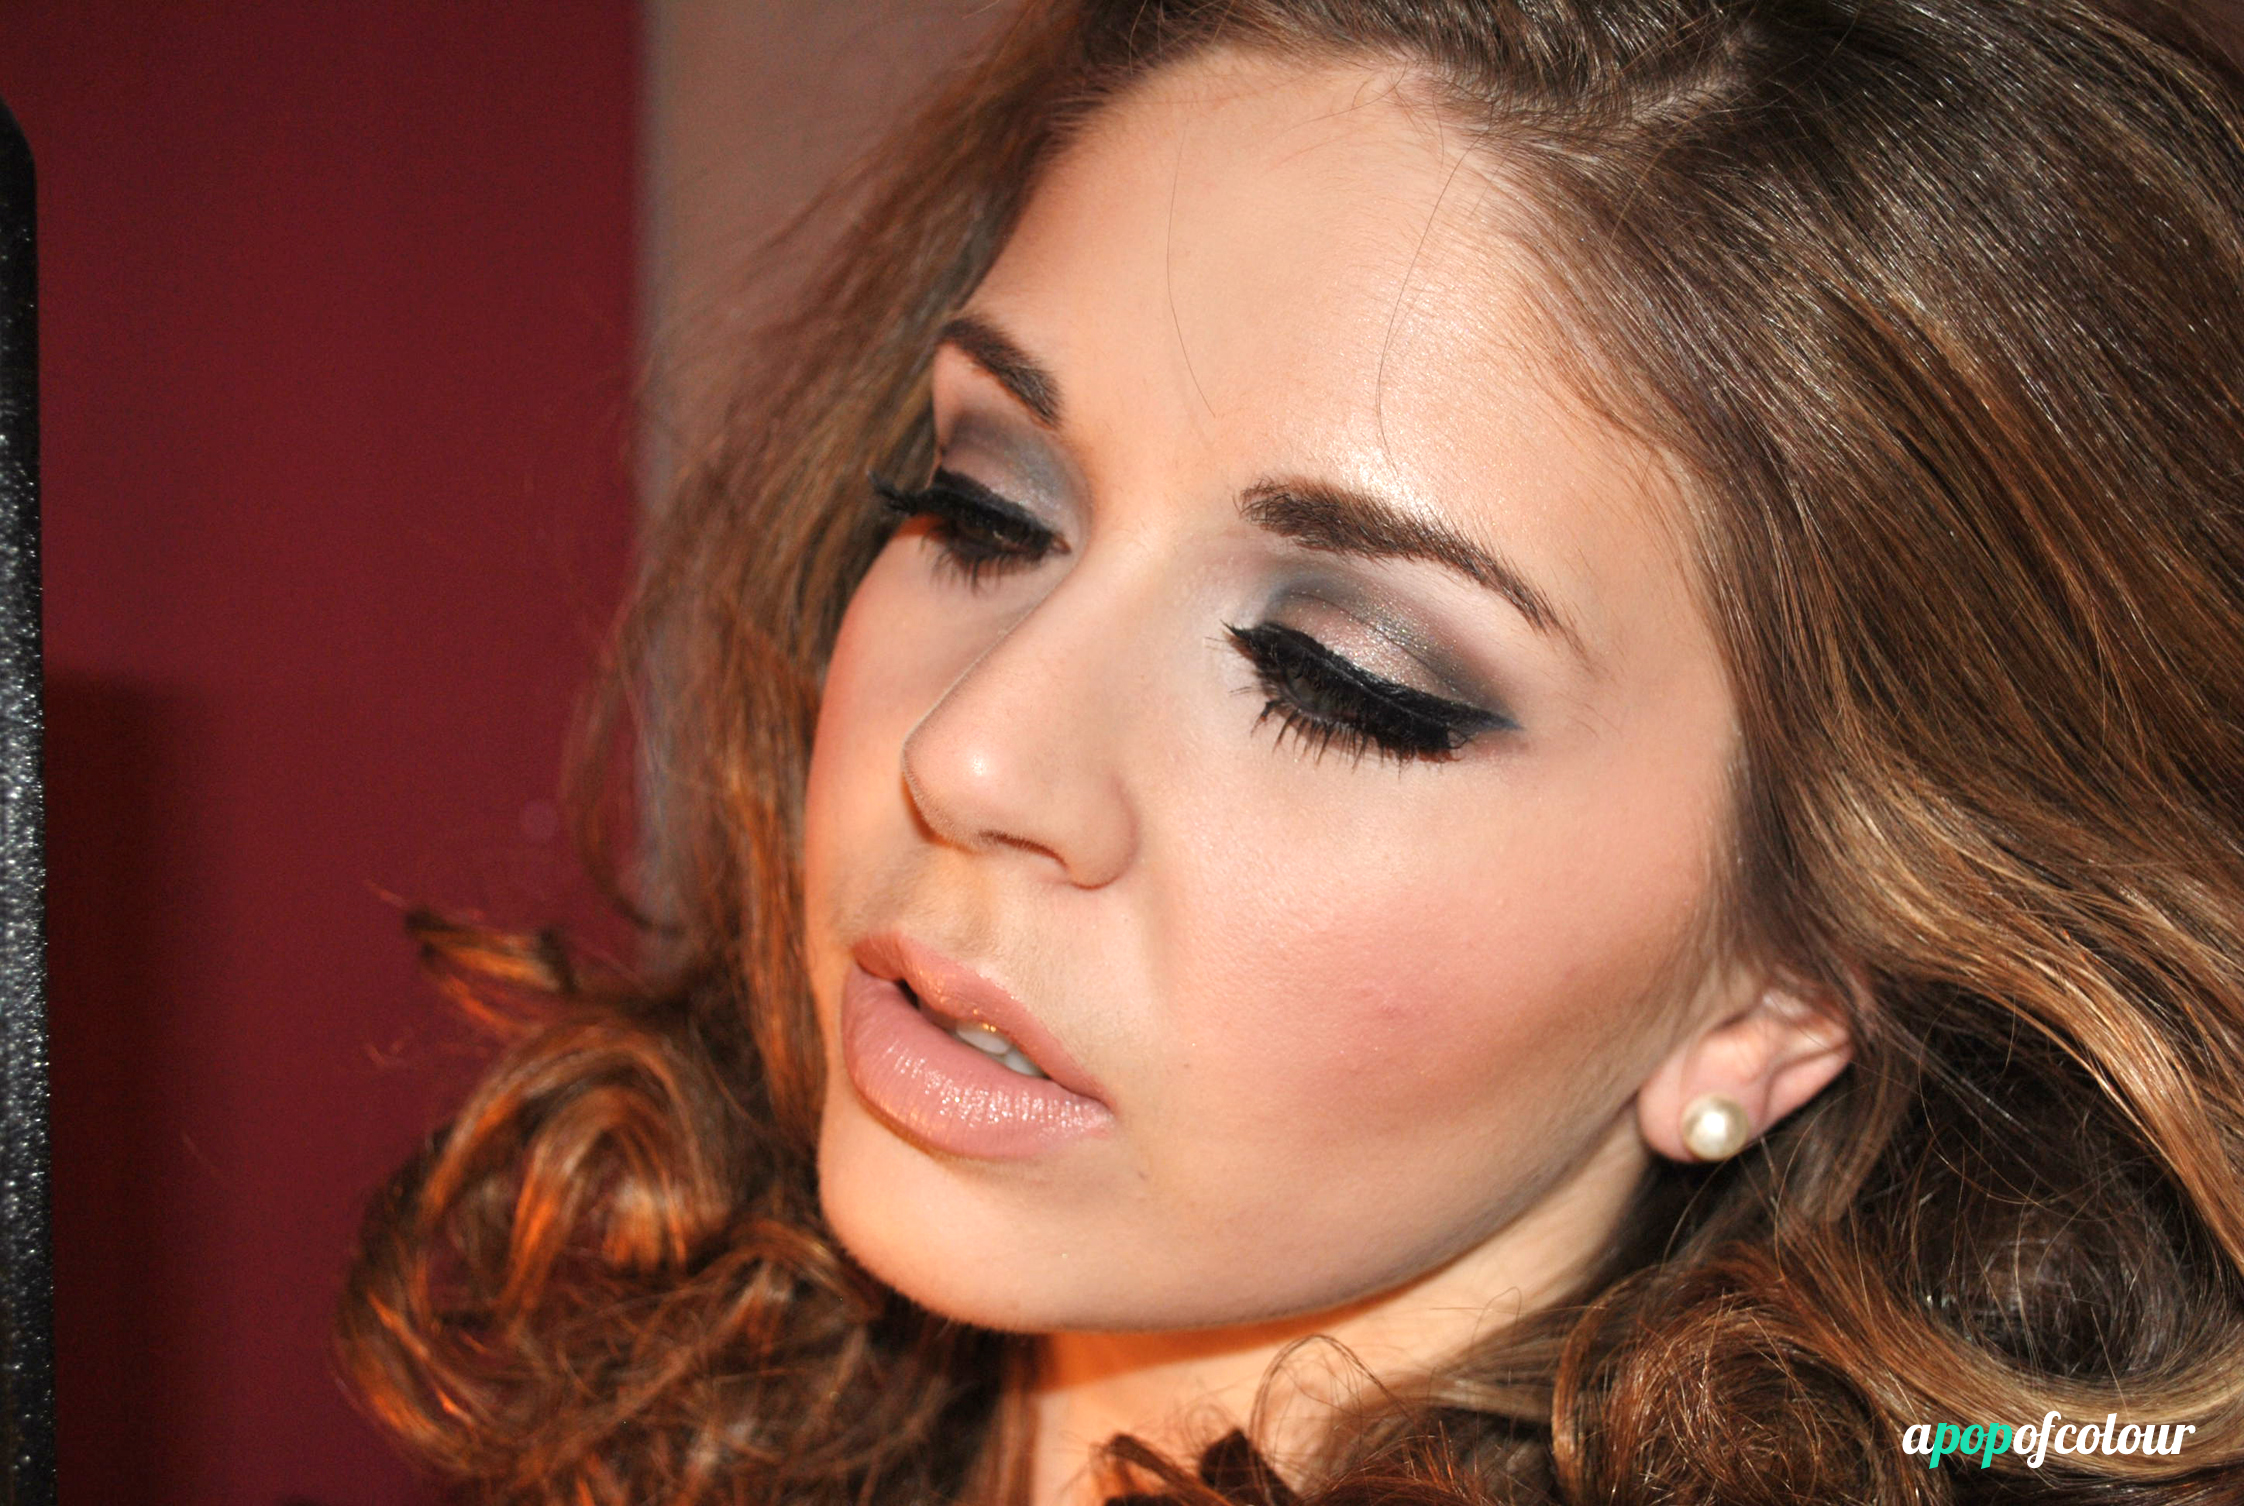
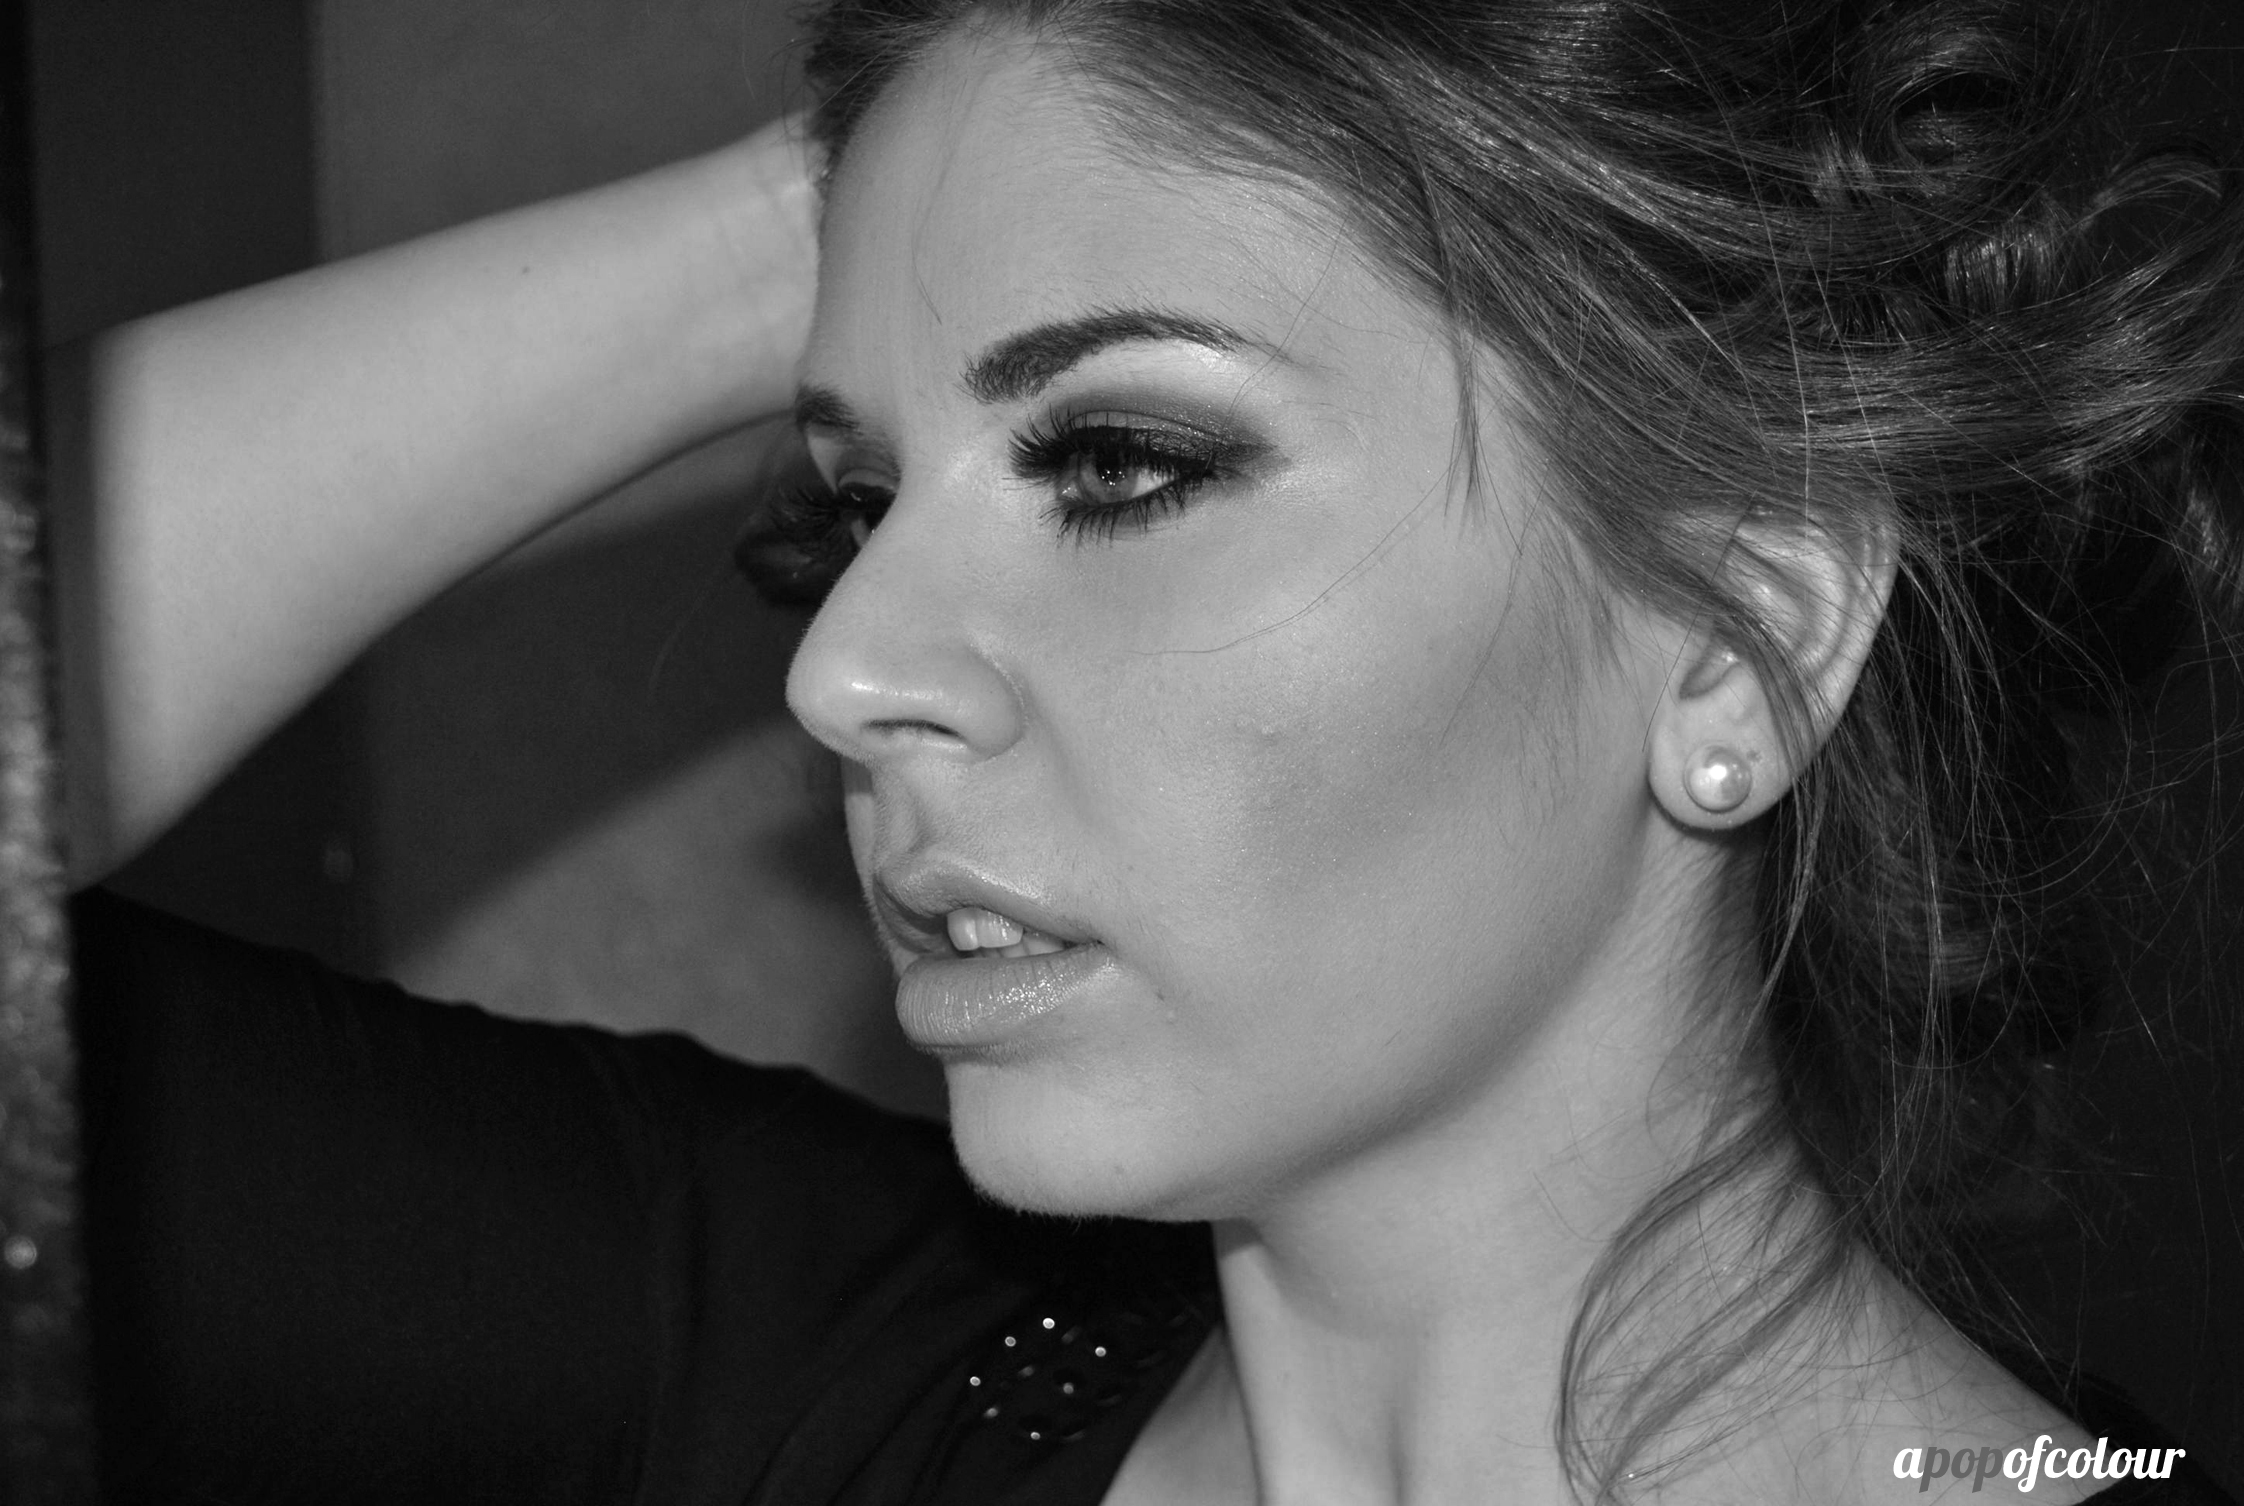
Black and white beauty

Here are the steps to create it:
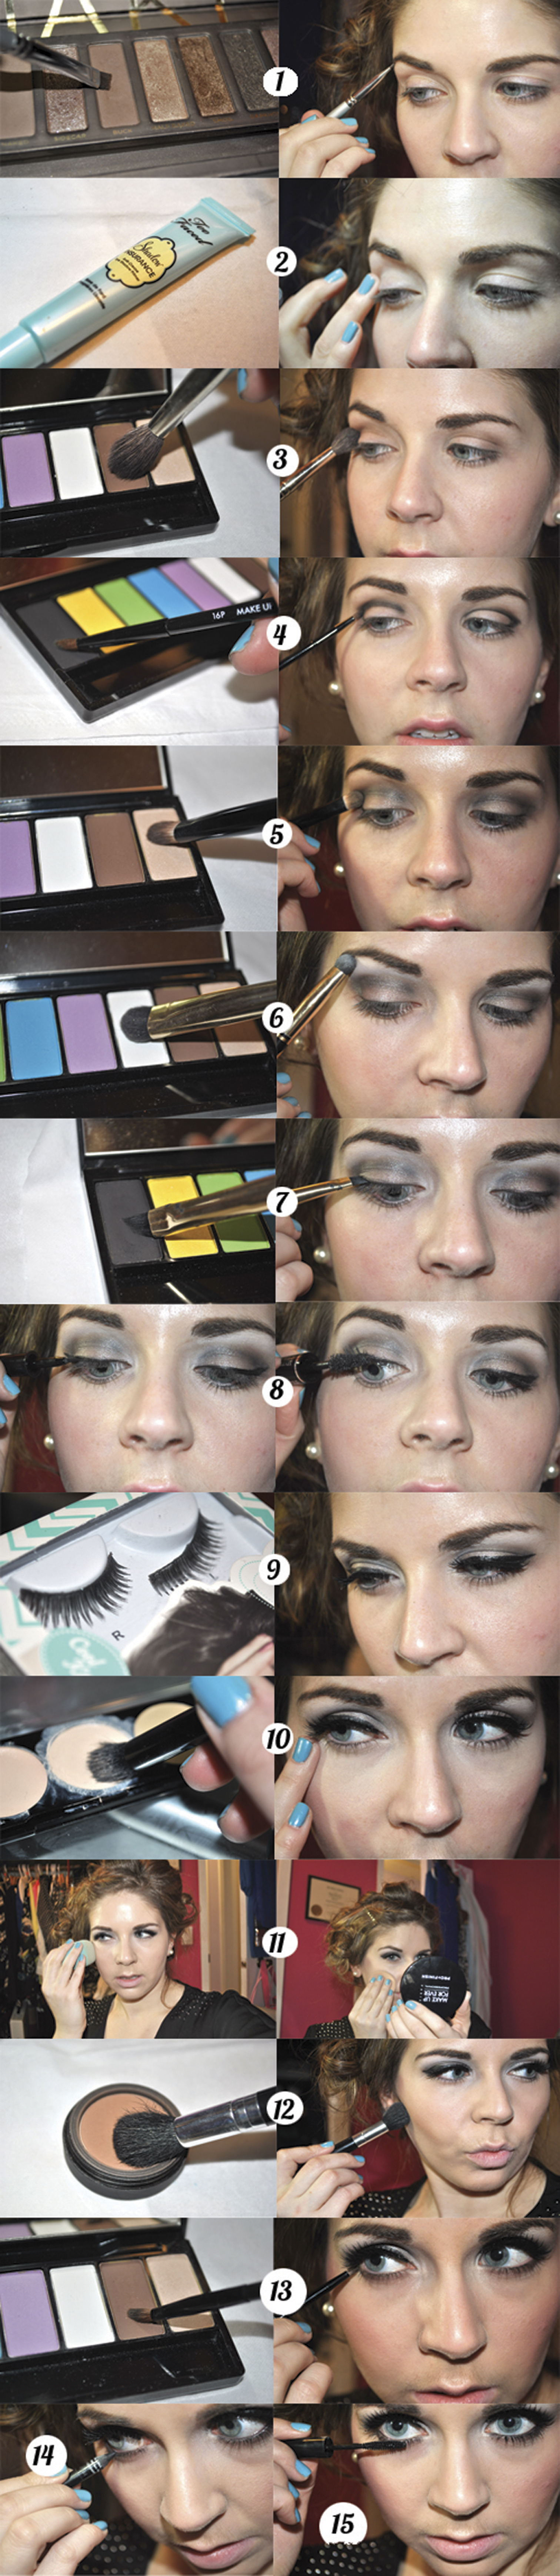
1. Starting with the brows, fill them in using either a pencil or eyeshadow. I used Buck from the Urban Decay Naked palette. The brows of the 1930s were very thin (drawn on), however, I kept mine natural looking. In the ’40s and ’50s they did get thicker and more normal looking.
2. Moving onto the eyes (do this before applying concealer, foundation, etc.), prime them using your favourite eyeshadow primer. I used Too Faced Shadow Insurance.
3. Grabbing the brown colour (17, Espresso) from the MUFE Techicolor palette, apply this in your crease using a fluffy crease brush (I used Inglot 6ss brush)
4. With the black (04, Black) and a pencil brush (like 16P which comes with the palette), apply this in your crease creating a line. You are also going to draw a line with the black on your outer V. With your fluffy crease brush again, blend out the line ** this is very important.
5. With an eyeshadow brush, apply the cream colour (125, Yellow Beige) over the lids.
6. Grabbing the matte white (00, White) with a stiff eyeshadow brush, apply this along your brow bone and in the inner corner of your eyes to open them up.
7. Using the matte black again and an angled pencil brush, apply this along your upper lash line.
8. With a liquid black eyeliner (I used Lancome Art Liner in Noir), go over the powder black and wing it out. After, use a coat or two of mascara. For mascara, I used Lancome Hypnose Star (which is also based off 1930s Hollywood cinema).
9. For a show-stopping look, apply some false eyelashes. I used Katy Perry by Eylure lashes in Cool Kitty.
10. Moving onto the face. Apply a lighter-coloured concealer to brighten up under your eyes and along the bridge of your nose up onto your forehead. I used Make Up For Ever’s 5-color concealer palette in number two.
11. Apply a foundation primer then with a liquid foundation, apply this all over your face. I used IT Cosmetics IT-O2 Ultra Repair Liquid Oxygen Foundation in Light. To set the foundation (and to add an airbrushed look), I applied Make Up For Ever Pro Finish powder over top (I wear the shade 115).
12. For this look you want a deep contour. Grab a bronzer and really concentrate the product on the hollows of your cheekbones for a defined look. I used Smashbox Bronze Lights bronzer in Suntan Matte. After, apply a mauve-coloured blush (I used a Pandora’s Box blush in St. Tropez – not shown, sorry!).
13. Moving back to the eyes, apply the matte brown colour along your lower lash line using the 16P brush that comes with the palette.
14. Line your waterline using a black eyeliner. I used Make Up For Ever Aqua Eyes in black.
15. Finally, finish off the look with some mascara along your bottom lashes. I used Stila Forever My Curl mascara.
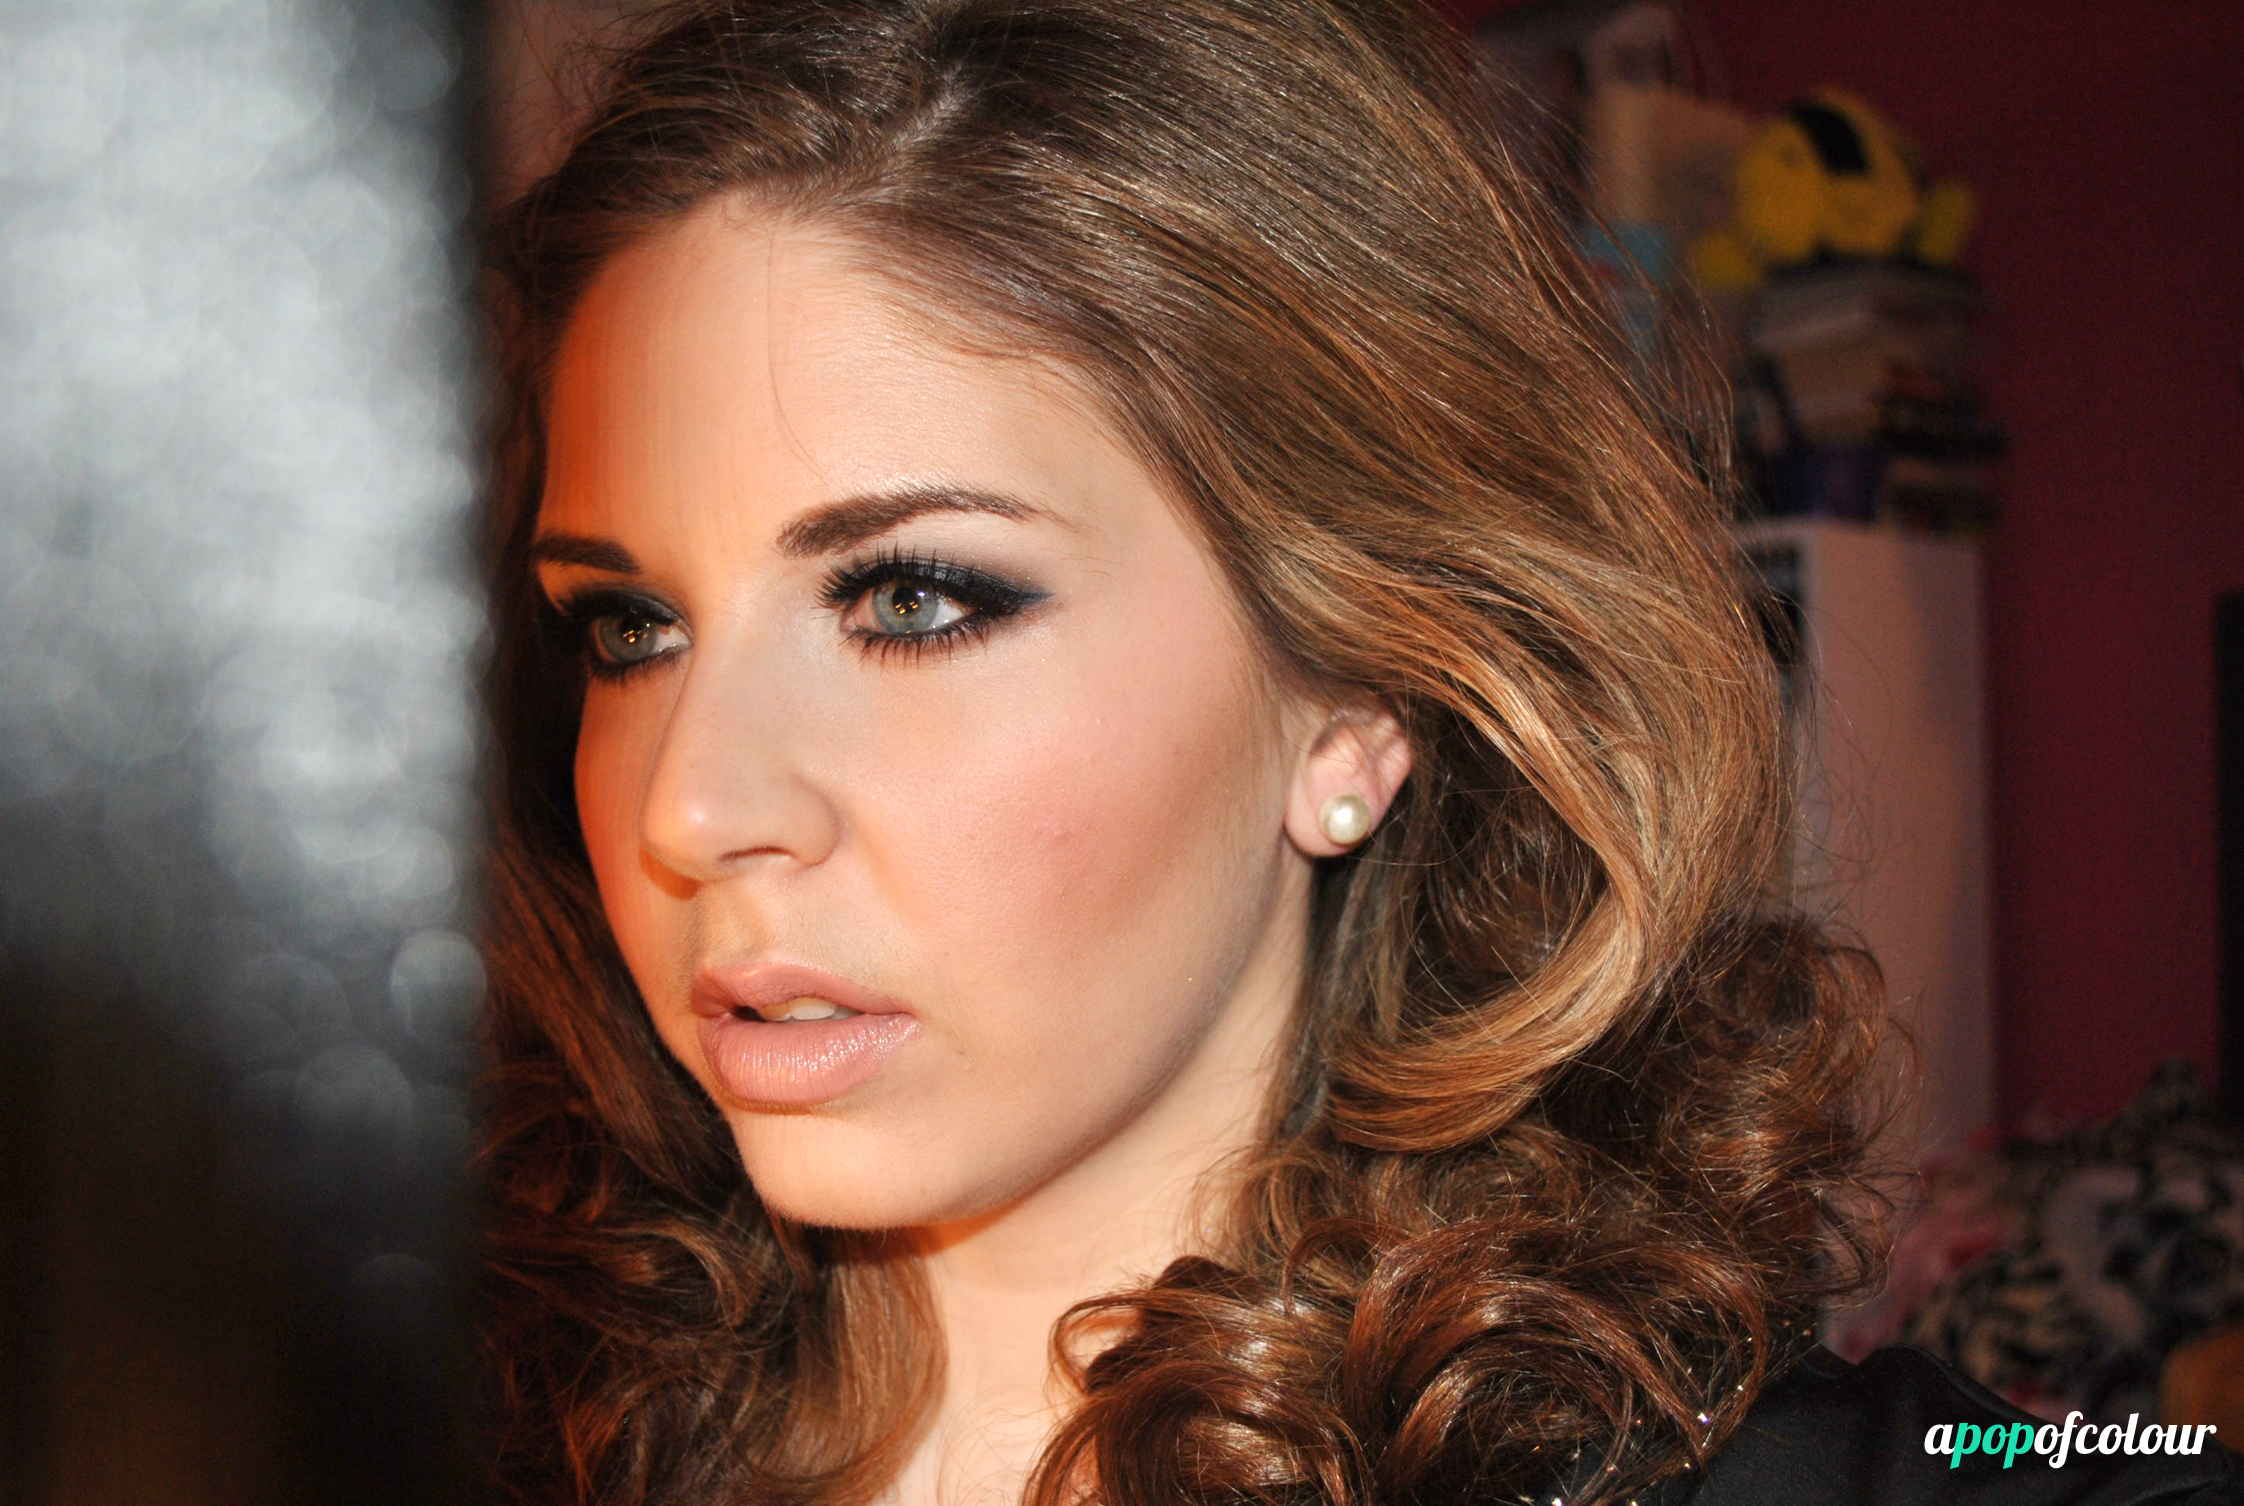
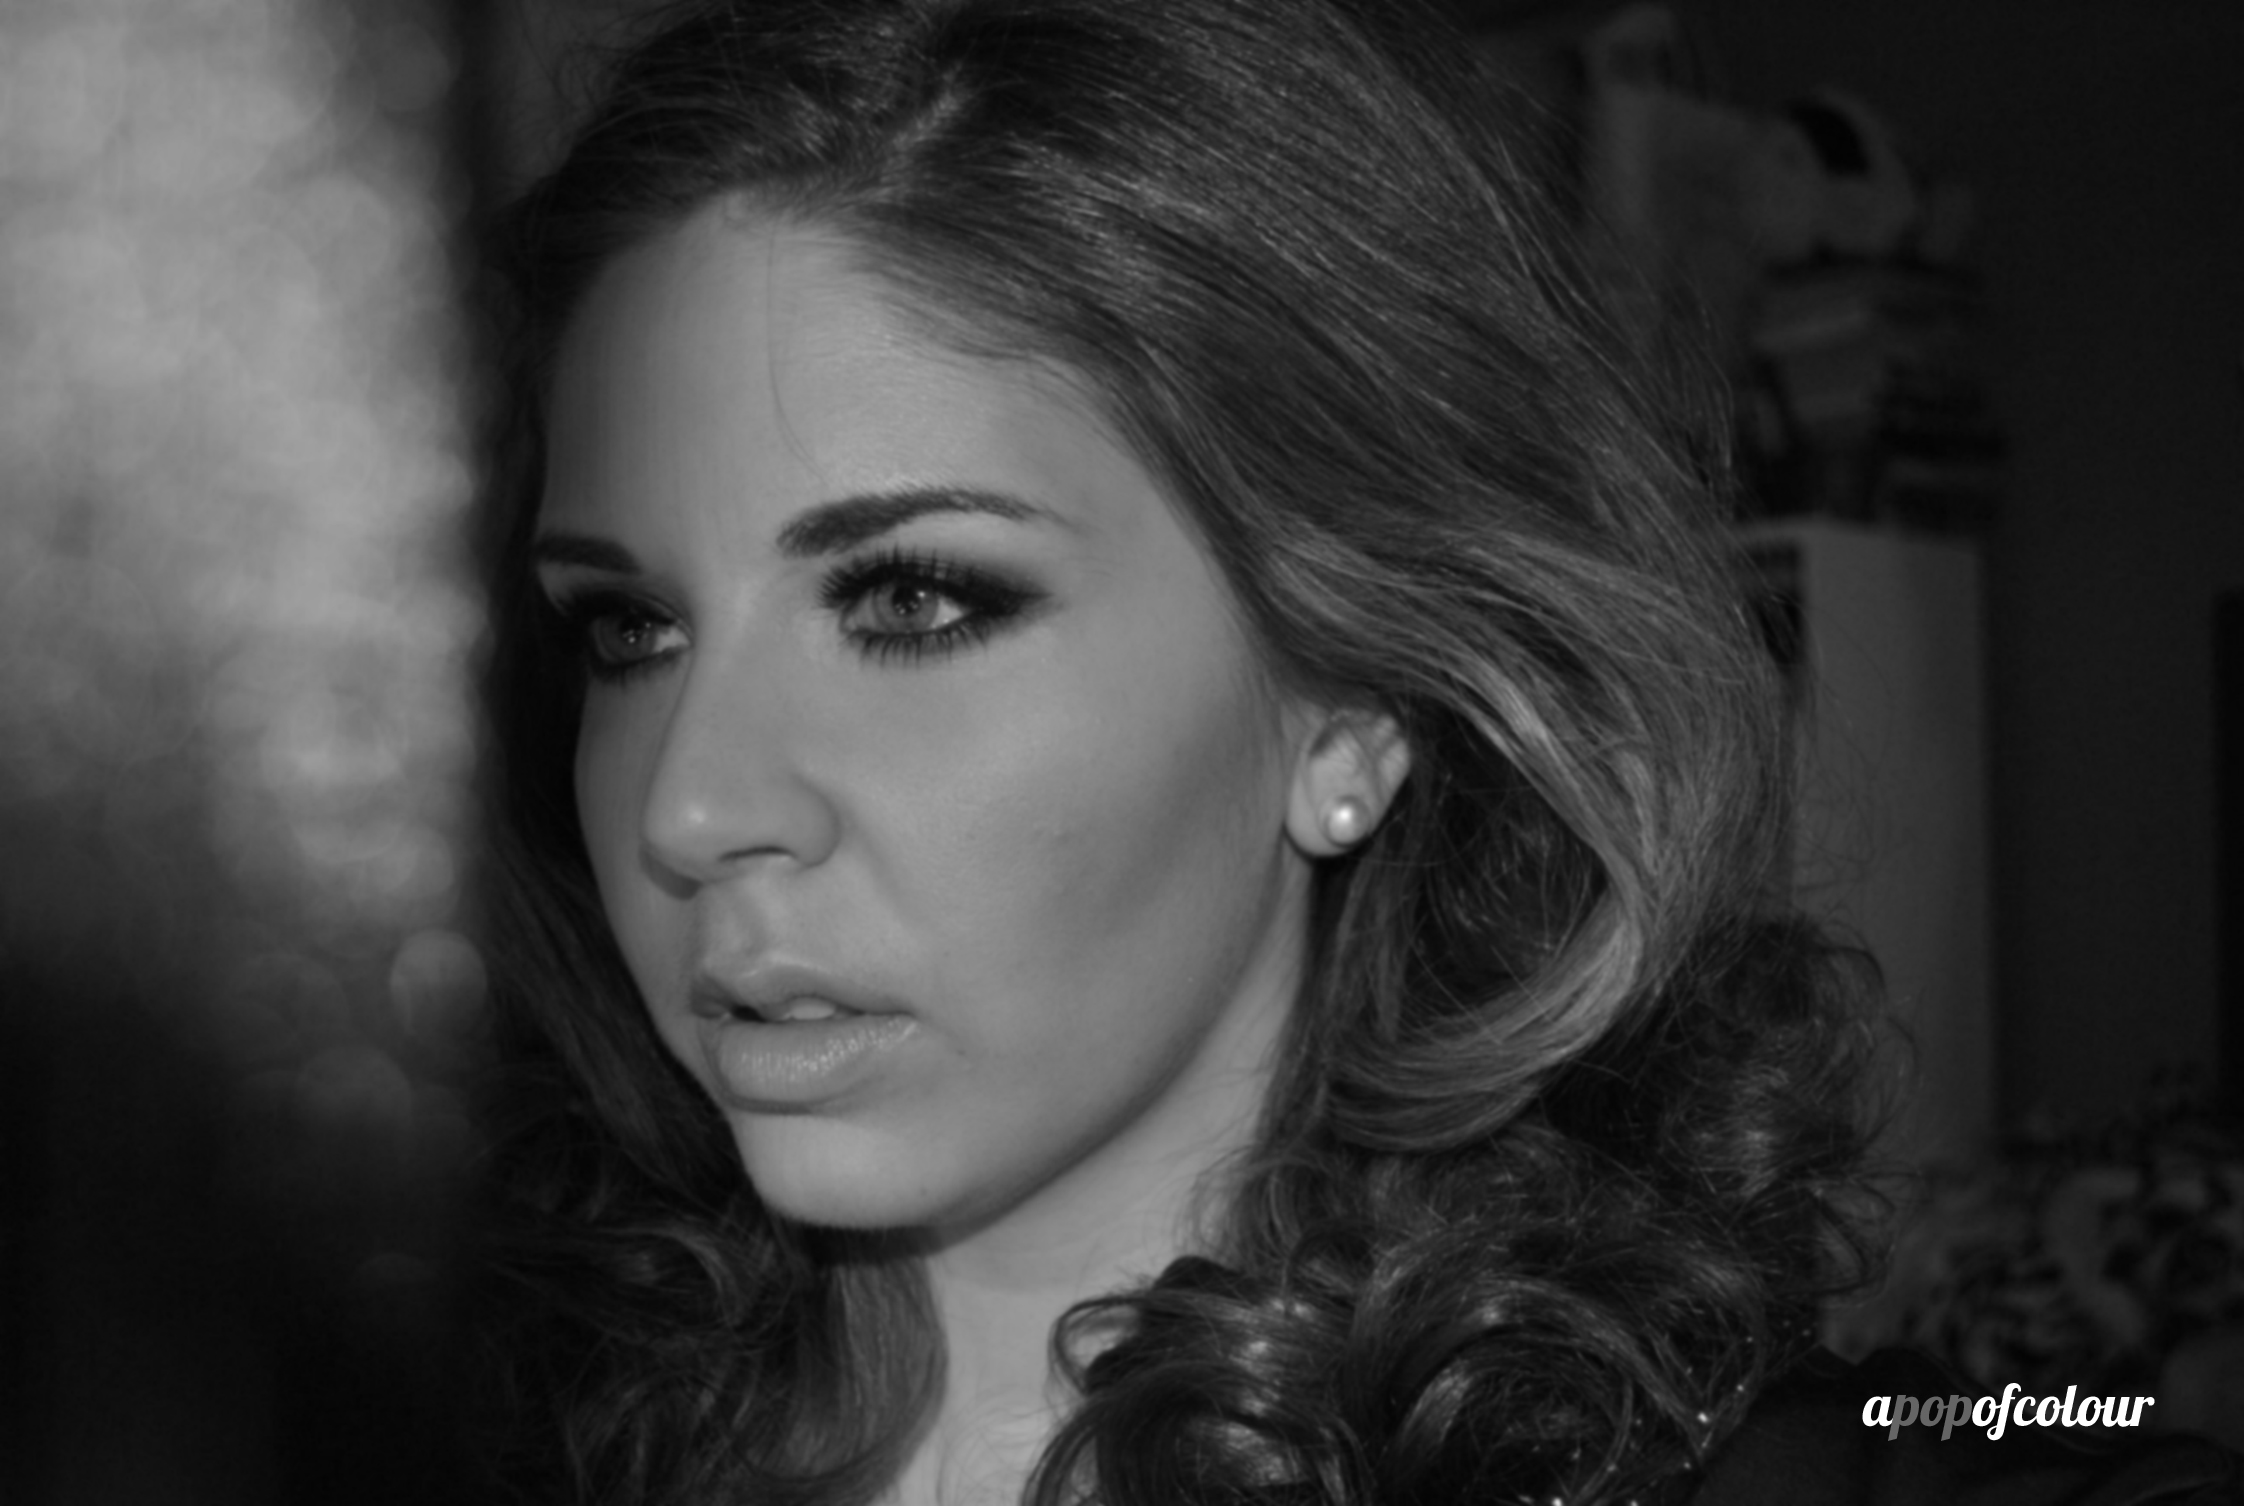
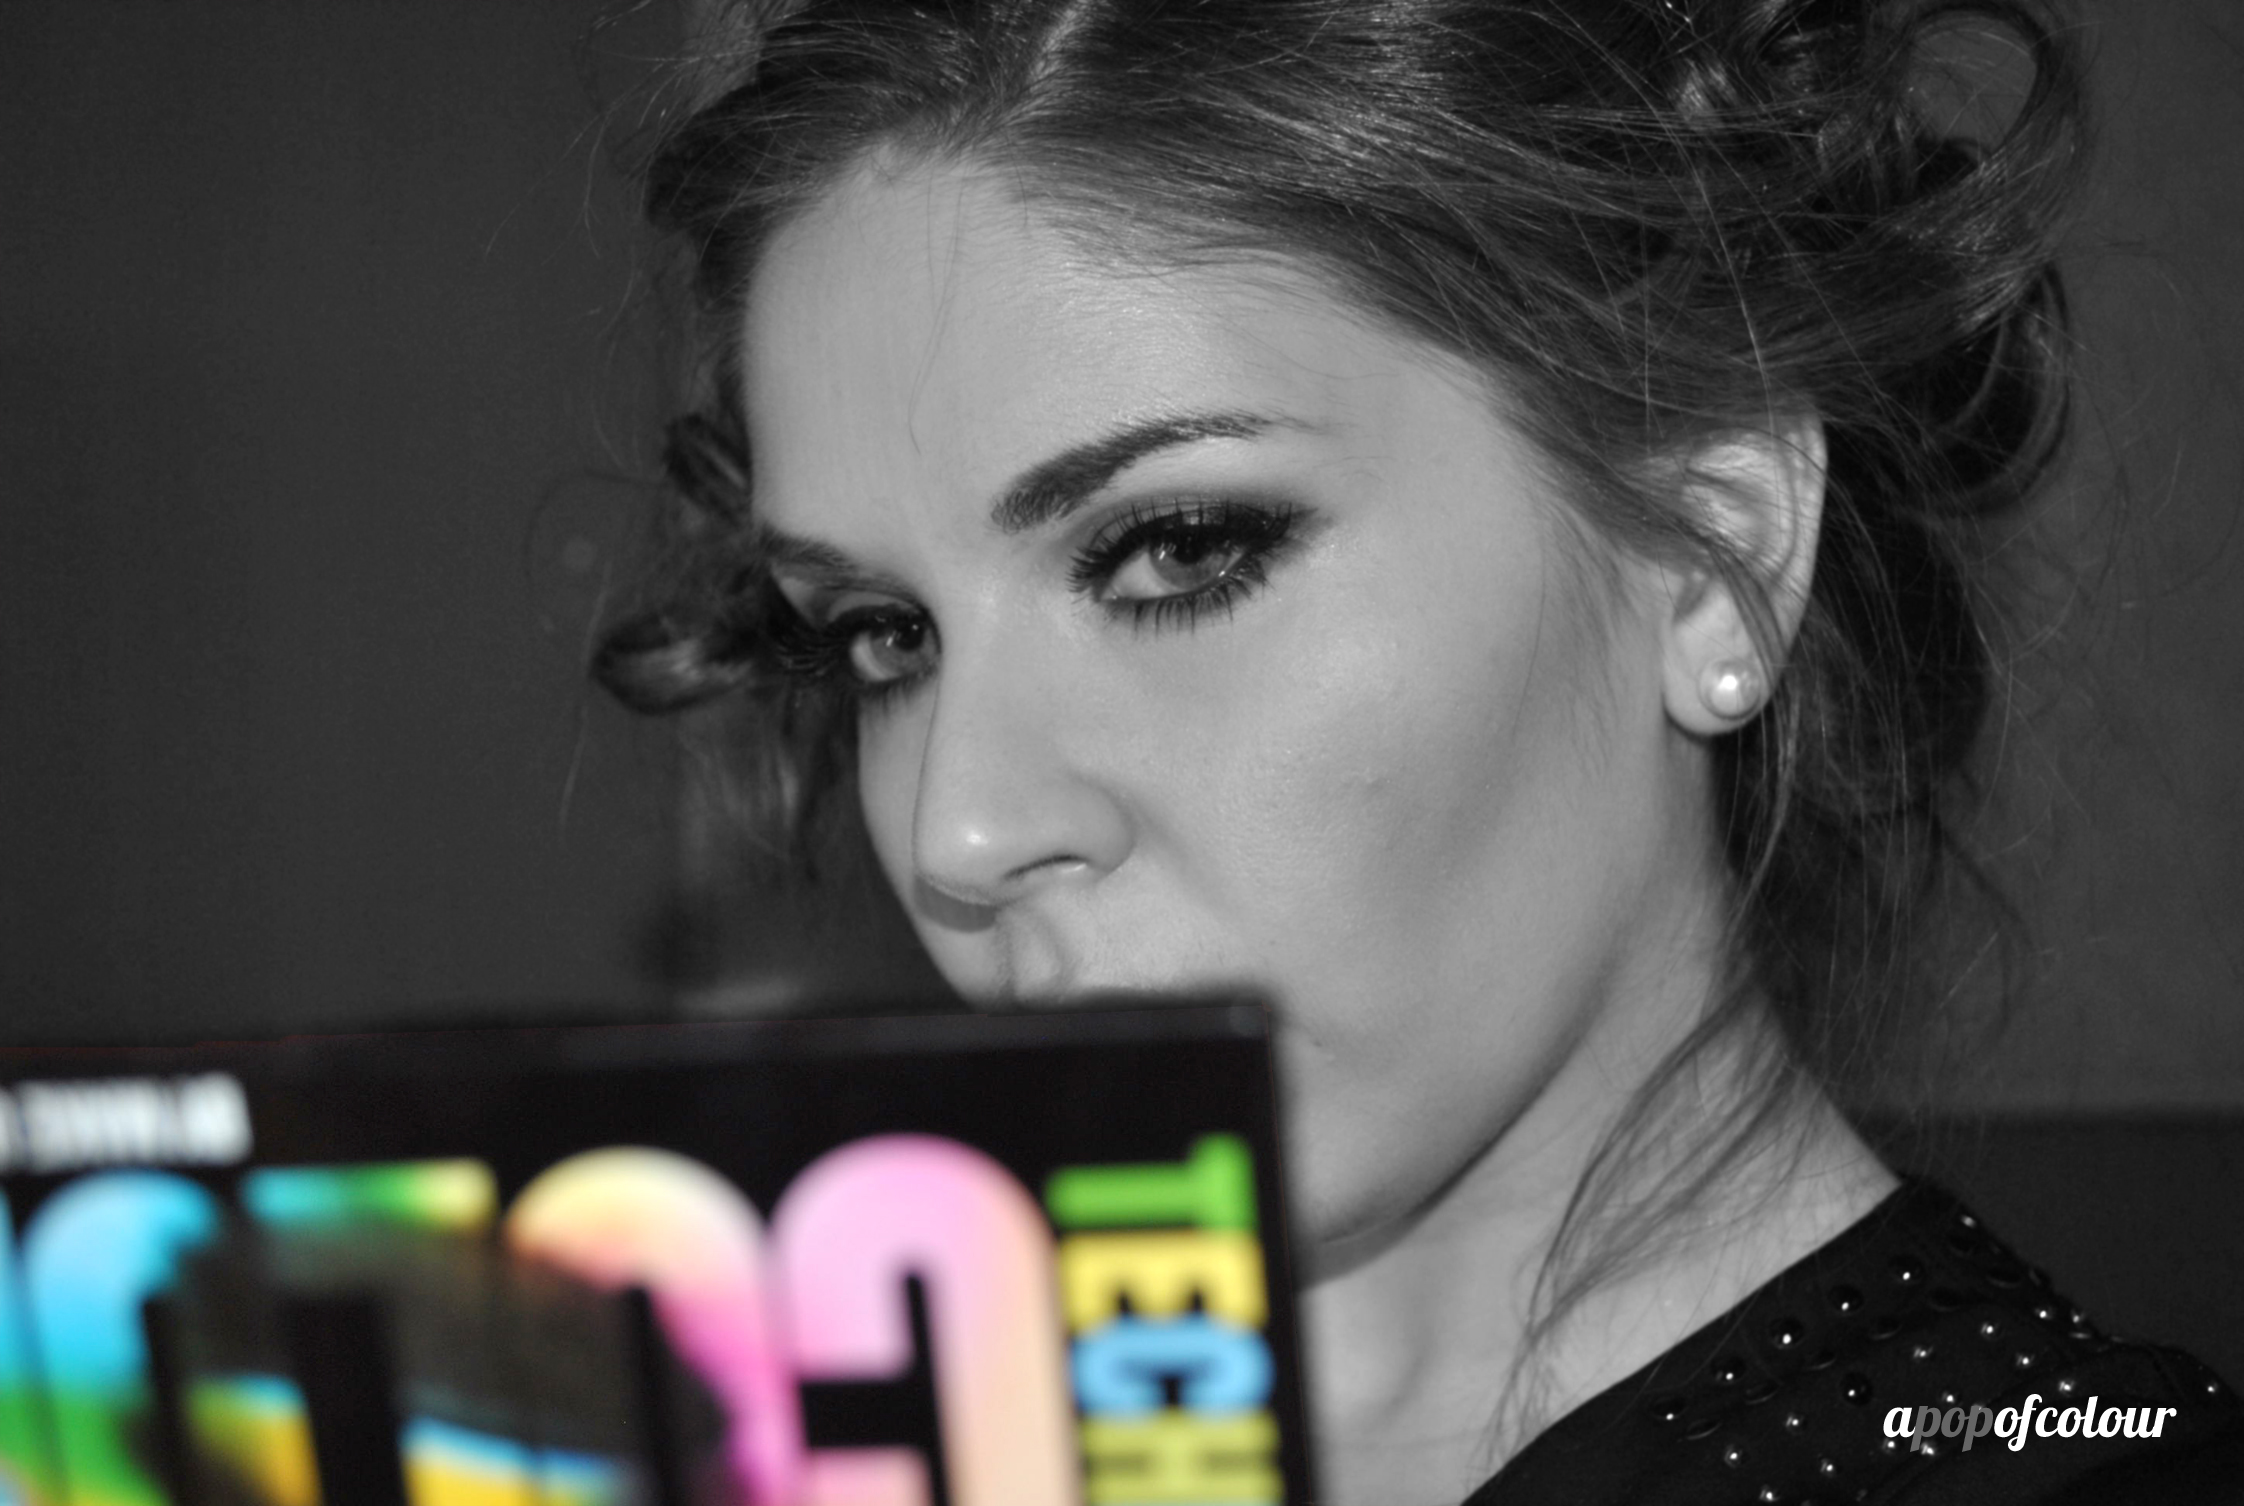
Here is the finished look in both colour and black and white. For the lips I chose to go with MAC’s Blankety, a brown neutral. You could also go with a red or purple shade, especially if you are rocking this look in black and white photos.
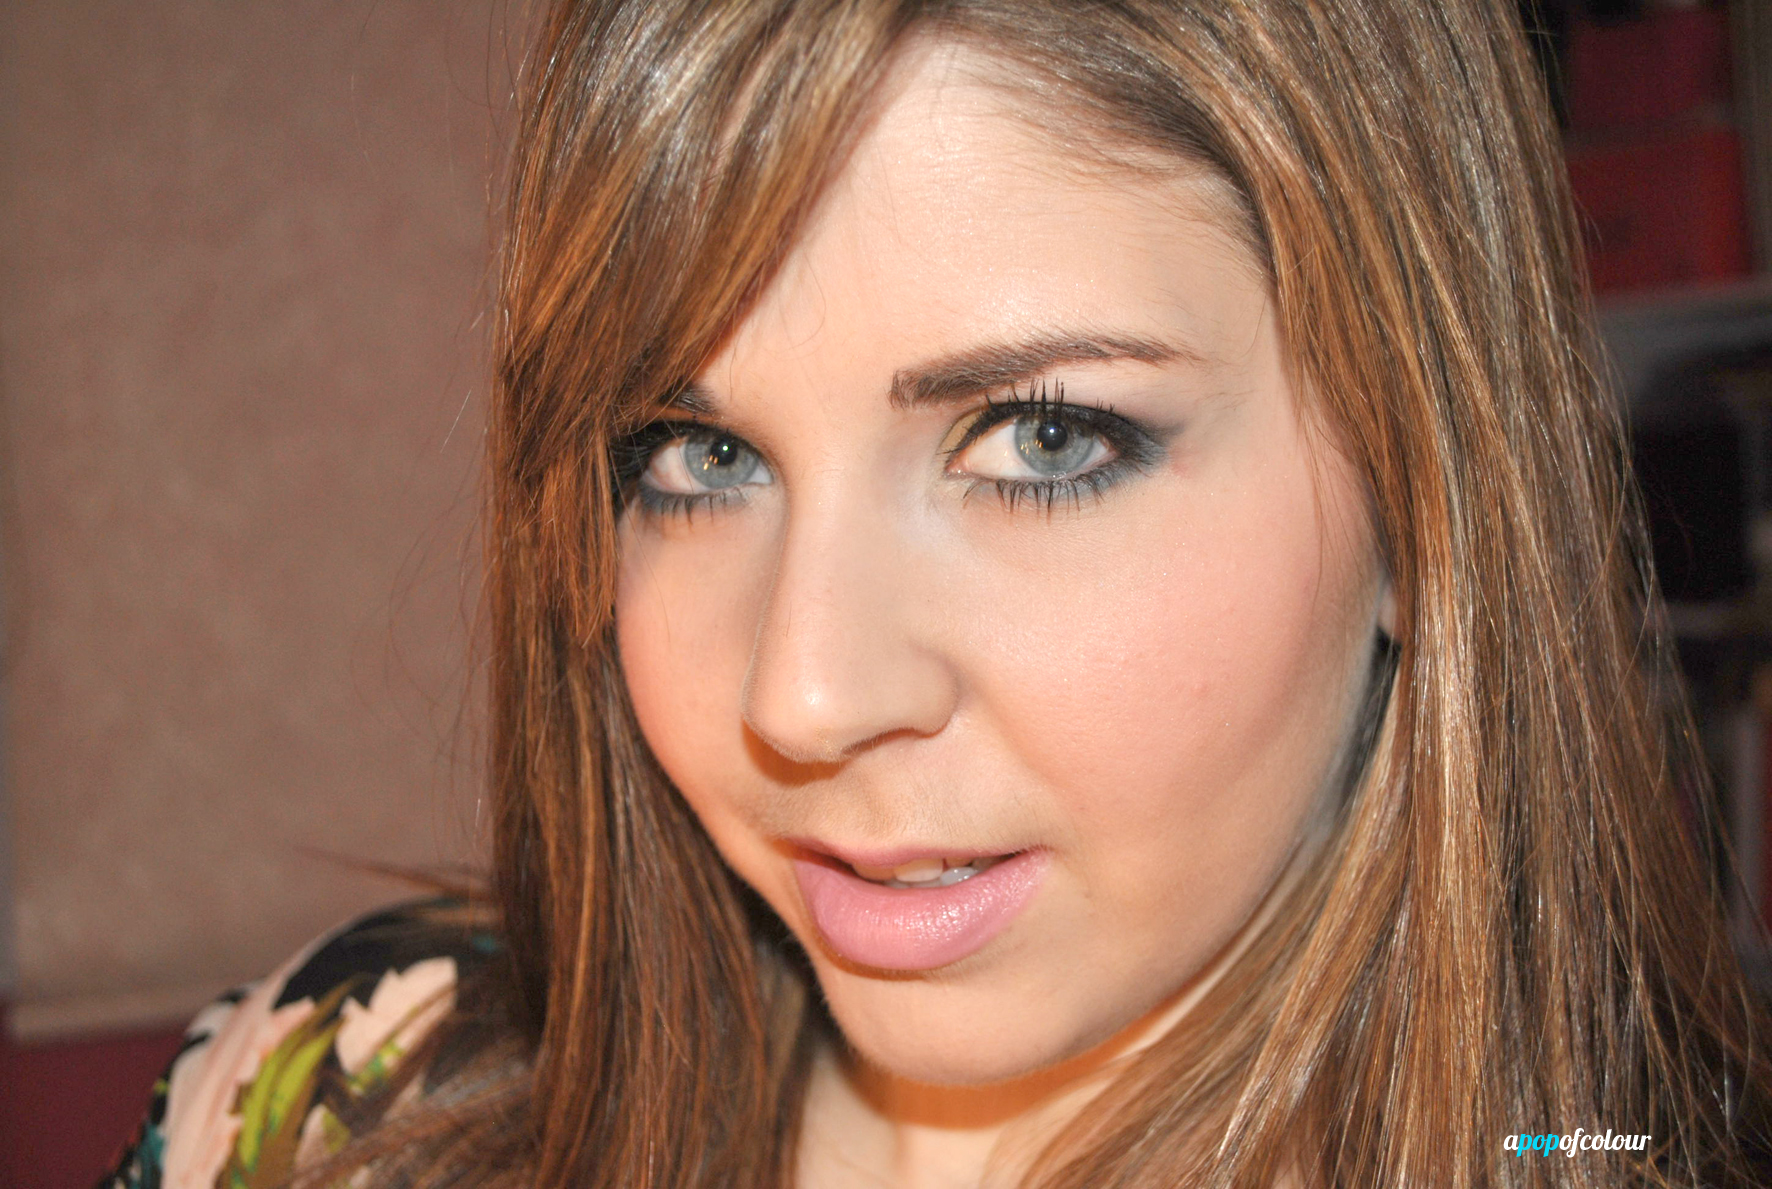
Colour flash
For the colour look I wanted to do something more wearable. You can definitely go crazy with this palette, but really, how many times are you gonna rock rainbow lids?
Here are the steps to create this look:
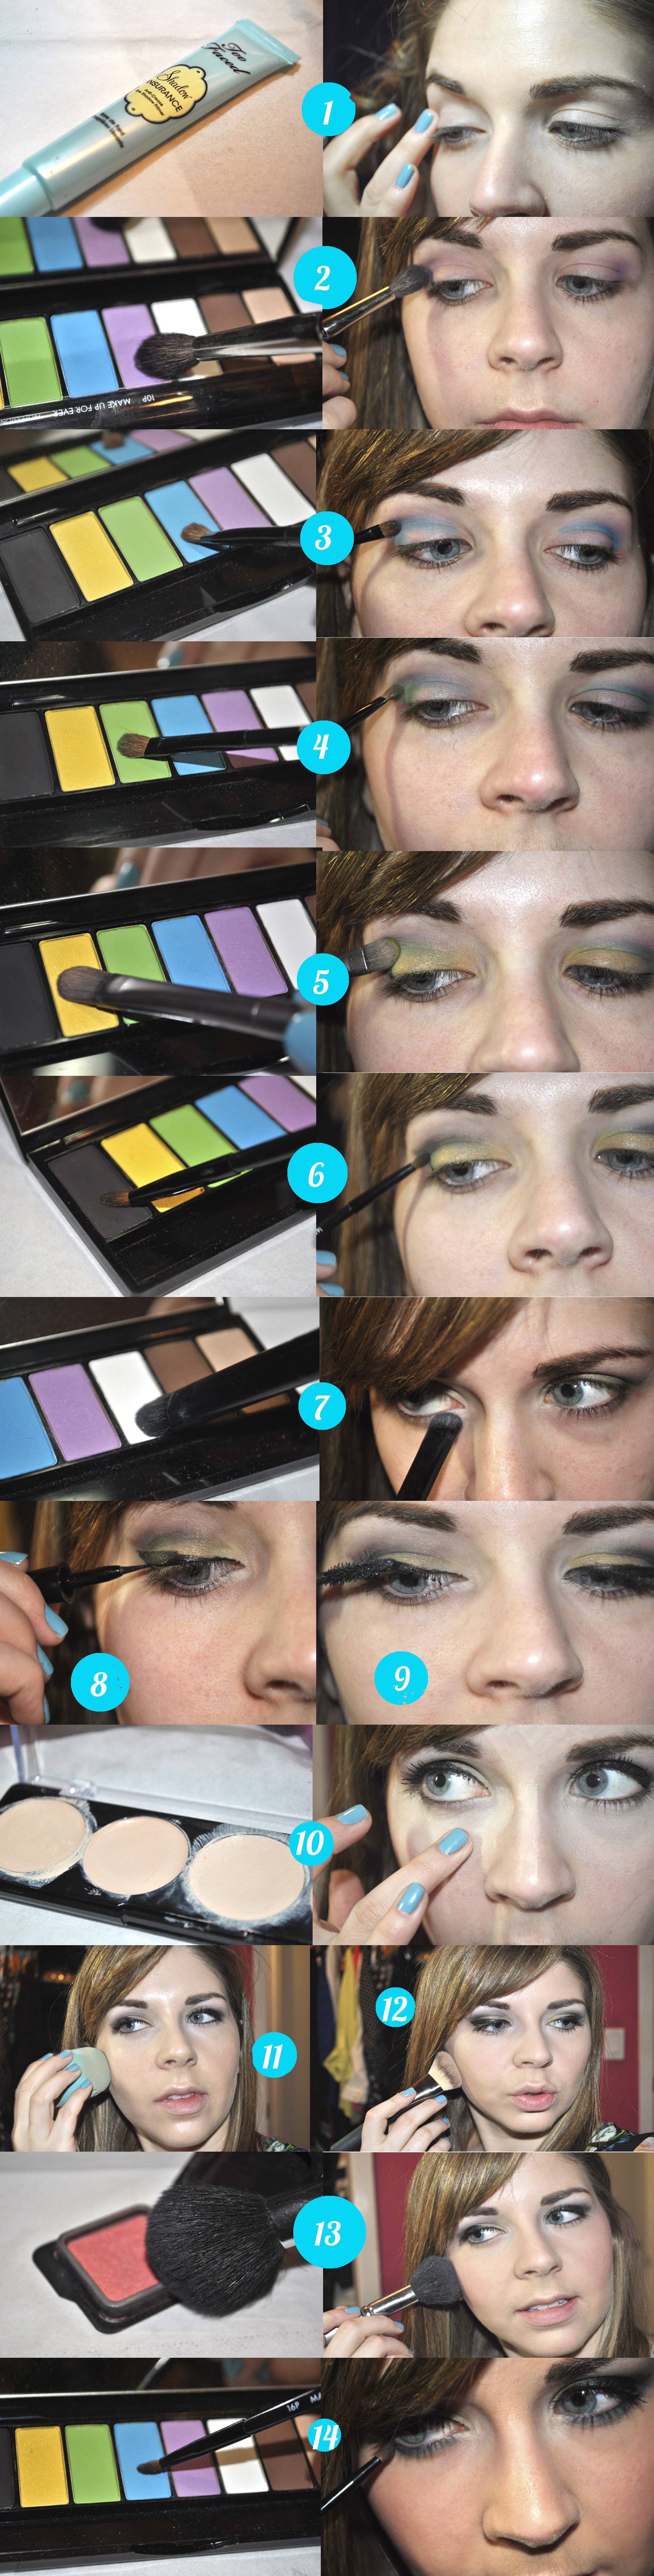
1. Prime your eyelids with an eyeshadow primer. I used Too Faced Shadow Insurance.
2. With the purple colour (116, Lilac) and a fluffy crease brush, apply this along your crease lightly.
3. With the flat brush that comes with the kit (10P), grab the blue colour (72, Turquoise) and pat this on your crease. With your crease brush, blend it out.
4. Using the 10P brush again, apply the green (91, Apple Green) colour along your outer V and blend.
5. With a flat shader brush (mine is the Urban Decay one that comes with the Naked one palette), pat on the yellow colour (Yellow) along your eyelid.
6. Working along the outer V again, grab the black (04, Black) along the tapered brush that comes with the kit (16P), and apply the colour. Blend it out.
7. Grab the white colour (00 White) and apply this in both the inner corners of your eyes and along your brow bone.
8. With a liquid liner, apply this along your upper lash line, making a harsh wing. I used Lancome Art Liner in Noir.
9. Curl your lashes and apply mascara. I used Lancome Hypnose Star.
10. Moving onto the face, apply concealer underneath your eyes, along the bridge of your nose, and onto your forehead. I used Make Up For Ever’s 5-color Camoflage palette in number two.
11. Apply your favourite foundation. I used IT Cosmetics IT-O2 Ultra Repair Liquid Oxygen Foundation in Light. To set the foundation (and to add an airbrushed look), I applied Make Up For Ever Pro Finish powder over top (I wear the shade 115).
12. With a bronzer, contour your cheekbones and bring the colour up to your temples. I used Smashbox Bronze Lights bronzer in Suntan Matte.
13. Apply a coral-coloured blush on the apples of your cheeks. I used Benefit’s Bella Bamba blush.
14. To finish up the look, grab the turquoise colour again, and with the 16P brush, line your lower lash line. Finally, apply mascara to your lower lashes to finish up the look.
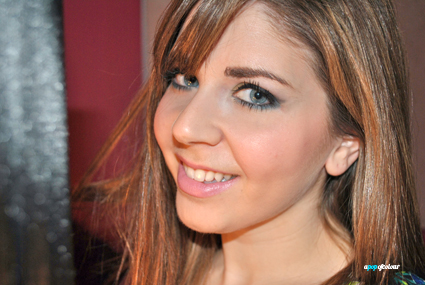
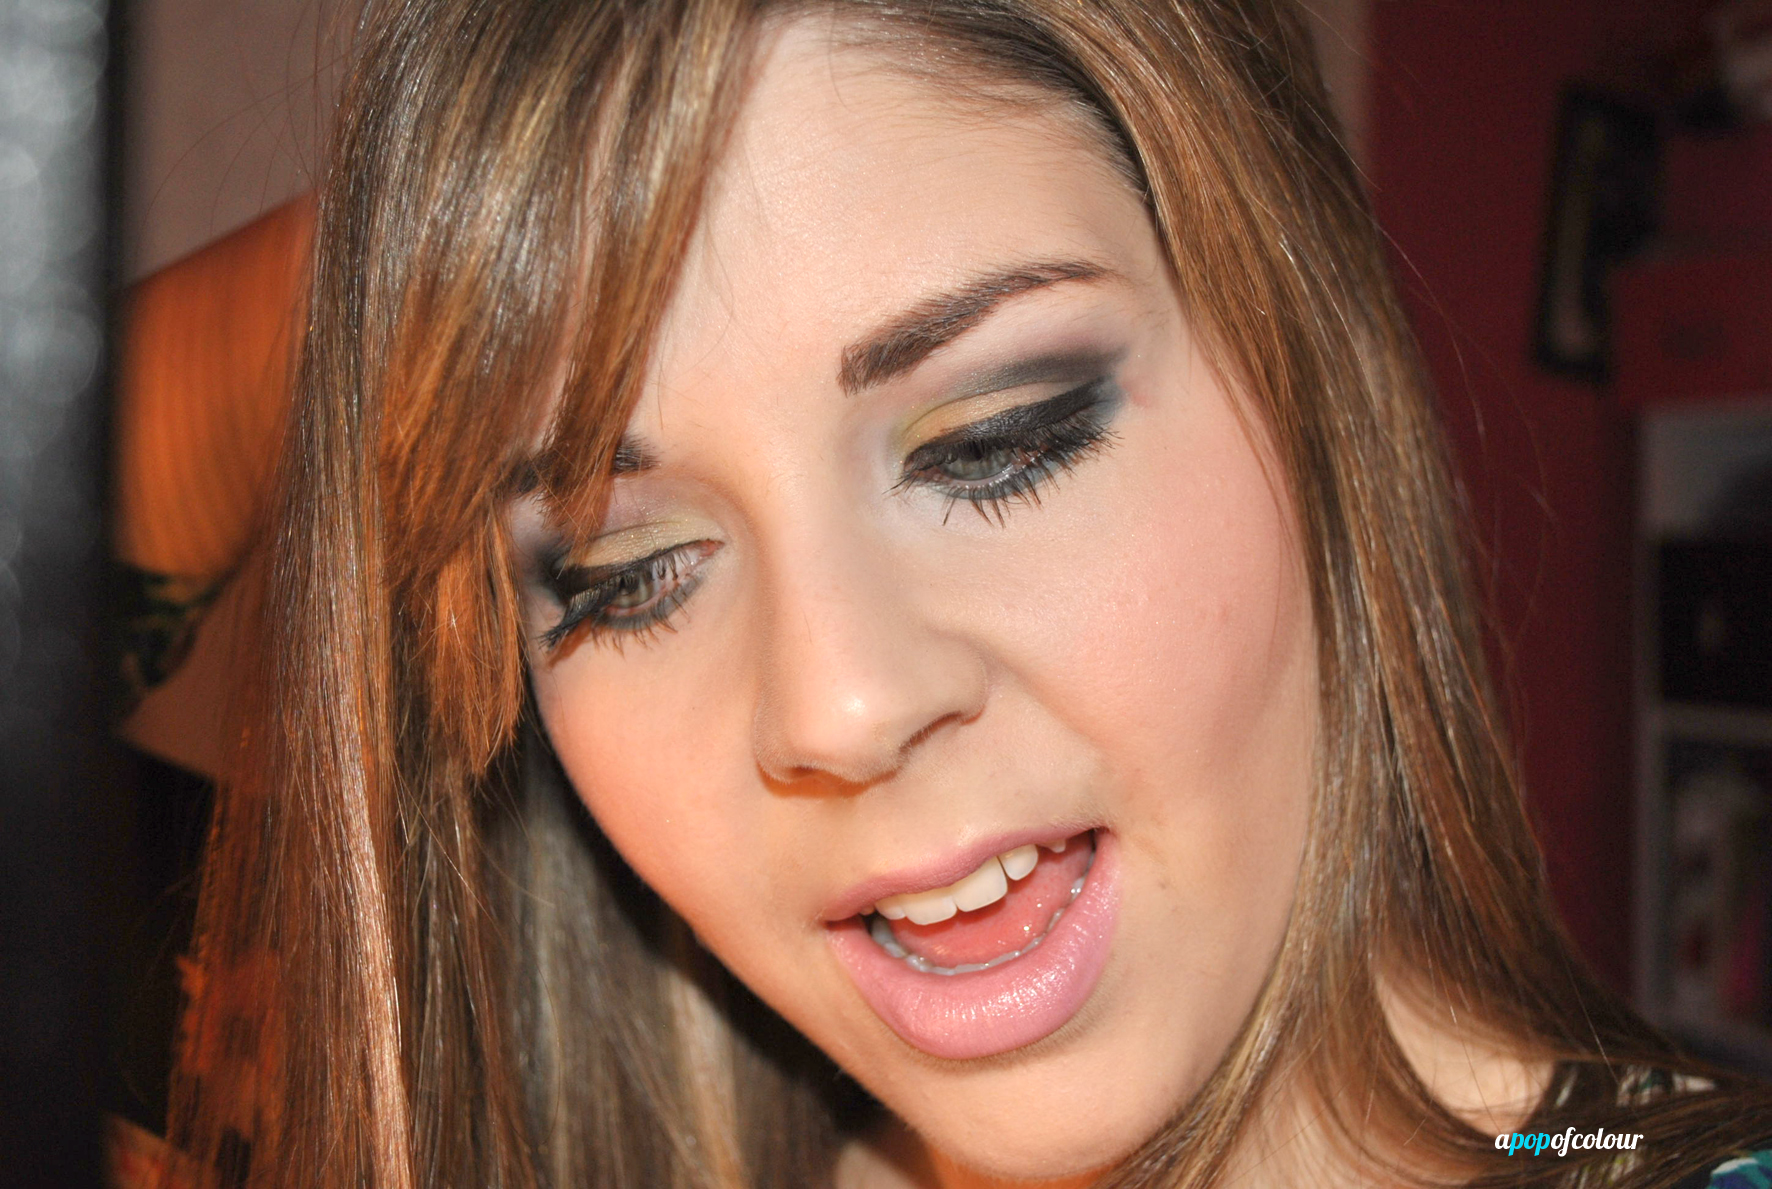
Colour can be a little daring, but I really like how toned down this look turned out. For the lips I applied MAC Kissable Lip Colour in Enchantee, which was limited edition, however any blush or baby pink works. You could also sport a nude colour and pop on some flash lashes for an editorial look.
I am super impressed with this palette. I wouldn’t normally reach for wild colours, but it’s been so fun to mix and match and create combos that are not only wearable, but fun to rock.
The Make Up For Ever Technicolor palette (C$50 at Sephora), is not for the faint of heart, and although the fun colours may be a bit too bold for some, the neutrals in this palette are amazing in every sense. If you are too scared to wear colours, sometimes you just gotta tell yourself, “frankly my dear, I just don’t give a damn” (sorry, I just had to).
Have you tried the Make Up For Ever Technicolor palette?
Please note I was sent this palette for review purposes. All opinions are my own.
Like what you read? Check out these related posts:
- Bright and bold with Make Up For Ever
- St Tropez: Bronze meets turquoise
- My picks for summer 2012: face, body, hair… and dog?
- Beach sexy