I’ve said it before and I’ll say it again, I’m a bit of a nail polish snob. My collection mostly consists of department store or salon polishes but I have a few drugstore ones thrown in there as well.
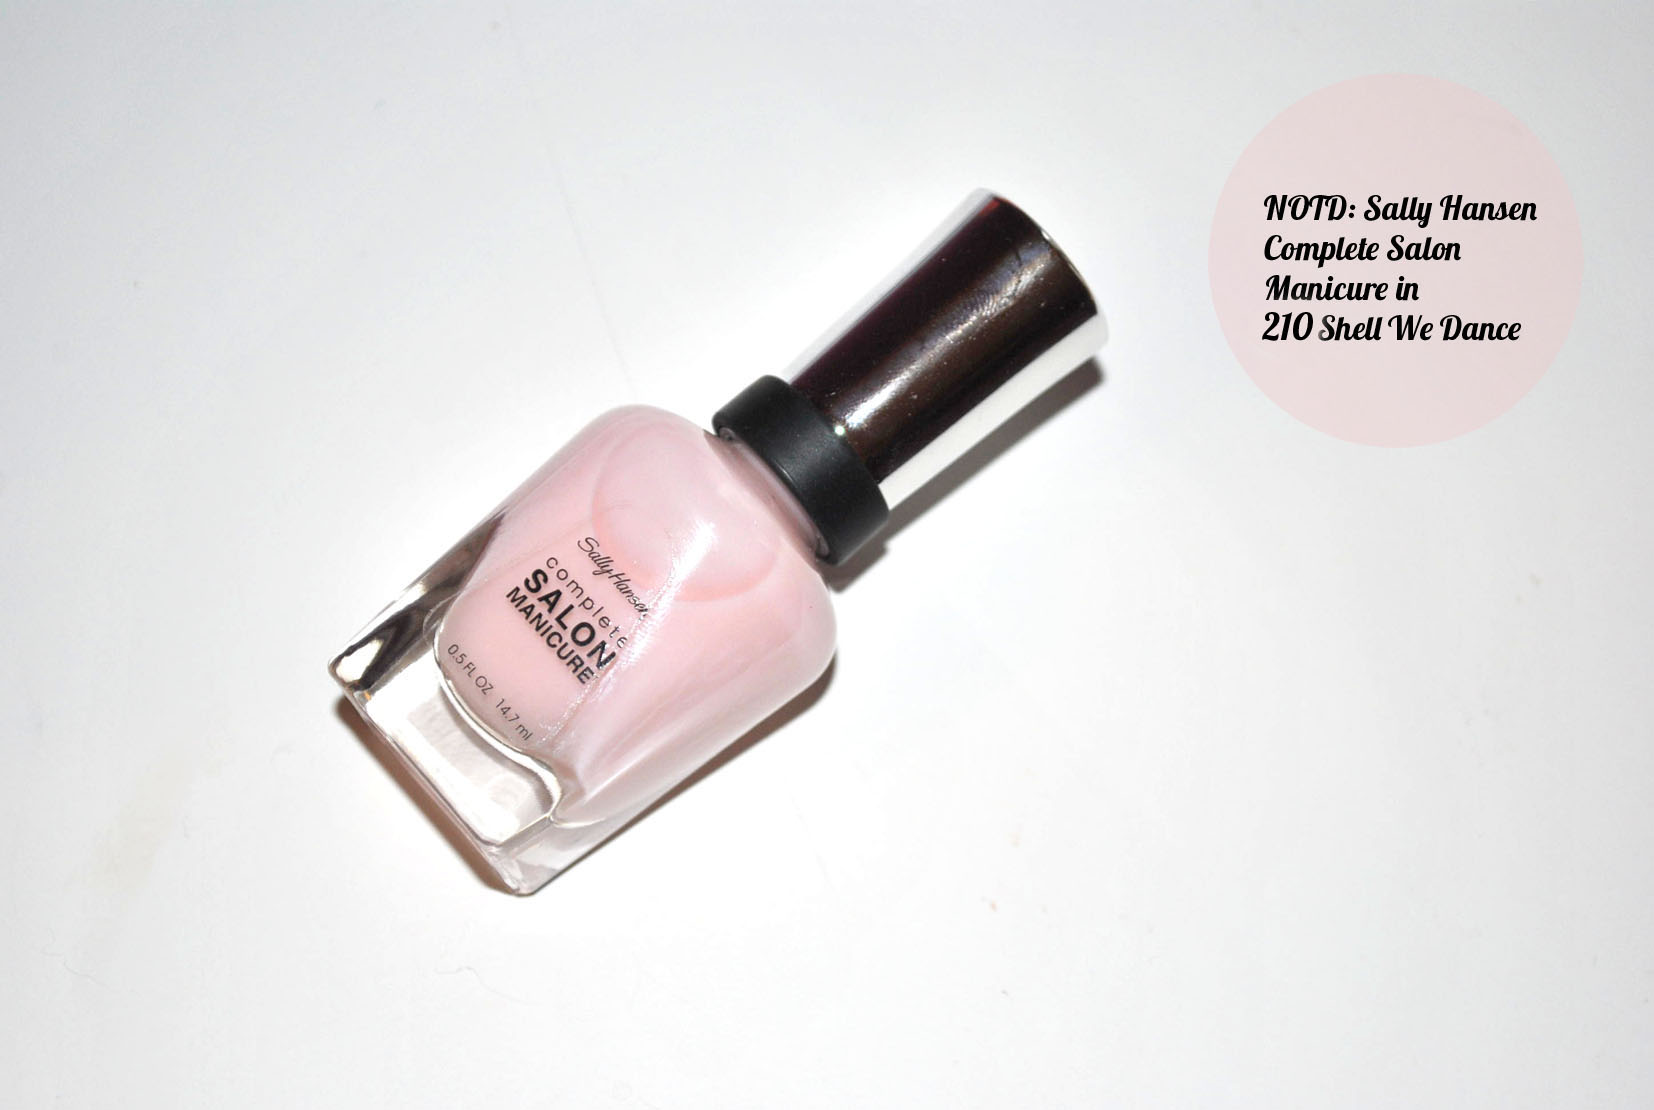
I’m not sure why I don’t grab drugstore polishes more often, because honestly, the ones I have tried I have loved. This includes Sally Hansen’s Complete Salon Manicure line (C$8.95). I have tried other Sally Hansen formulations in the past and loved the finish and this line is no different.
The Sally Hansen Complete Salon Manicure actually recently redid their formulation and performs an additional two steps for a professional, flawless manicure. The improved formula provides excellent strength, longer wear, and extended shine for up to a 10-day period. The polish preps, treats, and finishes nails and acts as a base coat, a strengthener, a growth treatment, a top coat, has high-intensity colour, and is chip resistant , all while providing a gel-like shine.


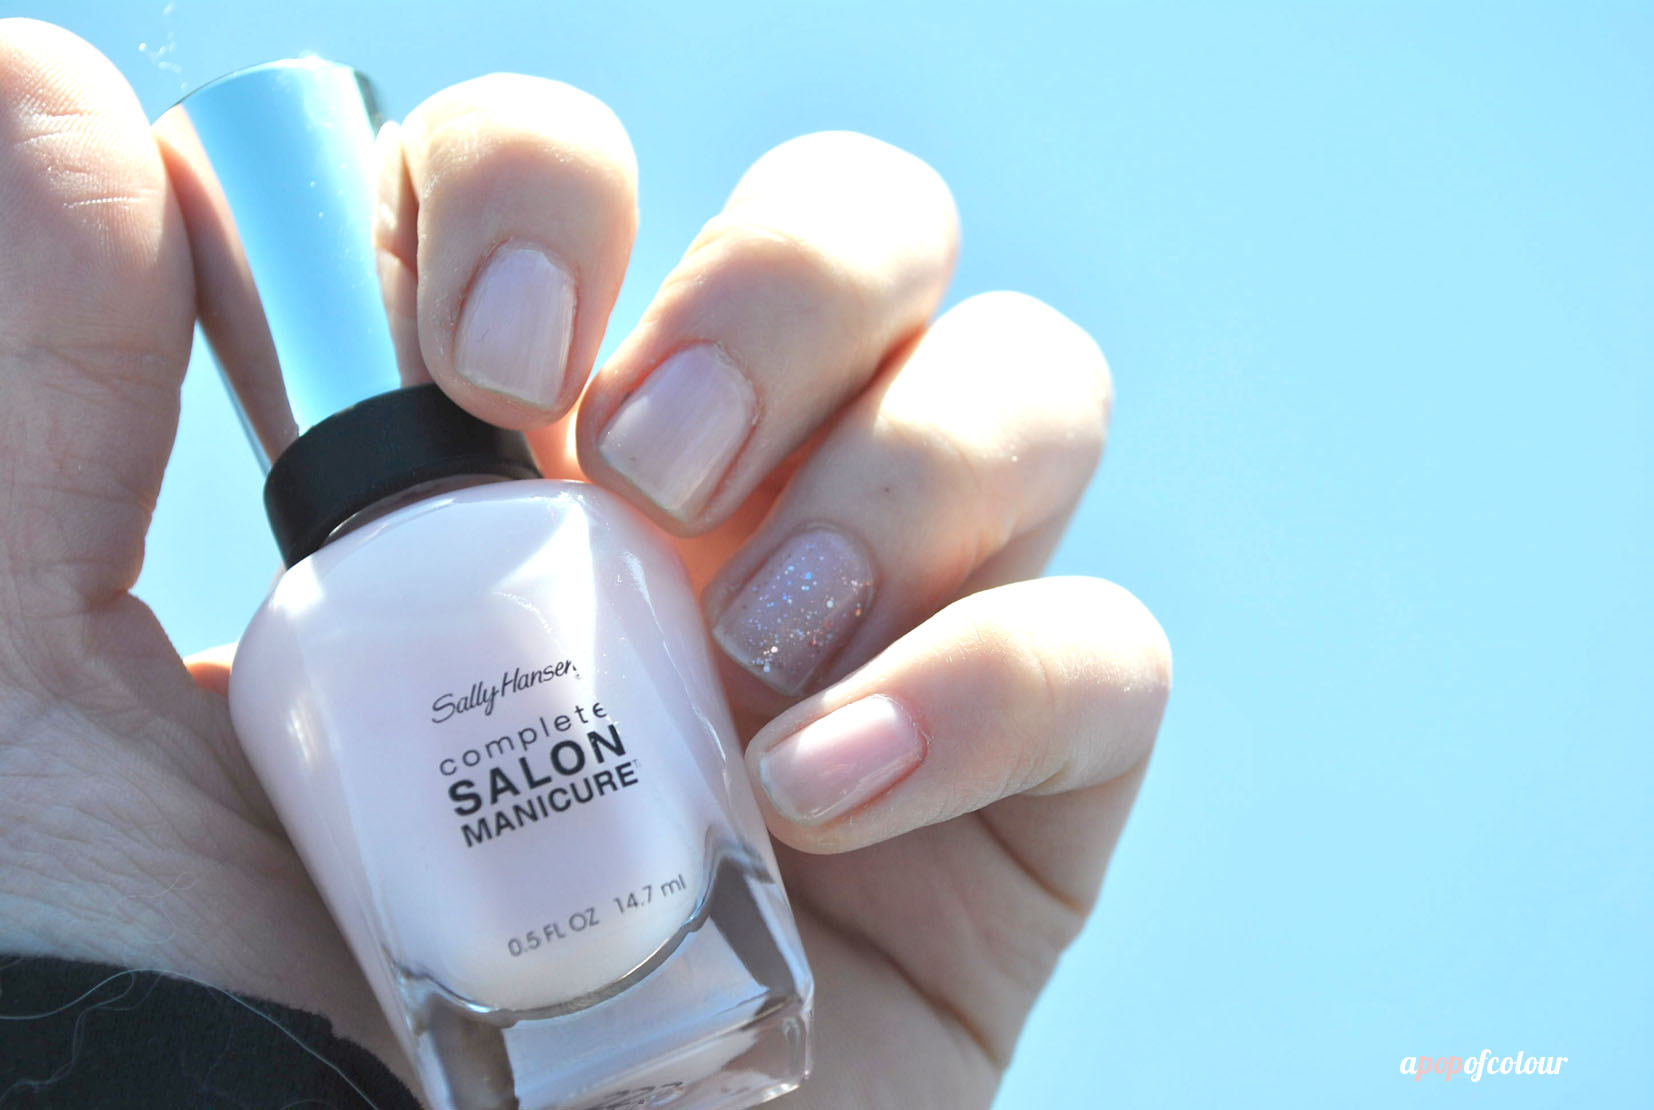
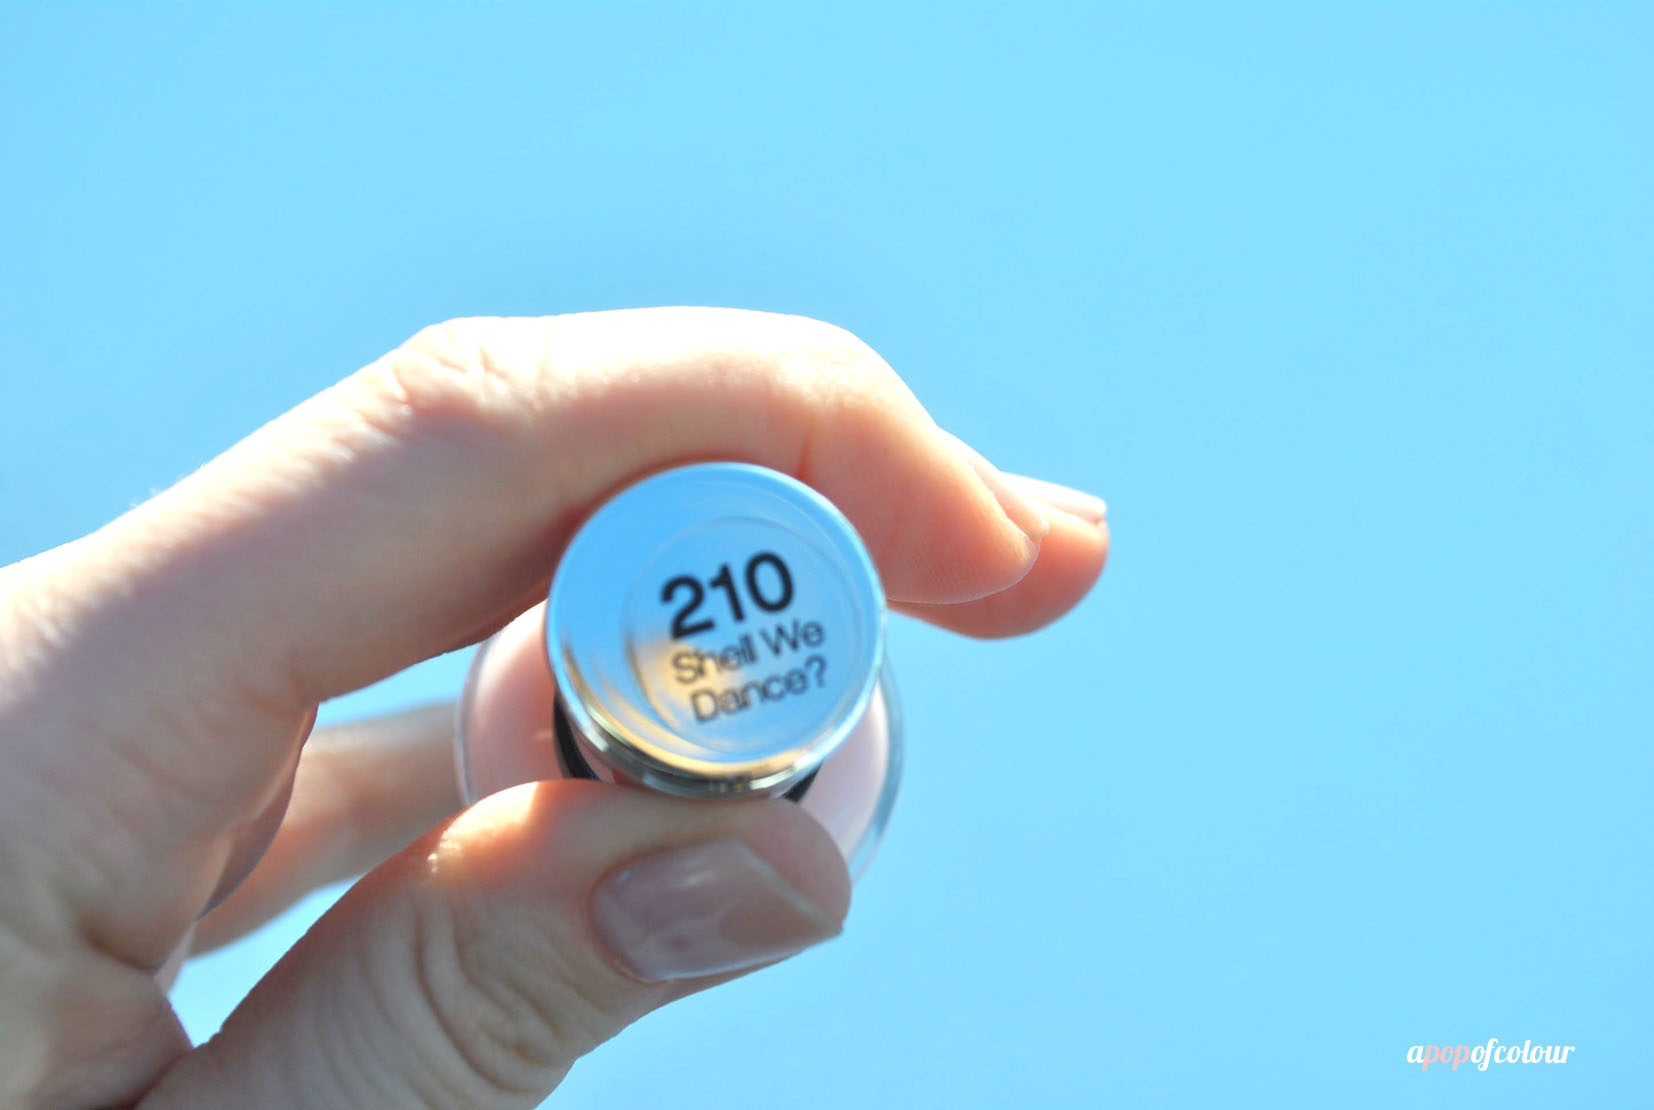
I did receive a few different spring shades from the line (there are 37 shades to choose from) and fell in love with Shell We Dance? at first glance. Shell We Dance? is like a soft, bridal pink that is so clean and subtle on the nails that it’s barely recognizable. I have to admit the colour is quite sheer, so I did have to use three coats and even then you can see my nails through it. I kind of like the sheerness of the polish though, because my nails just look so clean and fresh.
Although this polish does act as a base and top coat, I did use my standard routine of OPI Nail Envy as a base and then Poshe top coat to finish off my manicure. Sally Hansen was not lying when they say that it gives you a gel-like finish. I look like I’m wearing Shellac and it kind of feels like it too.
As for wearability, this polish did last a while on my nails before chipping. The formulation is a lot thicker than others out I have tried from any brand. Even the brush was different; the wand is flat so I found that it actually helped apply the colour better.

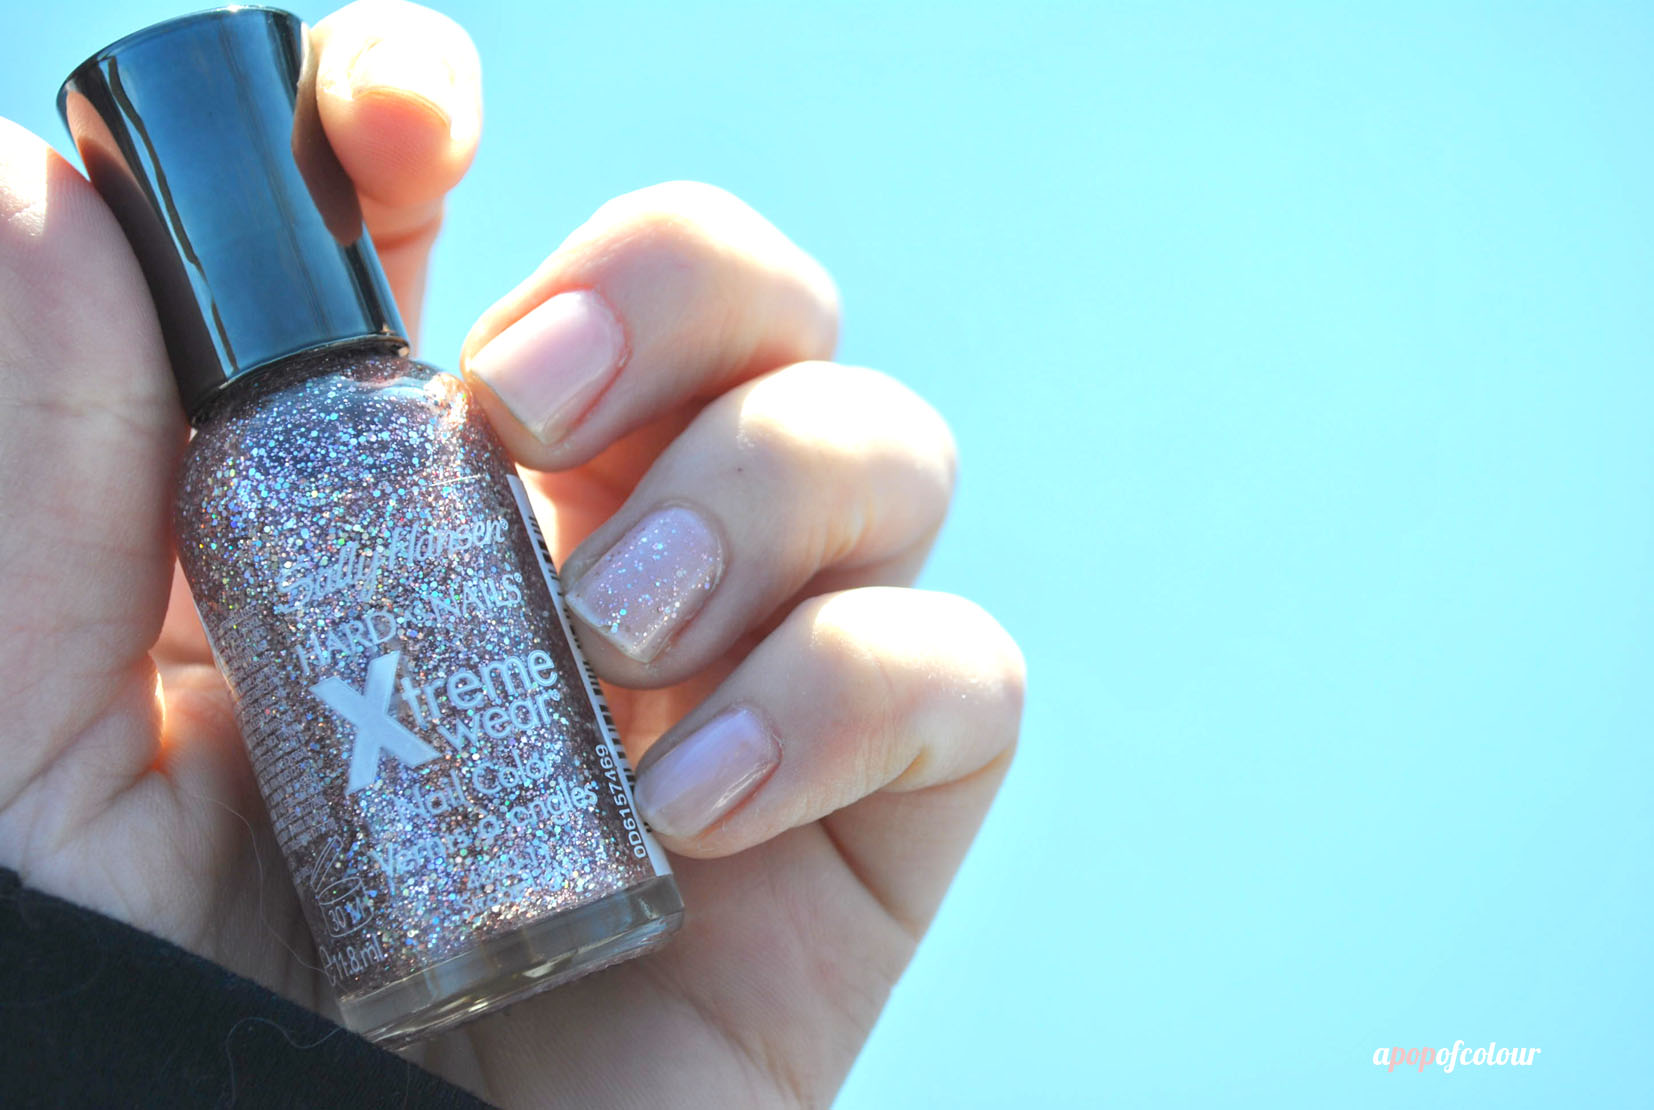
If you are looking for a subtle pink, this is it. The colour is perfect for the office or a wedding, or if you feel like wearing nail polish but not a noticeable colour. I also want to add that I spiced up my mani by painting my ring fingers with Sally Hansen Hard as Nails Xtreme Wear in Strobe Light, a pink glitter polish which adds a bit of flair to the whole look.
Have you tried Sally Hansen Complete Salon Manicure in Shell We Dance?
Please note that I was sent this product for review purposes, however, all opinions are my own.
Like what you read? Check out these related posts:


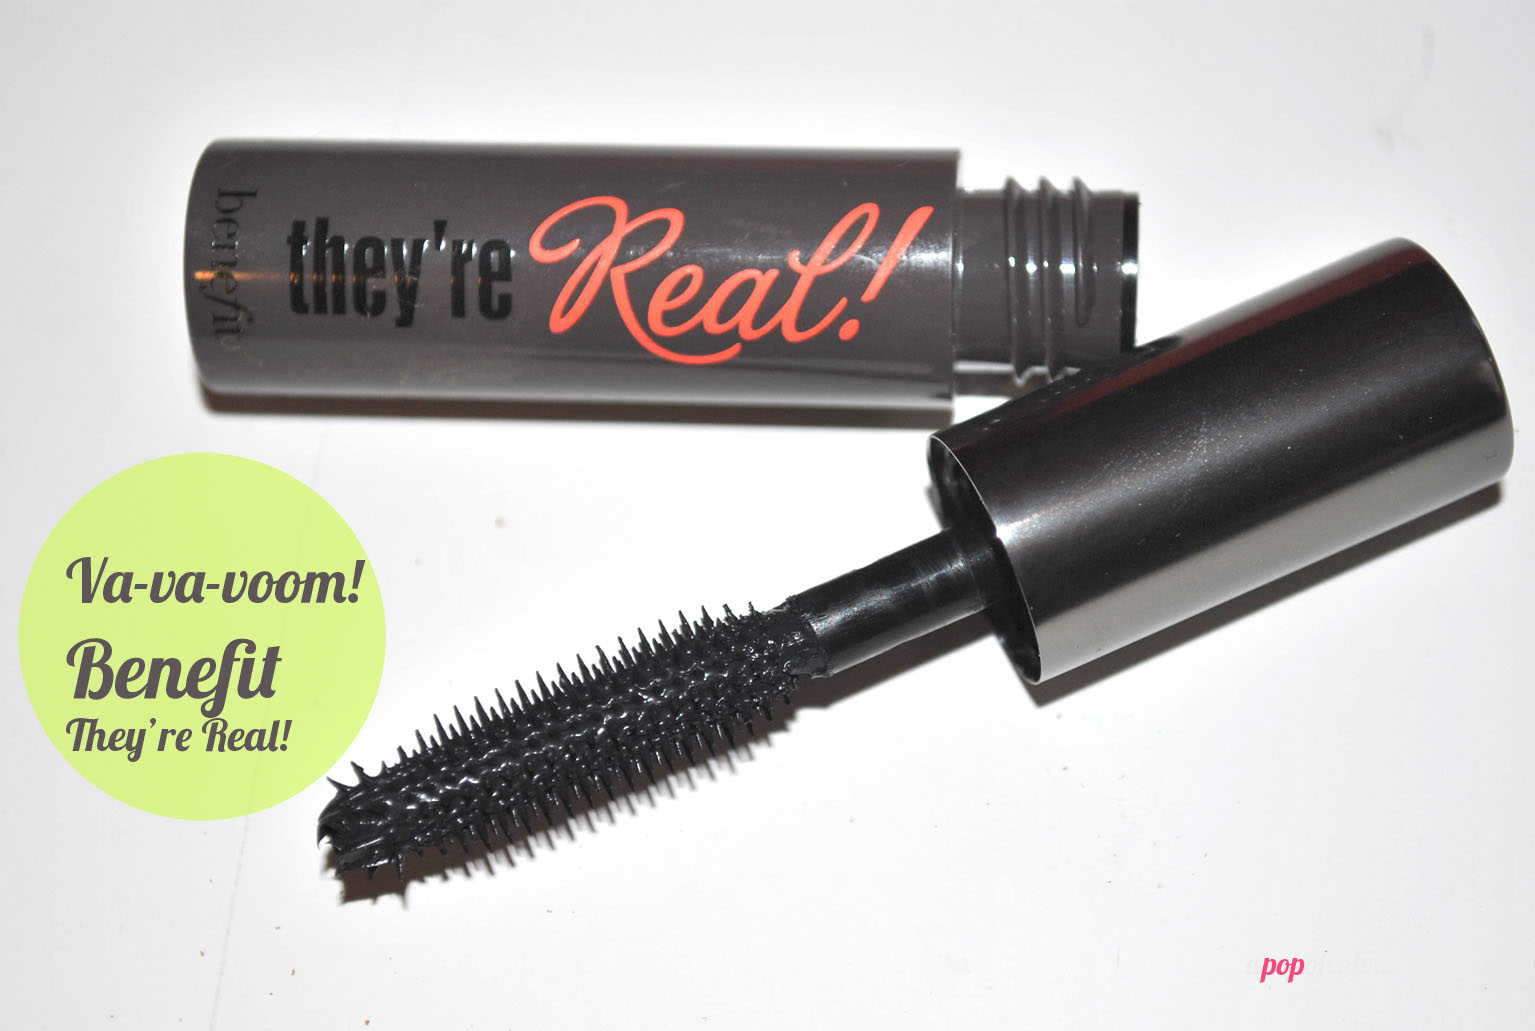
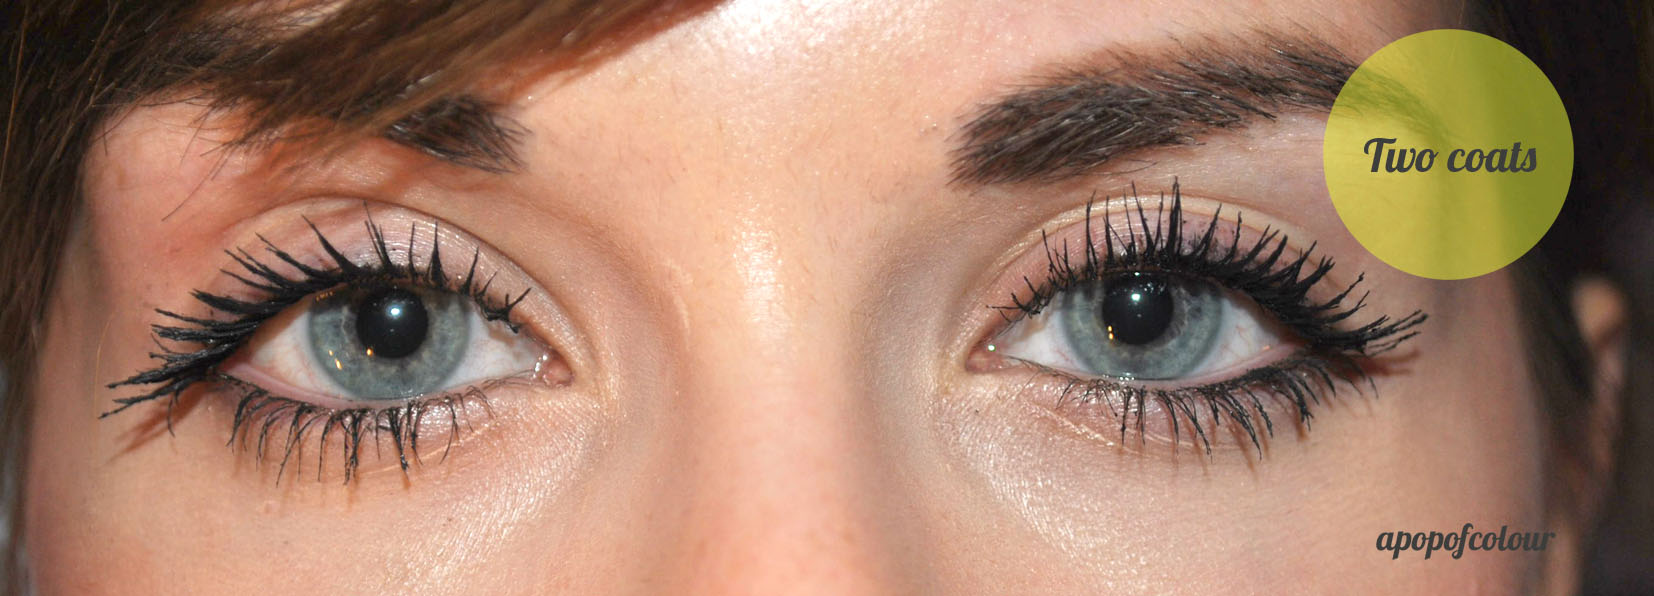
I finally got around to trying a mascara that’s been on my must-try list for a while, Benefit’s They’re Real!
I have always loved Bad Gal Lash by Benefit, in fact it was probably my first high-end mascara. Over the years though I have lost the love for my beloved Bad Gal Lash and fell in love with other mascaras from different brands.
I have had a couple samples of They’re Real! lying around here and finally wanted to just bite the bullet and try it out. I have heard so many good things about this mascara so I wanted to see if it would knock my socks off. And it did.
From Sephora:
What it is:
A jet-black mascara that lengthens, curls, volumizes, lifts, and separates lashes for a spectacular “out-to-here” look.
What it does:
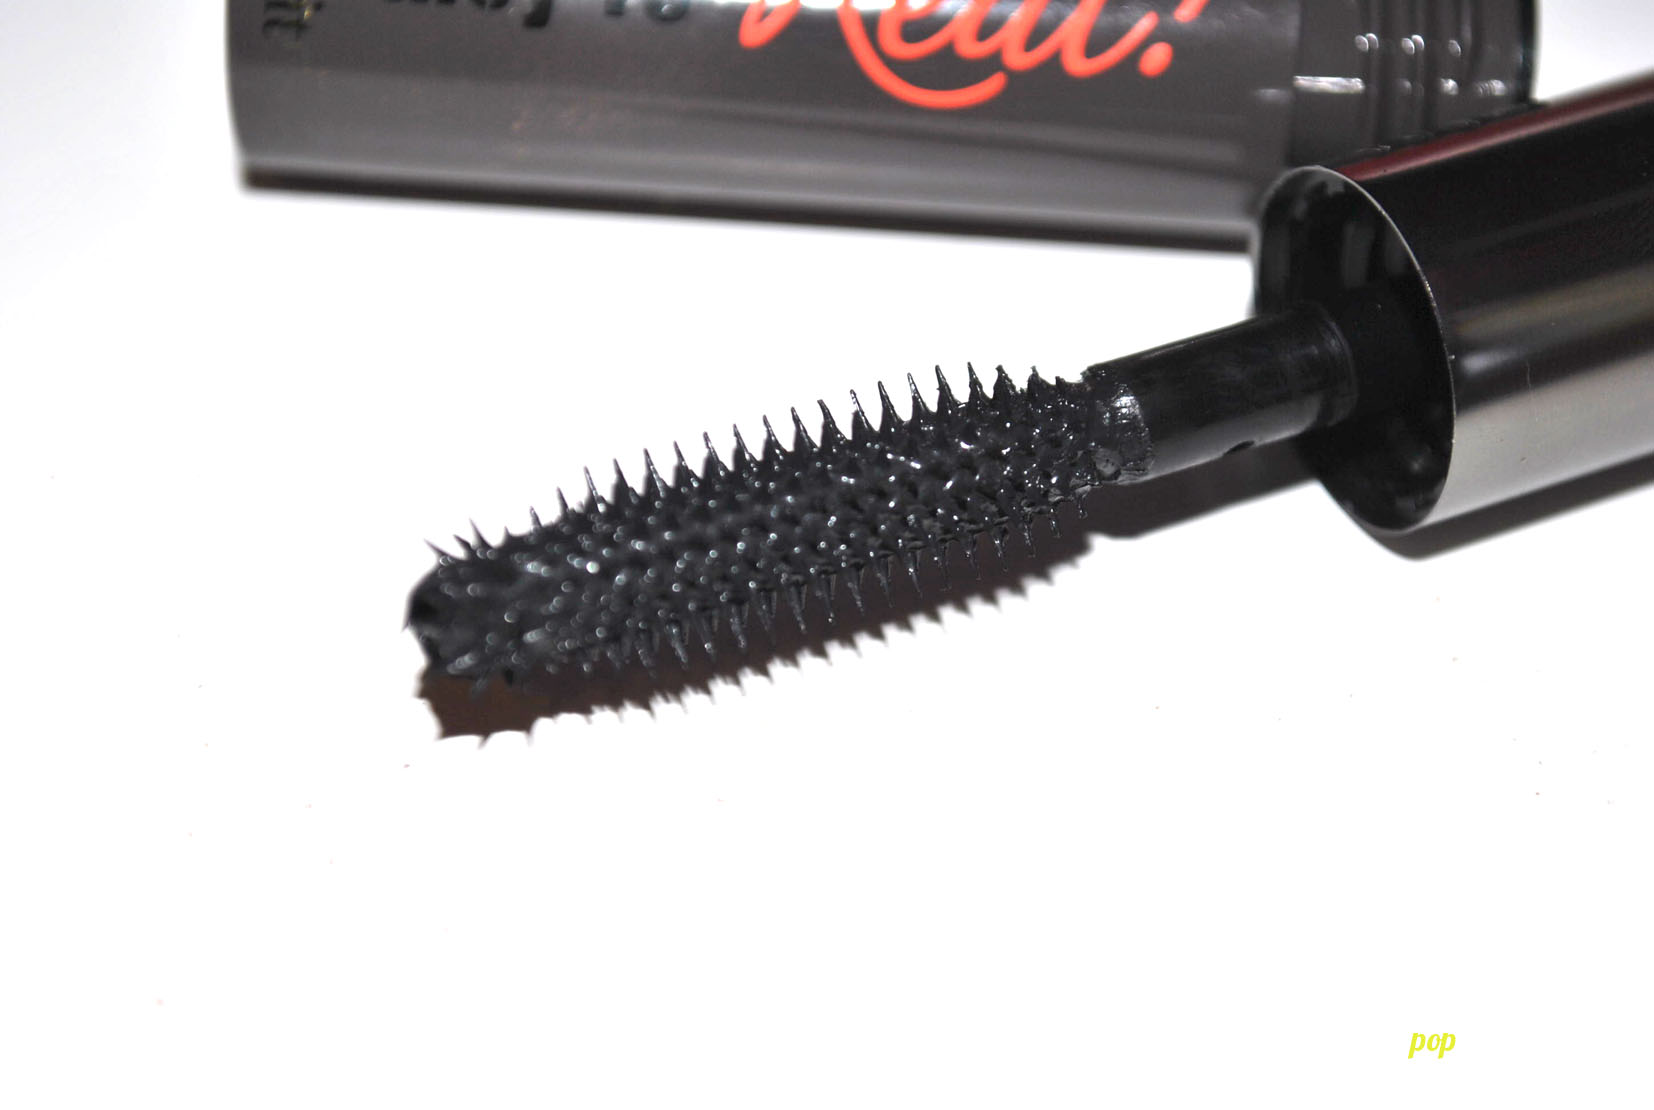
This mascara features an exclusive brush specially designed to maximize the performance of the long-wearing, glossy formula revealing lashes you never knew you had! Staggered bristles grab close to the root, boosting length and volume beyond belief. The precision bristles on the custom-domed tip lift, define, and curl even your tiniest lashes. The end result is luxurious, silky lashes that won’t smudge, clump, or dry out.

The wand is similar to It Cosmetics Hello Lashes but has more bristles to it. It has a slight ball at the end that really lets you get in there and coat every. single. lash. I wouldn’t say my lashes looked fake, but they looked pretty amazing.
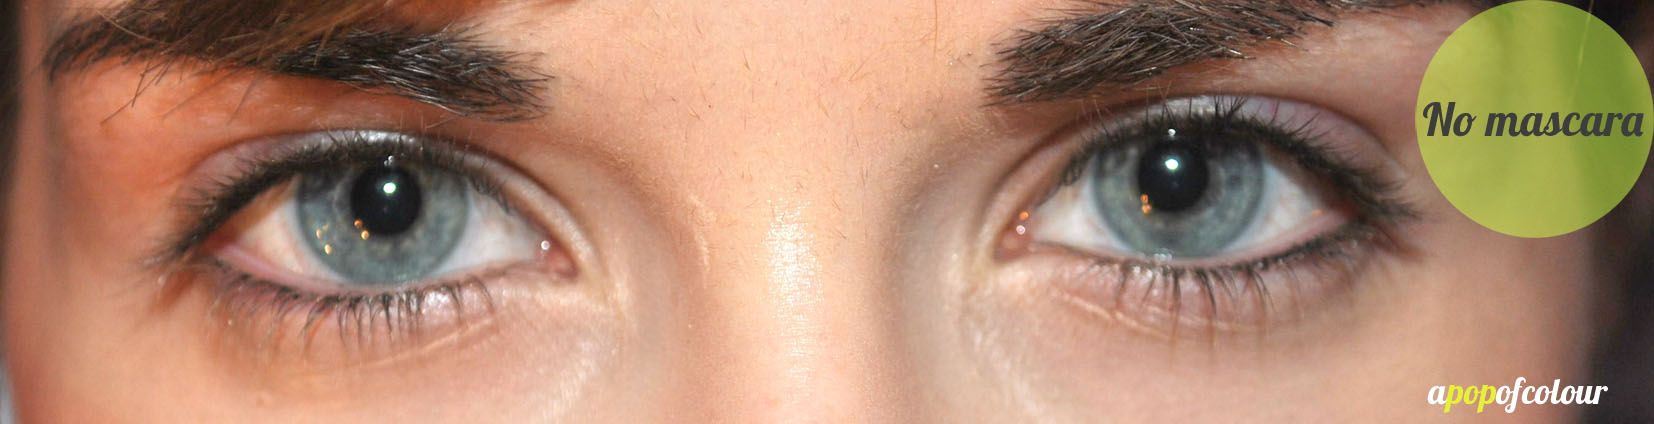
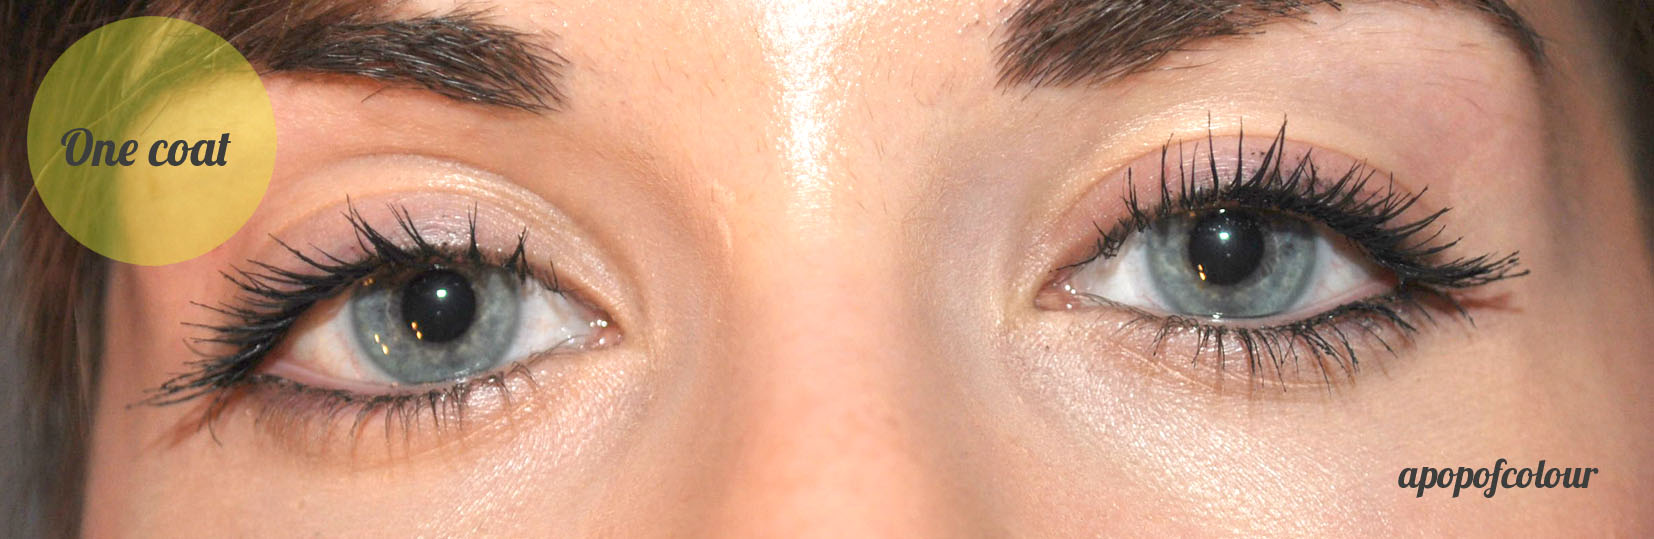
As always when I try out mascara for my blog, I curl my right lashes (left in the photos) with my shu uemura eyelash curler and then leave my left ones au natural to see what the curl is like and if a curler actually makes a difference. For this mascara it didn’t really make a big difference, also my left lashes are fuller and longer for some reason so honestly, it’s hard to even tell because they are so different in terms of length and fullness to begin with.


After one coat I was amazed, and then after the second, I ran to my mom and was like “mom, look at my lashes!”. They looked full and fabulous.
Benefit really hit it out of the park with this mascara. I would even say it’s better than Bad Gal Lash. I have so many mascaras and samples to use up, but I definitely think this is will become a staple in my collection.

Have you tried Benefit’s They’re Real! mascara?
Like what you read? Check out these related posts:

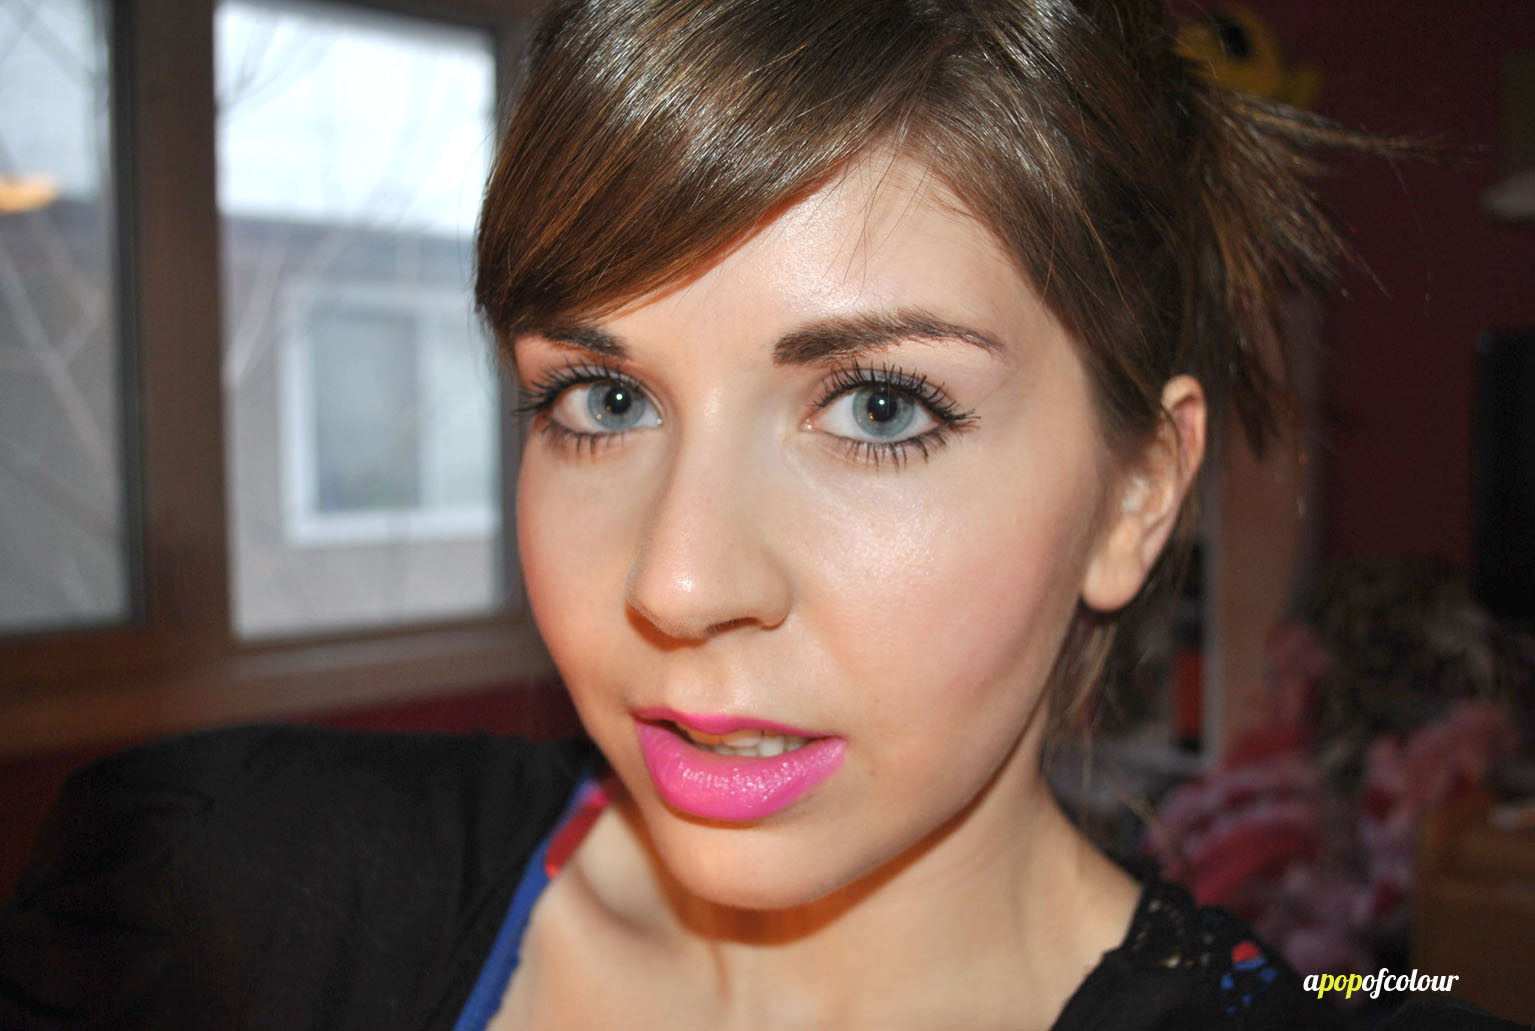
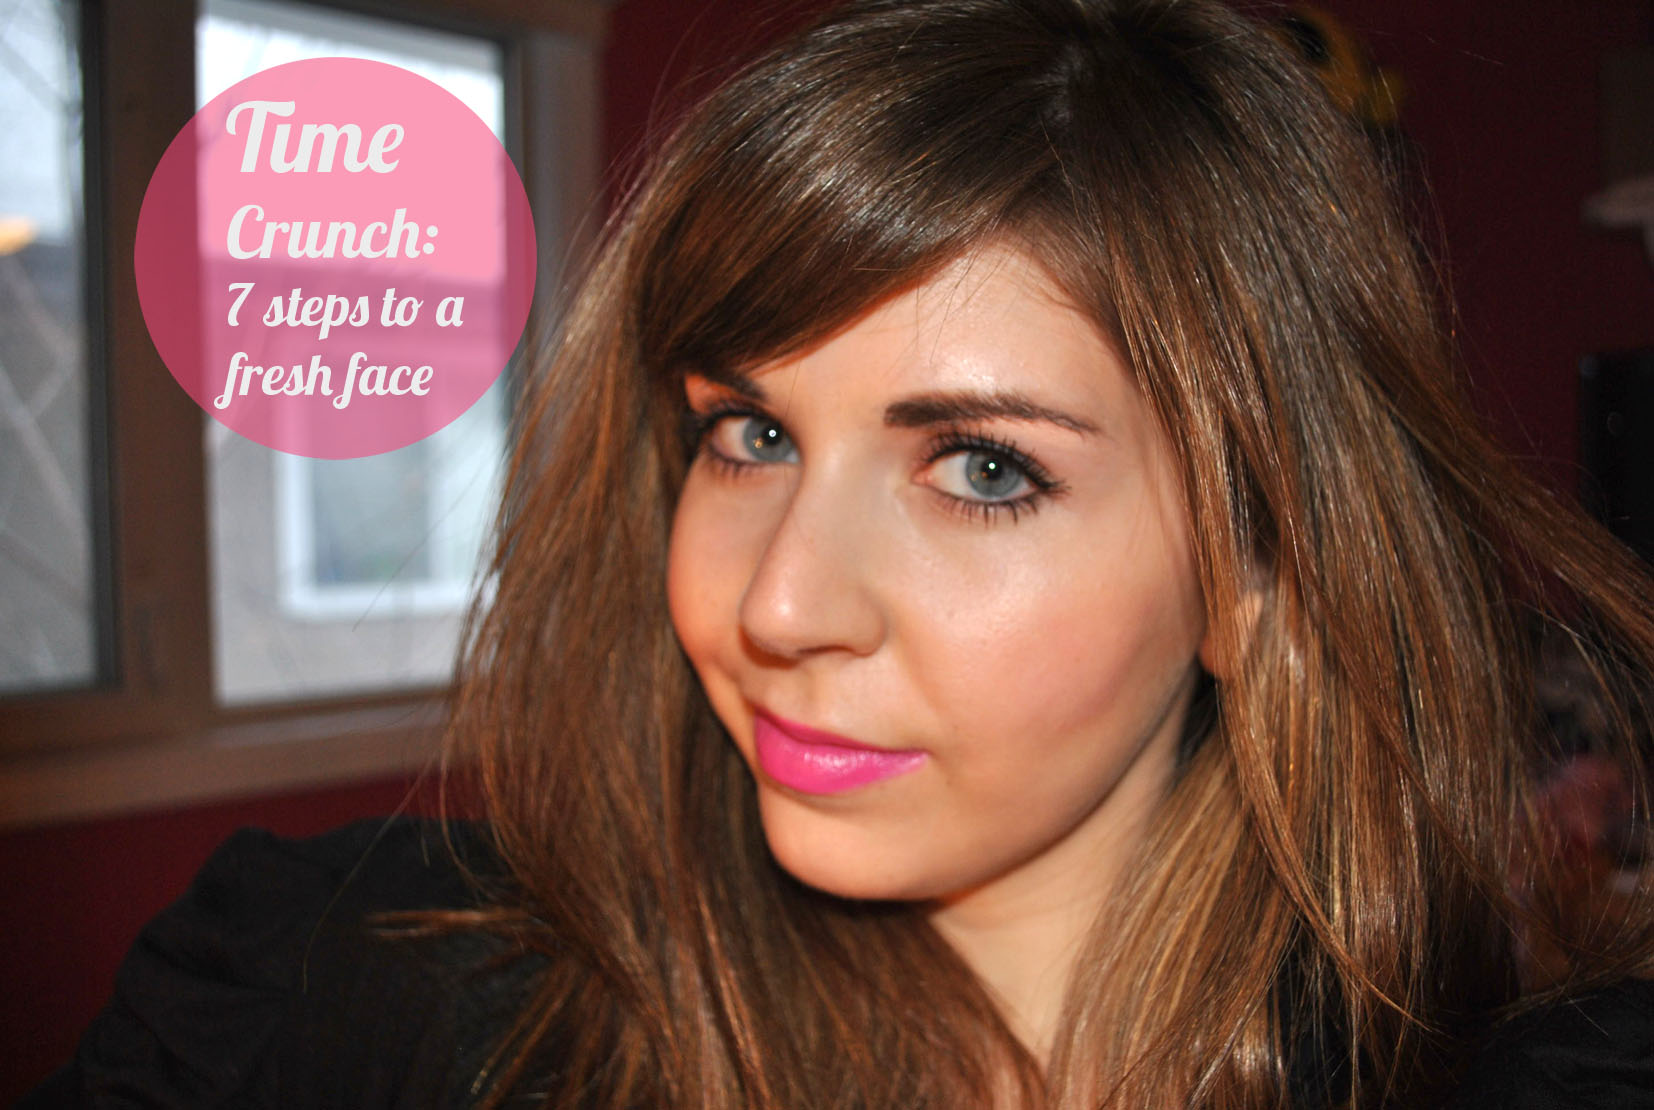
Every since Daylight Savings Time hit I have been hitting “sleep” one too many times in the morning. As a result, my get-ready time in the morning has been lowered drastically and I have had to cut some steps out of my normal makeup routine.
Here’s my rushed morning look, which is also perfect for a fresh face as well.

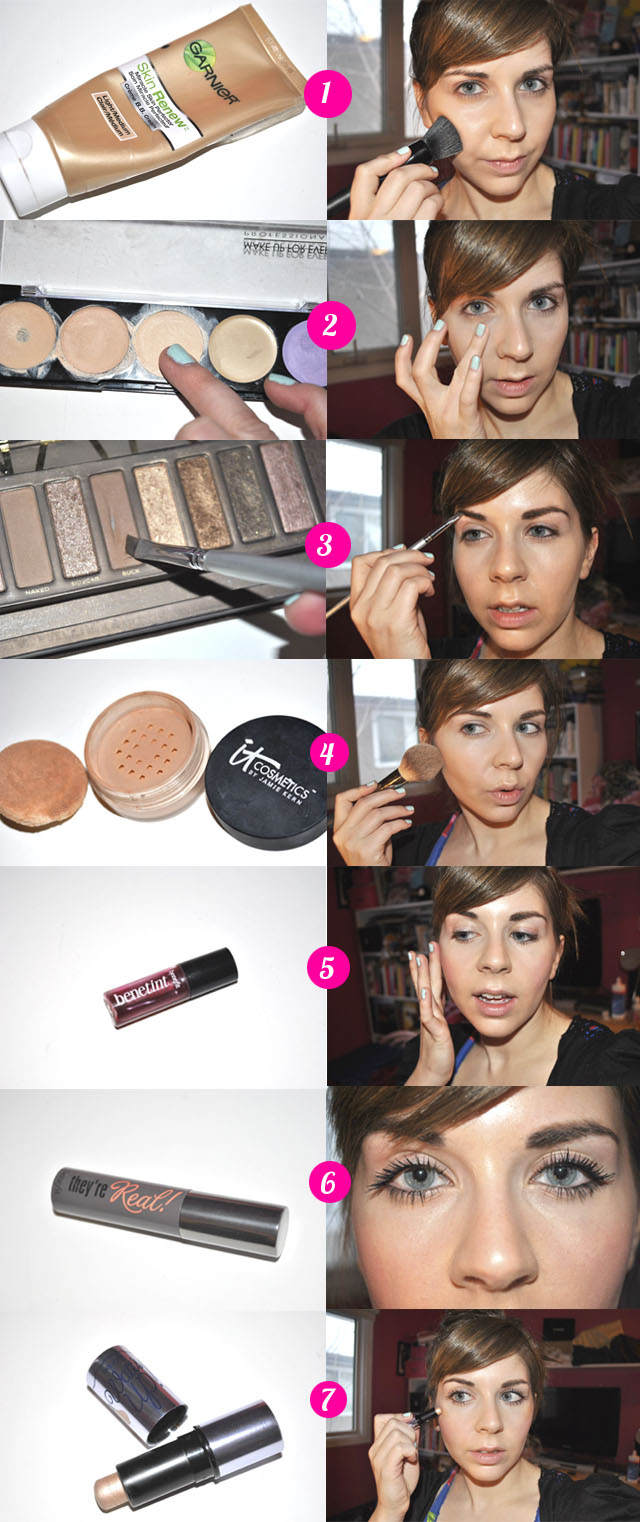
1. Skip the foundation and instead apply a BB Cream. BB Creams act as a moisturizer, primer, foundation, and more, all in one handy little tube. I love Garnier’s Skin Renew Miracle Skin Perfector BB Cream, which leaves a light finish but also makes your skin look luminous.
2. Just like you would with your foundation, apply concealer under your eyes and anywhere else it’s needed to cover dark circles and blemishes. I used Make Up For Ever’s 5-Color Camouflage Palette in number 2.
3. Fill in your brows to bring attention to your eyes. I used Buck from the Urban Decay Naked palette with an angled pencil brush.
4. Apply a light bronzer to add definition and a bit of a contour to your face. I used It Cosmetics Bye Bye Pores Bronzer because it gives me that light airbrushed finish.
5. I chose to go with something light for the cheeks, so I grabbed Benefit’s Benetint, which gives your cheeks that “I just got out of bed 20 minutes ago and rushed to work” flush ;).
6. Apply a couple coats of mascara to open up those eyes and make you appear more awake. I used Benefit’s They’re Real!
7. To finish, apply a highlight, like Benefit’s Watt’s Up, to add some glow to your face.

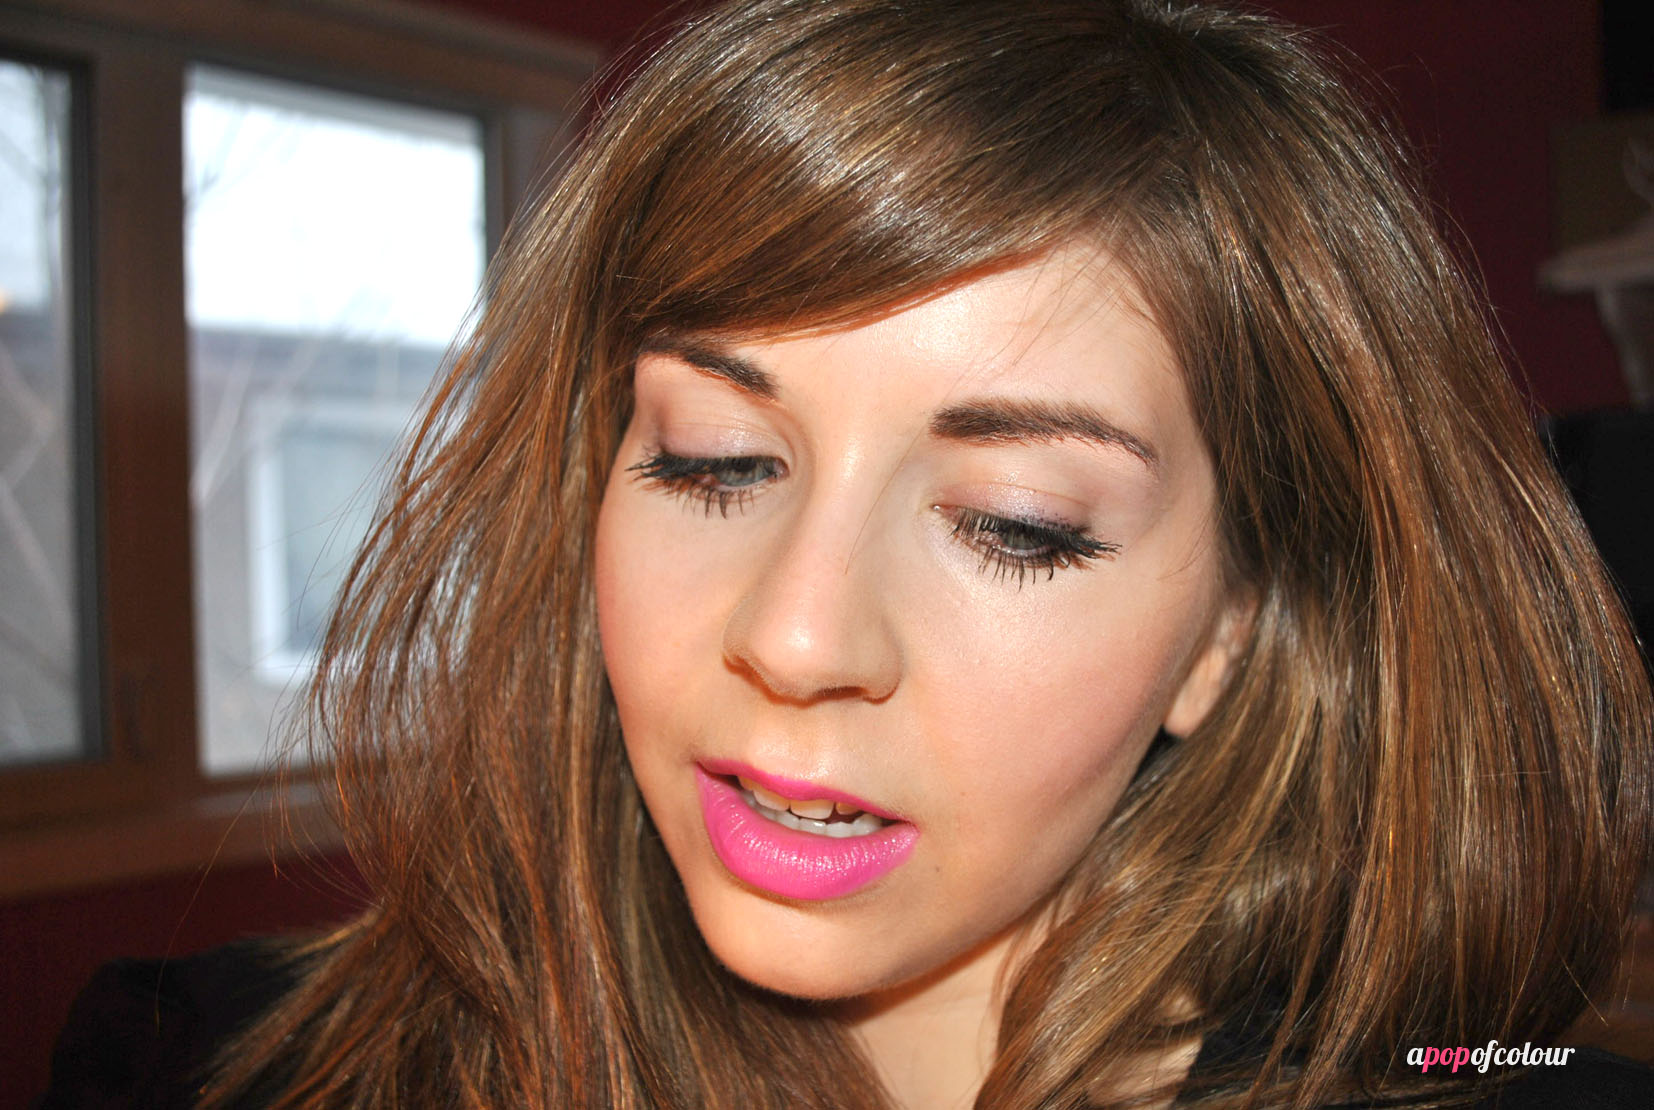
And that’s it! You can go with any shade of lipstick to finish the look, I grabbed Maybelline’s Color Sensational Vivid in Fuchsia Flash to add a pop of colour to my face.
What does your “rushed look” consist of?
Like what you read? Check out these related posts: