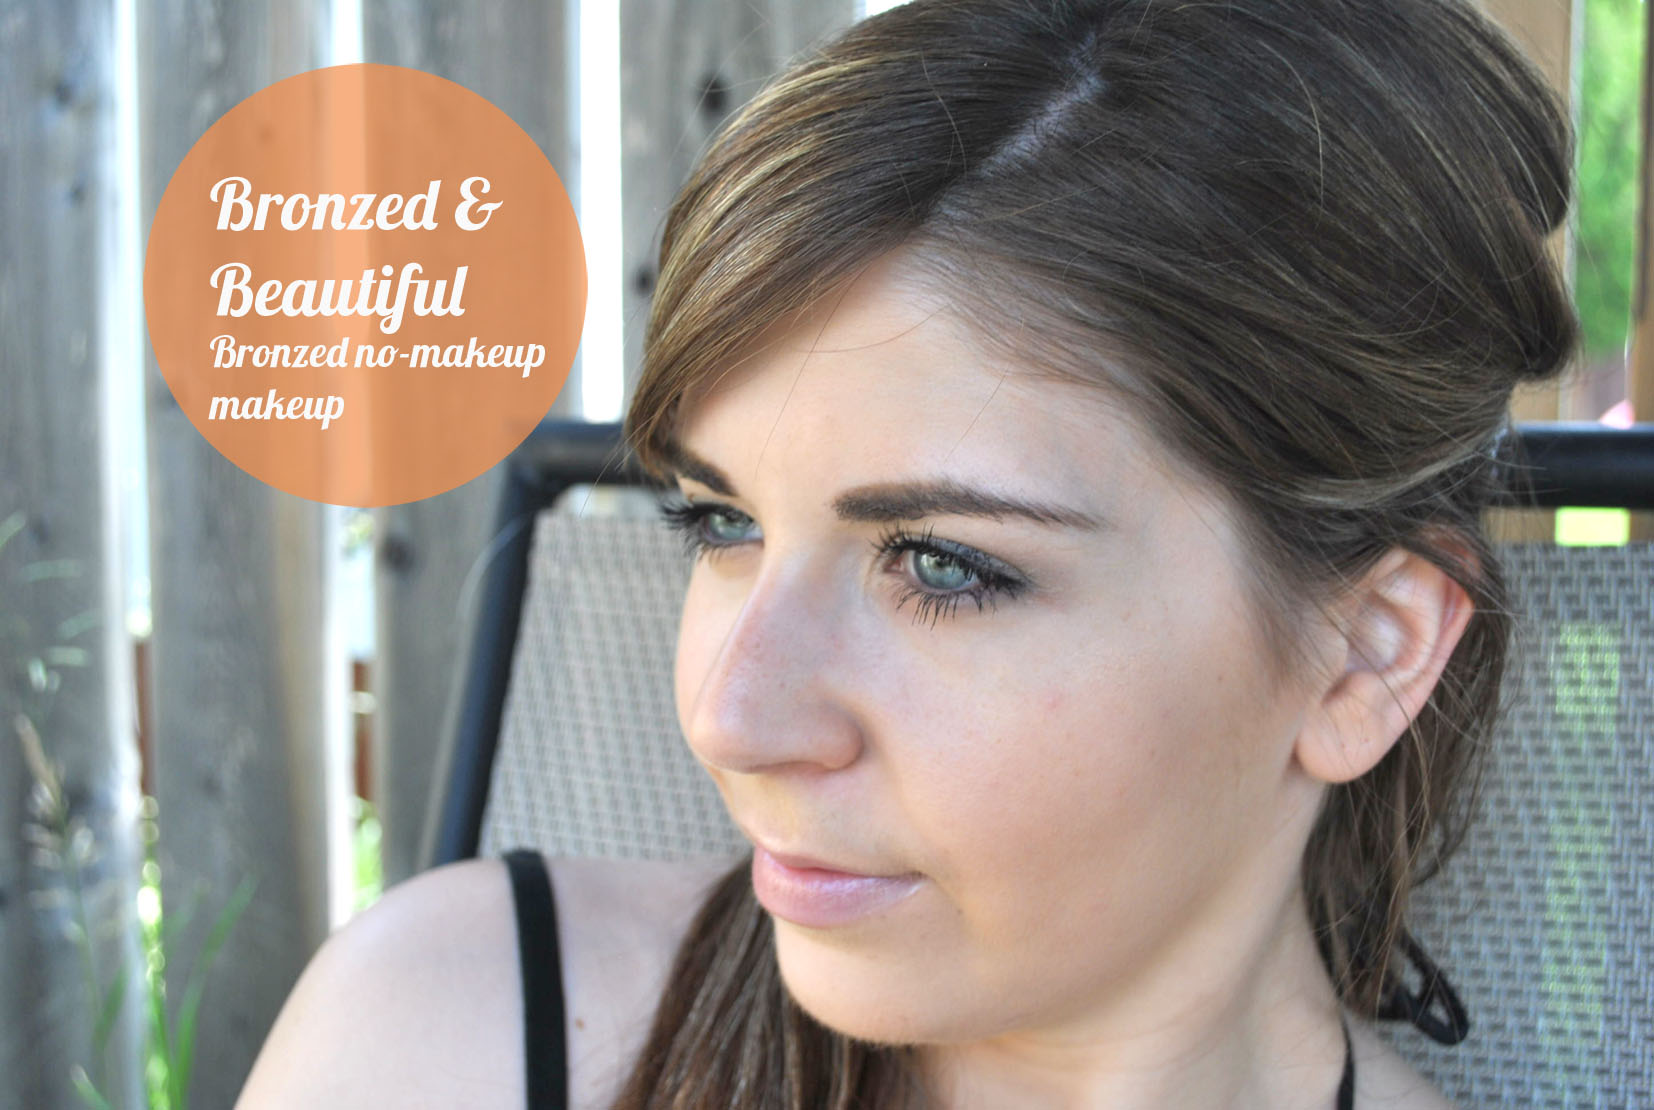
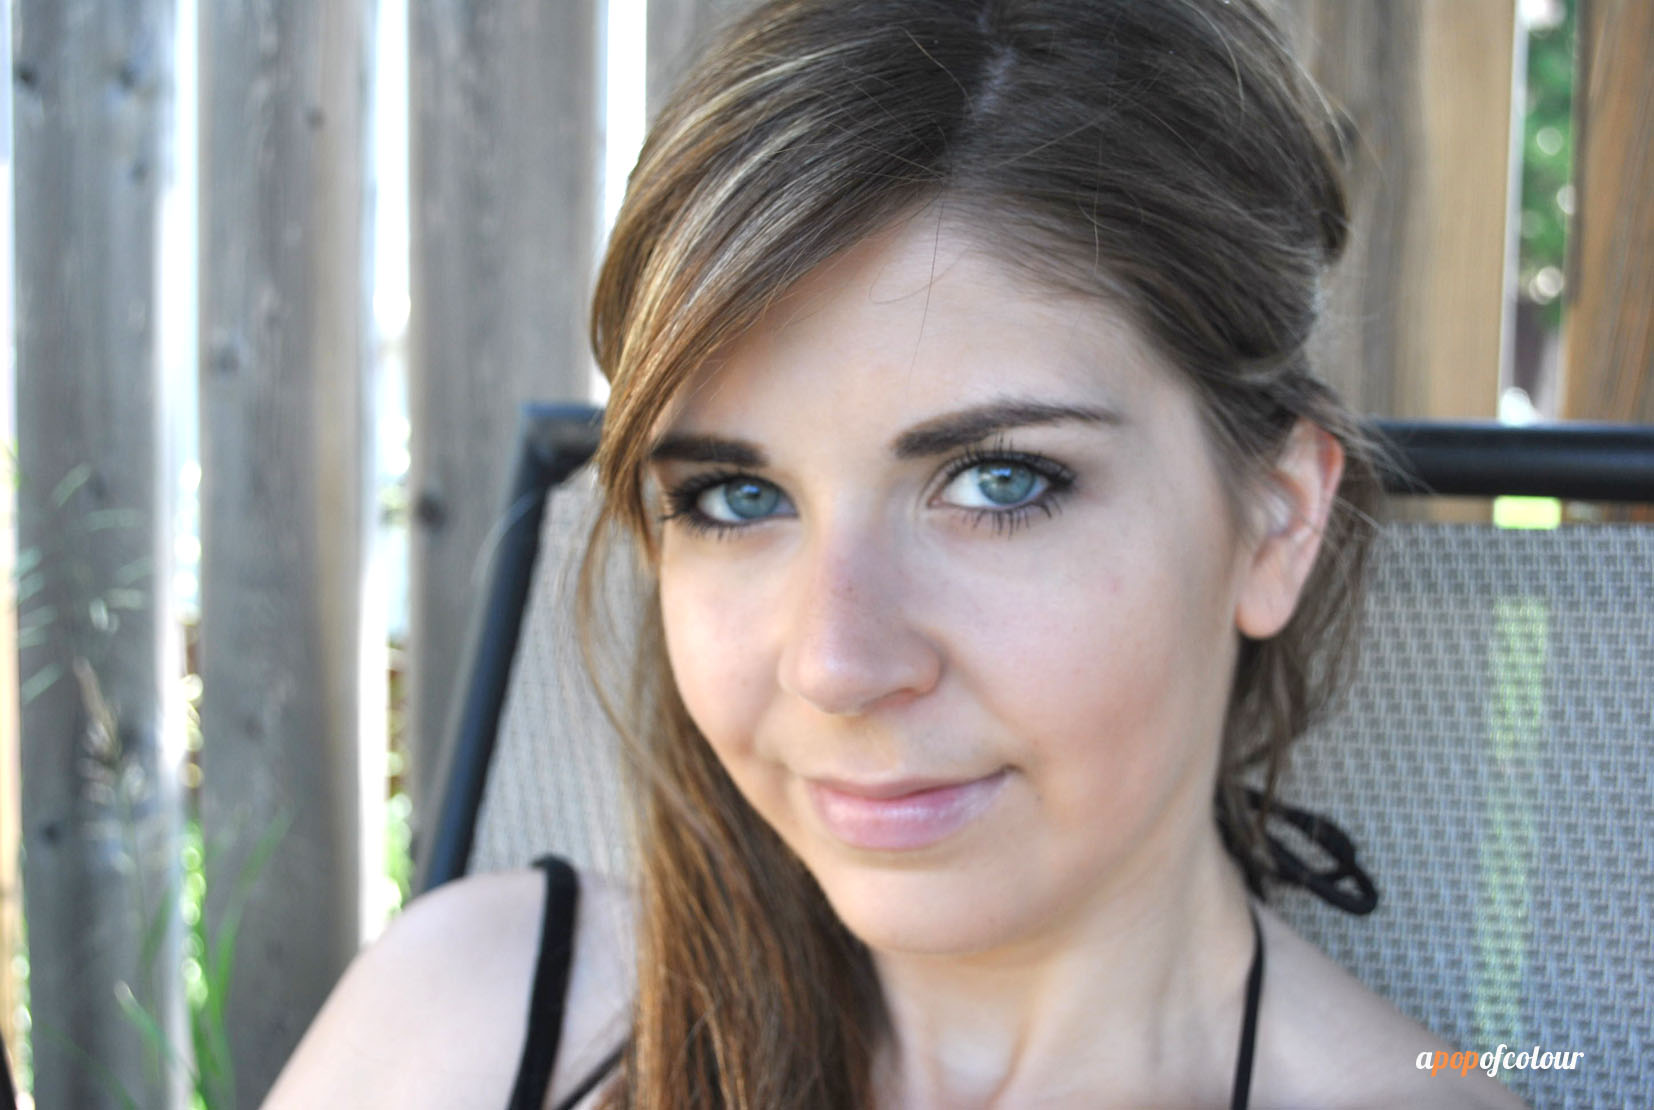
With it being summer, sometimes I just want to rock a natural look. Now I don’t tan very well, plus I still like to look put together, so I’ll cheat and wear minimal makeup that still makes me look like I’m not wearing much at all.
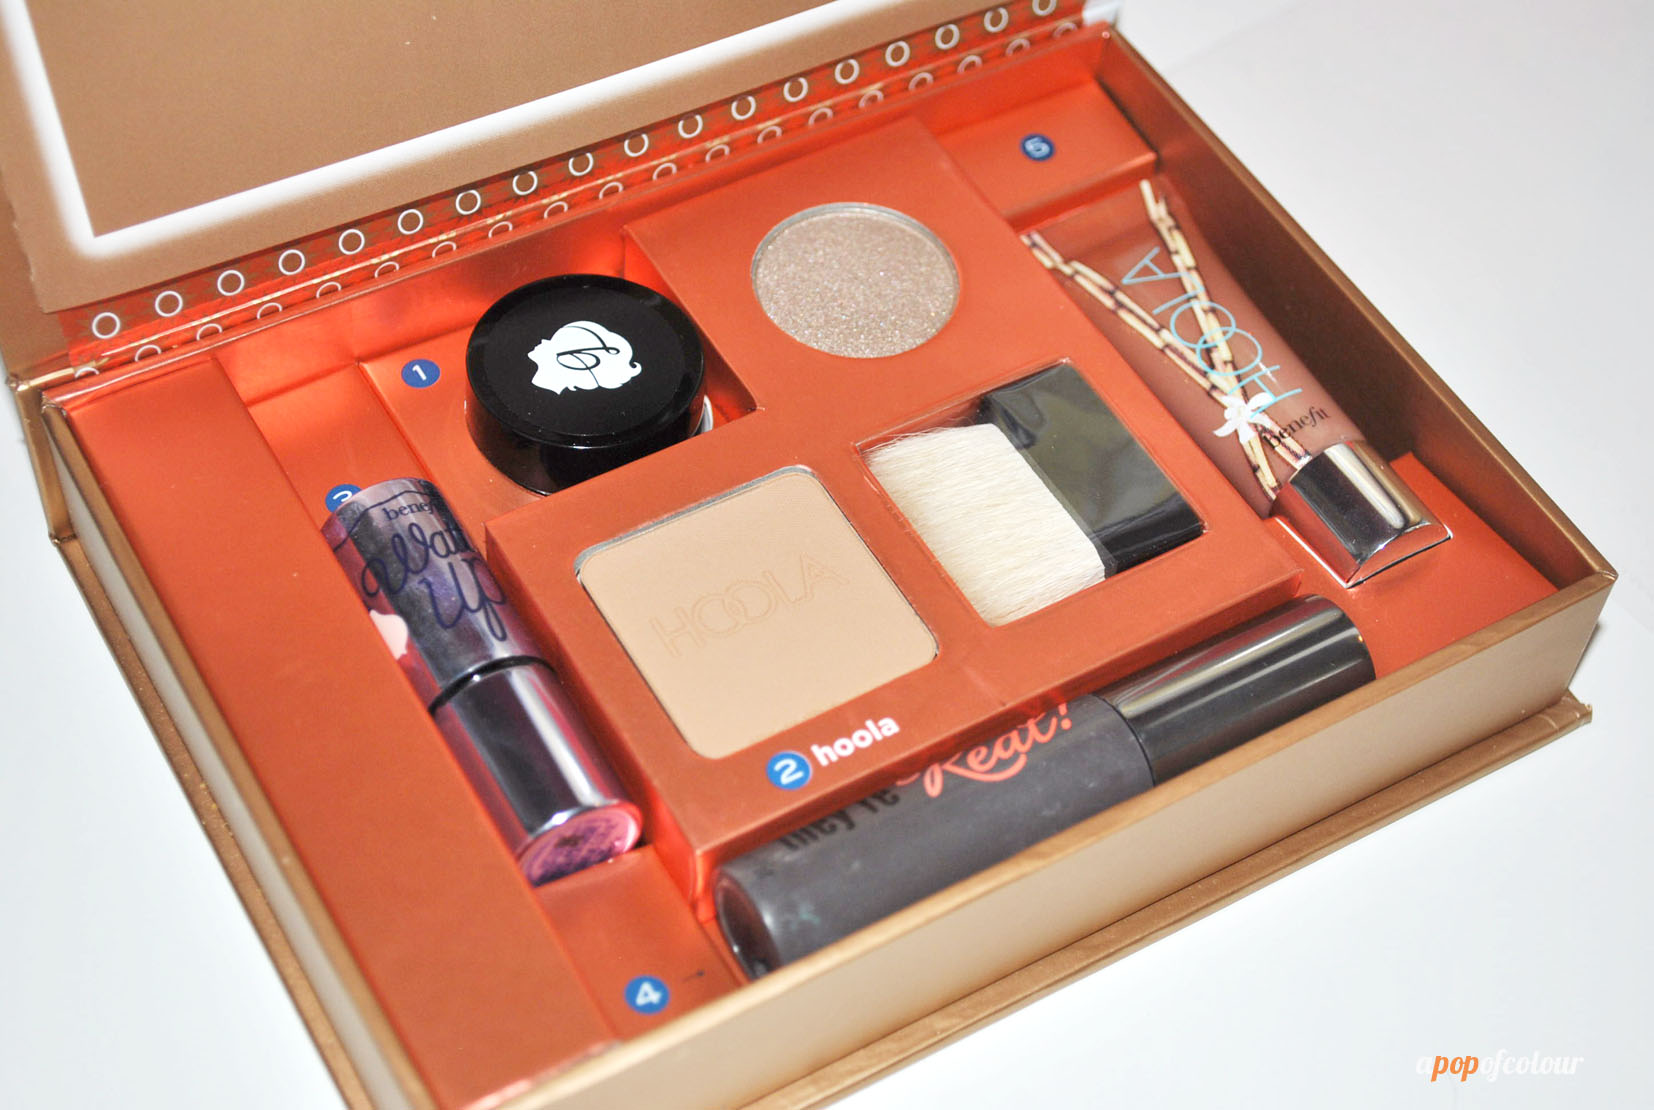
For this look I used Benefit Cosmetic’s The Bronze of Champions kit, which is the cutest makeup set I own. The actual case looks like a cereal box and when you open it, it has all the staples for a natural bronzy look.


The kit includes:
– 0.08 oz Watt’s Up! Soft Focus Highlighter for Face
– 0.11 oz Creaseless Cream Shadow in Bikini-Tini
– 0.04 oz Longwear Powder Shadow in Thanks A Latte
– 0.1 oz Hoola Bronzing Powder
– Powder Brush
– 0.22 oz Ultra Plush Lip Gloss in Hoola
– 0.1 oz They’re Real! Beyond Mascara
Now if there is one thing I have learned about Benefit’s sample sizes, it’s that they last forever (except for the mascara). This kit may include minis of some of their full-size best-selling products, but trust me, for the price you are paying for the kit (C$38 at Sephora), this will last you a while. I have found I have been tossing it in my bag when I go to my boyfriend’s pool, because it has everything you need for touchups.
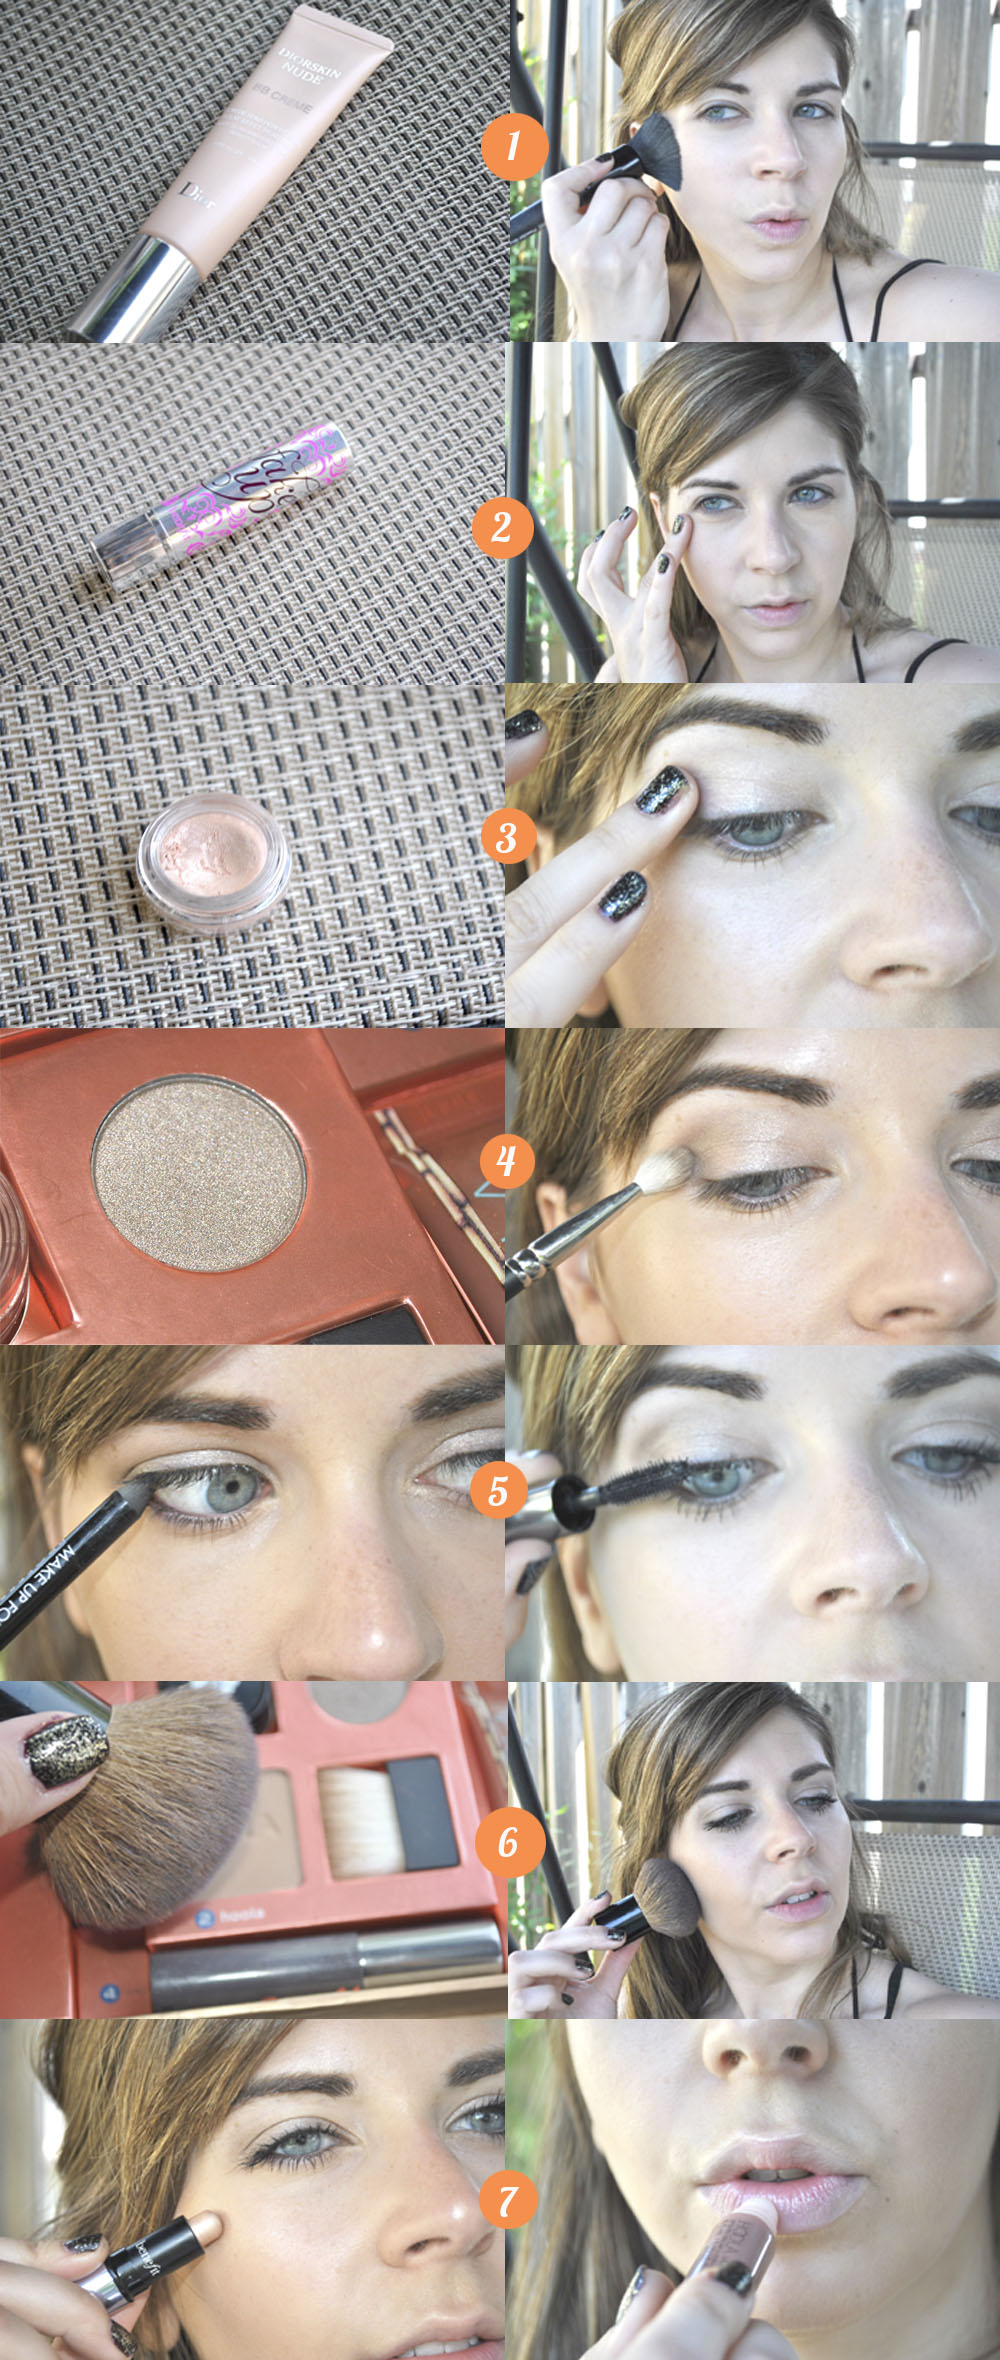
For this particular look, I used everything from the kit, plus a BB cream, concealer, and a black eyeliner.

1. Apply a BB Cream all over your face. I have been loving Dior Diorskin Nude BB Cream because it gives me a light finish but still makes my skin look great. I recommend a BB Cream or tinted moisturized for this look because you want it looking natural. A lot of BB creams contain SPFs (Dior’s contains SPF 10), so you are getting that sun coverage in case you are spending the day outside.
2. Apply a concealer to cover dark circles and brighten up the eye area. I used Benefit’s Fake Up! concealer in medium for coverage and moisture. After you apply your concealer, fill in your eyebrows (not shown). I used It Cosmetics Brow Power pencil.
3. With a champagne cream eyeshadow (like Bikini-Tini from this set) apply this all over the lid area, bringing it up on the brow bone.
4. Next, with a bronze eyeshadow, apply this lightly to your crease. I used Thanks a Latte from the set.
5. To add a bit of definition and darken up the lash line, with a black eyeliner, line your tightline. I used Make Up For Ever’s Aqua Eyes in black. After, curl your lashes and add some mascara. I used Benefit’s They’re Real! TIP: If you want to wear this look to the pool or beach, layer a waterproof mascara over top of your non-waterproof one for staying power.
6. With a bronzer (like Benefit’s Hoola, which is a gorgeous matte bronzer), apply this along the hollow of your cheekbones, on your temples, along your jawline, and on your T-zone; really anywhere the sun would naturally hit.
7. Add a highlight to the tops of your cheekbones (like Benefit’s Watts Up!, a champagne-coloured shimmer) and then a bit of gloss (like Benefit’s Hoola lipgloss, which actually looked more pink than bronze on me) to finish up the look.


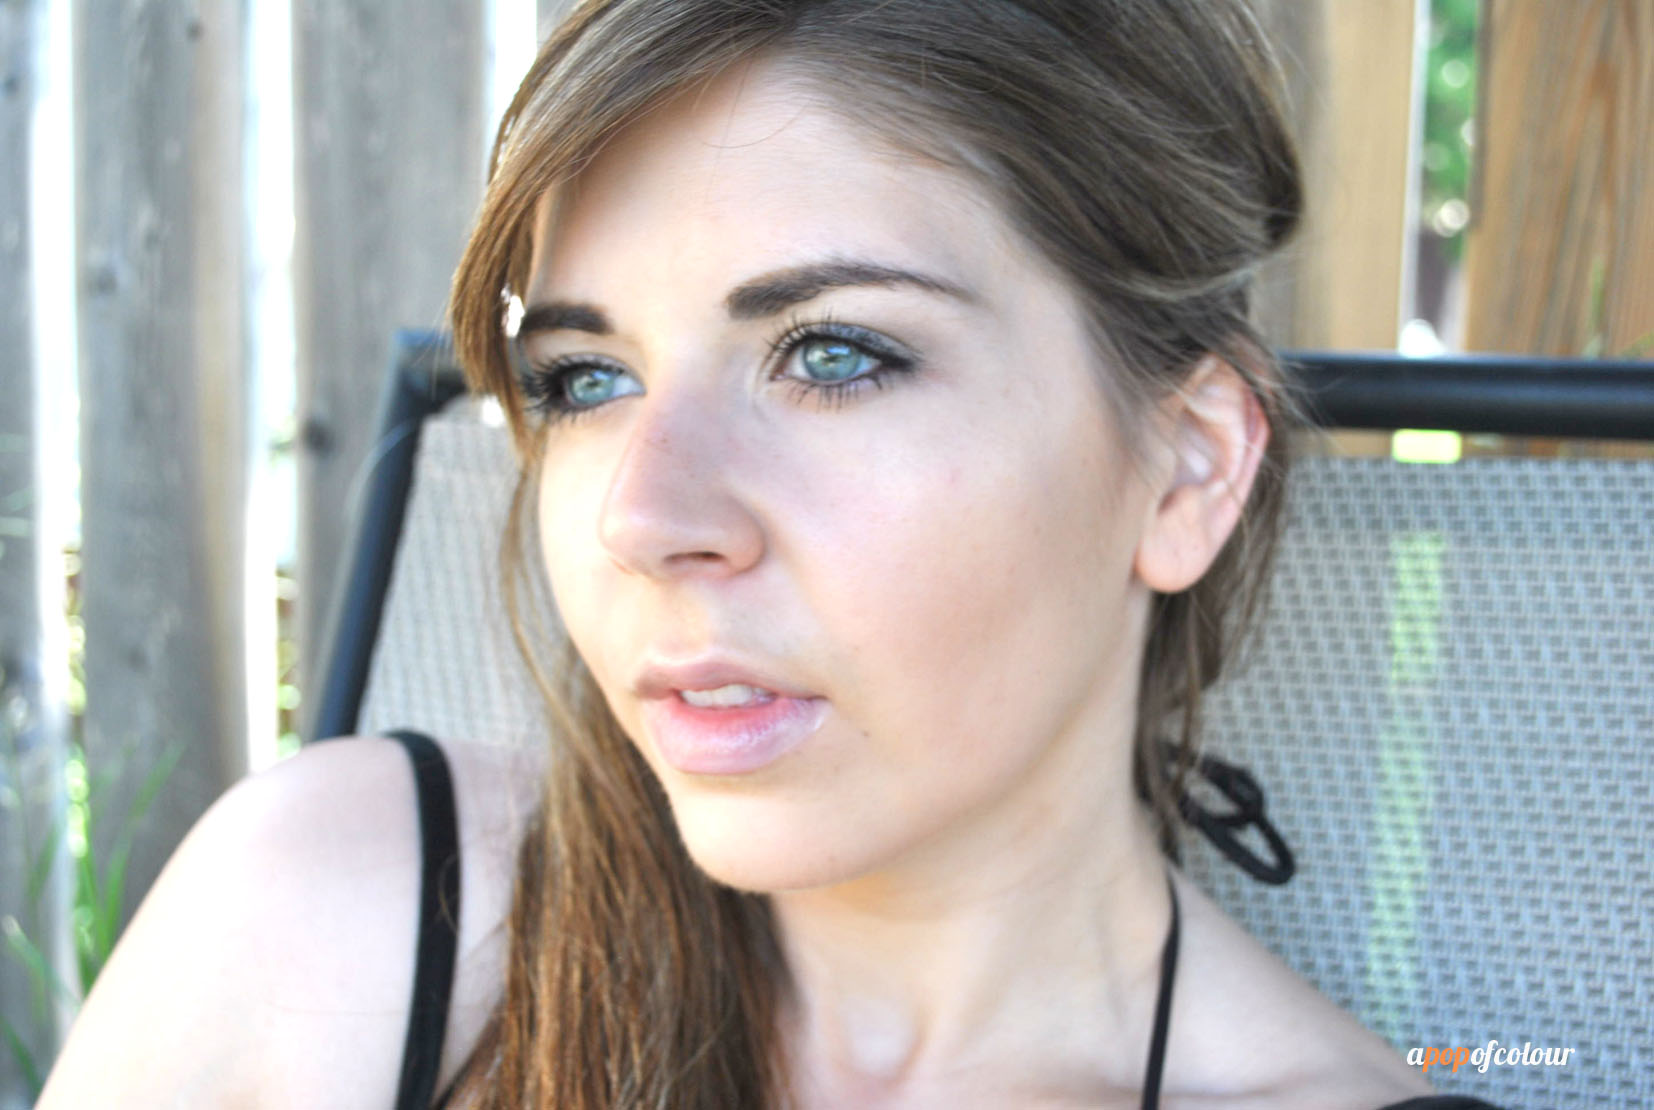
And voila! A natural bronze “no-makeup” makeup look.
Please note I was sent some of the products mentioned in this post by PR. As always, all opinions are my own.
Like what you read? Check out these related posts:


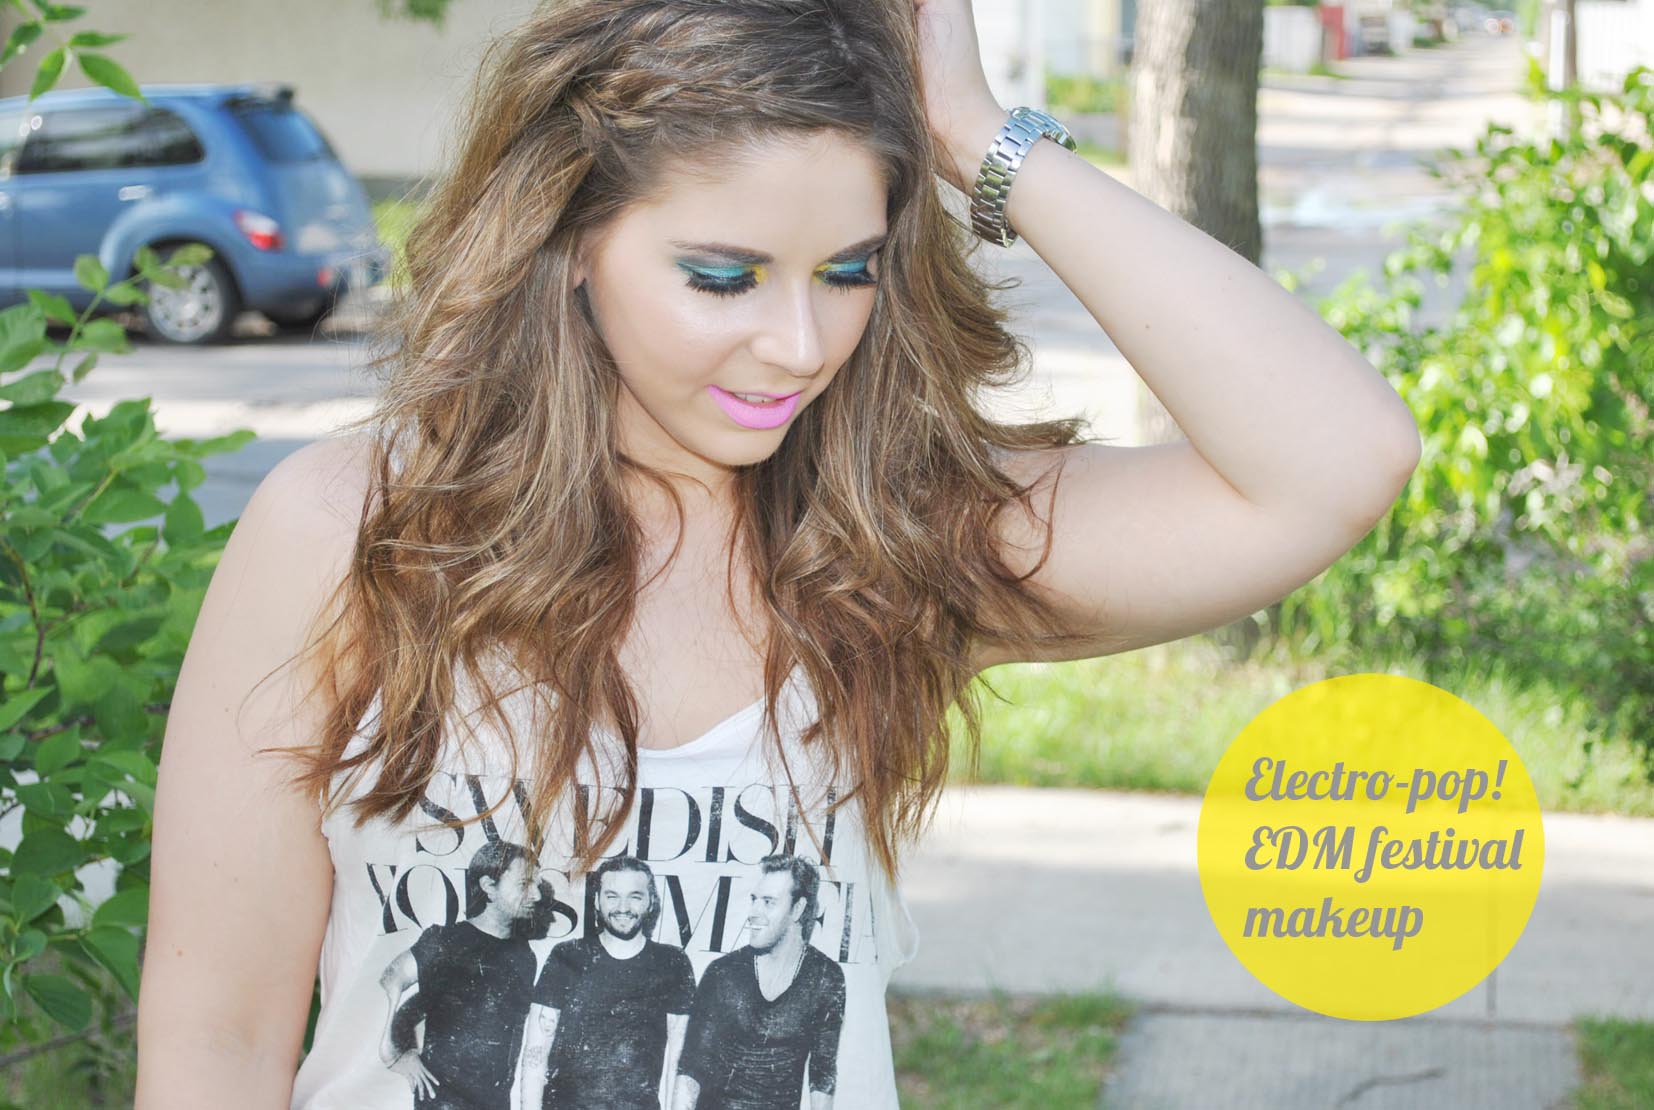
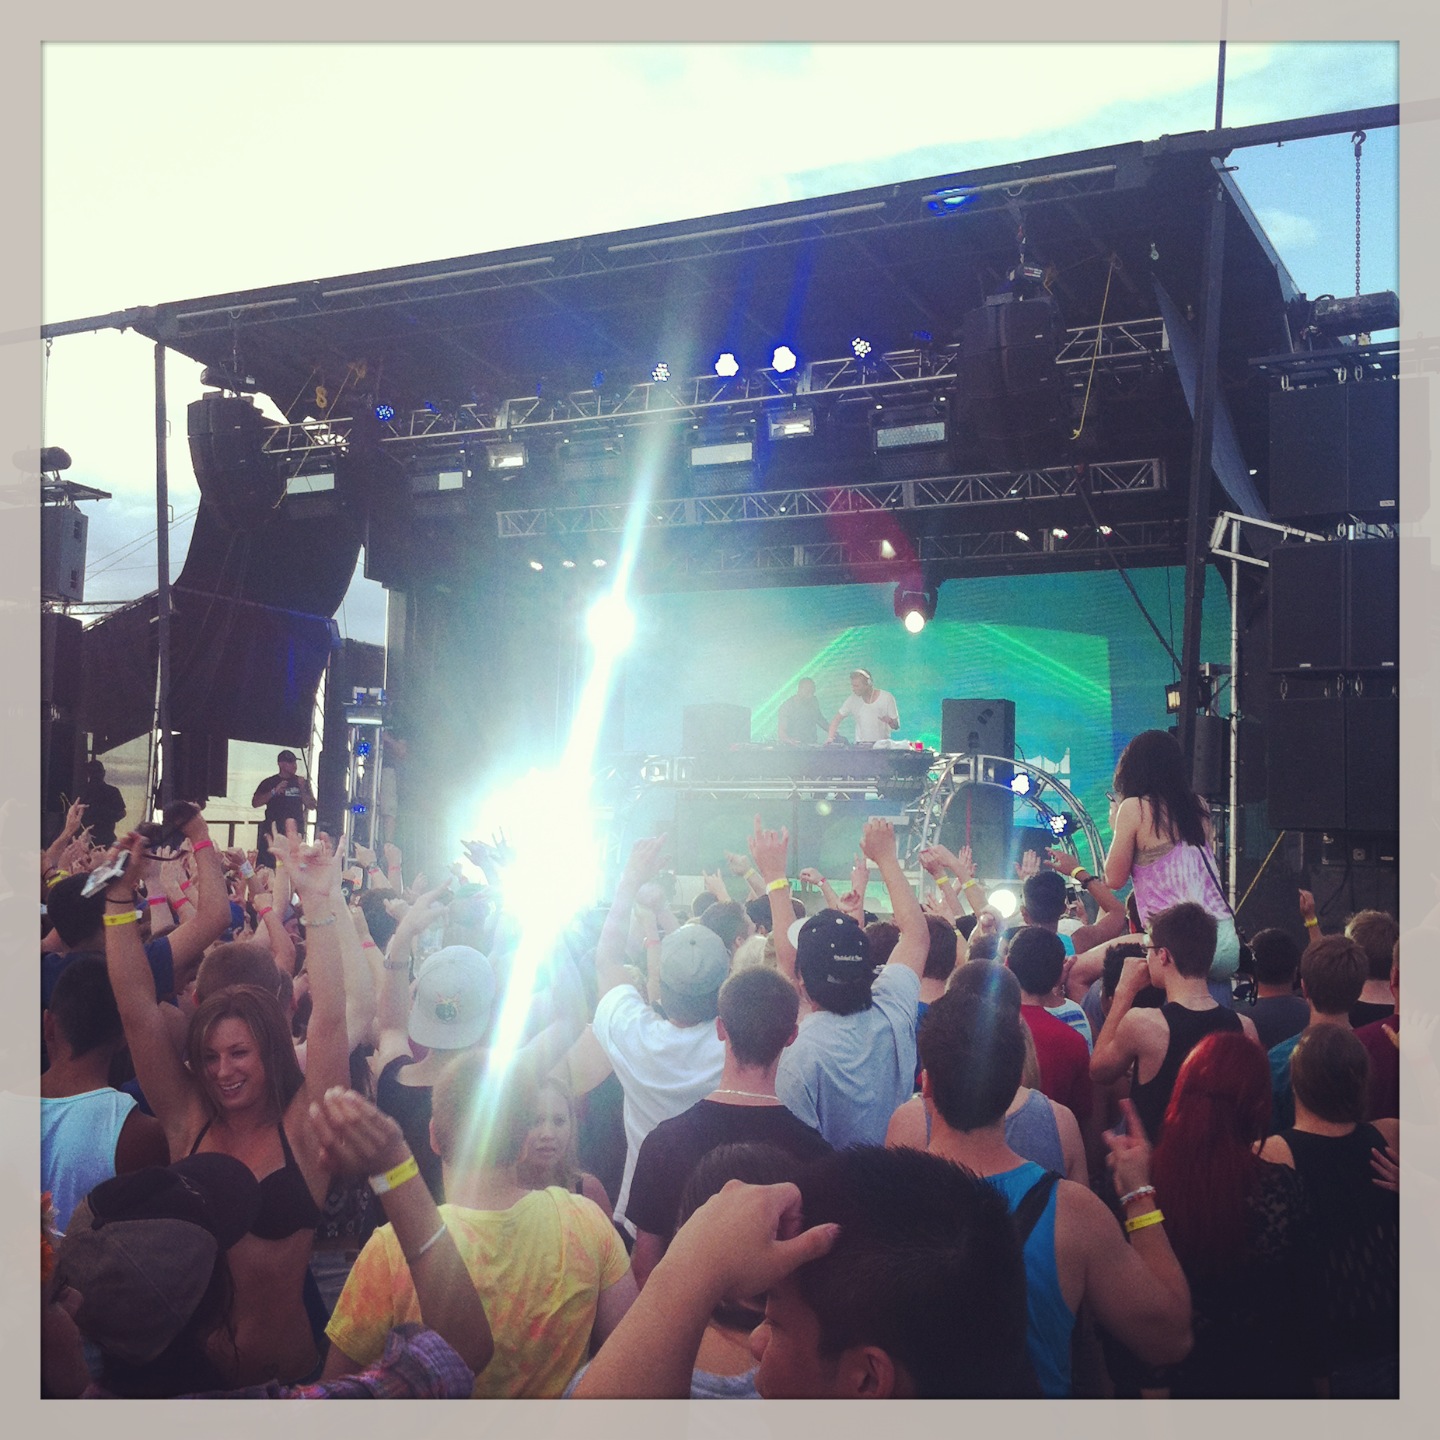
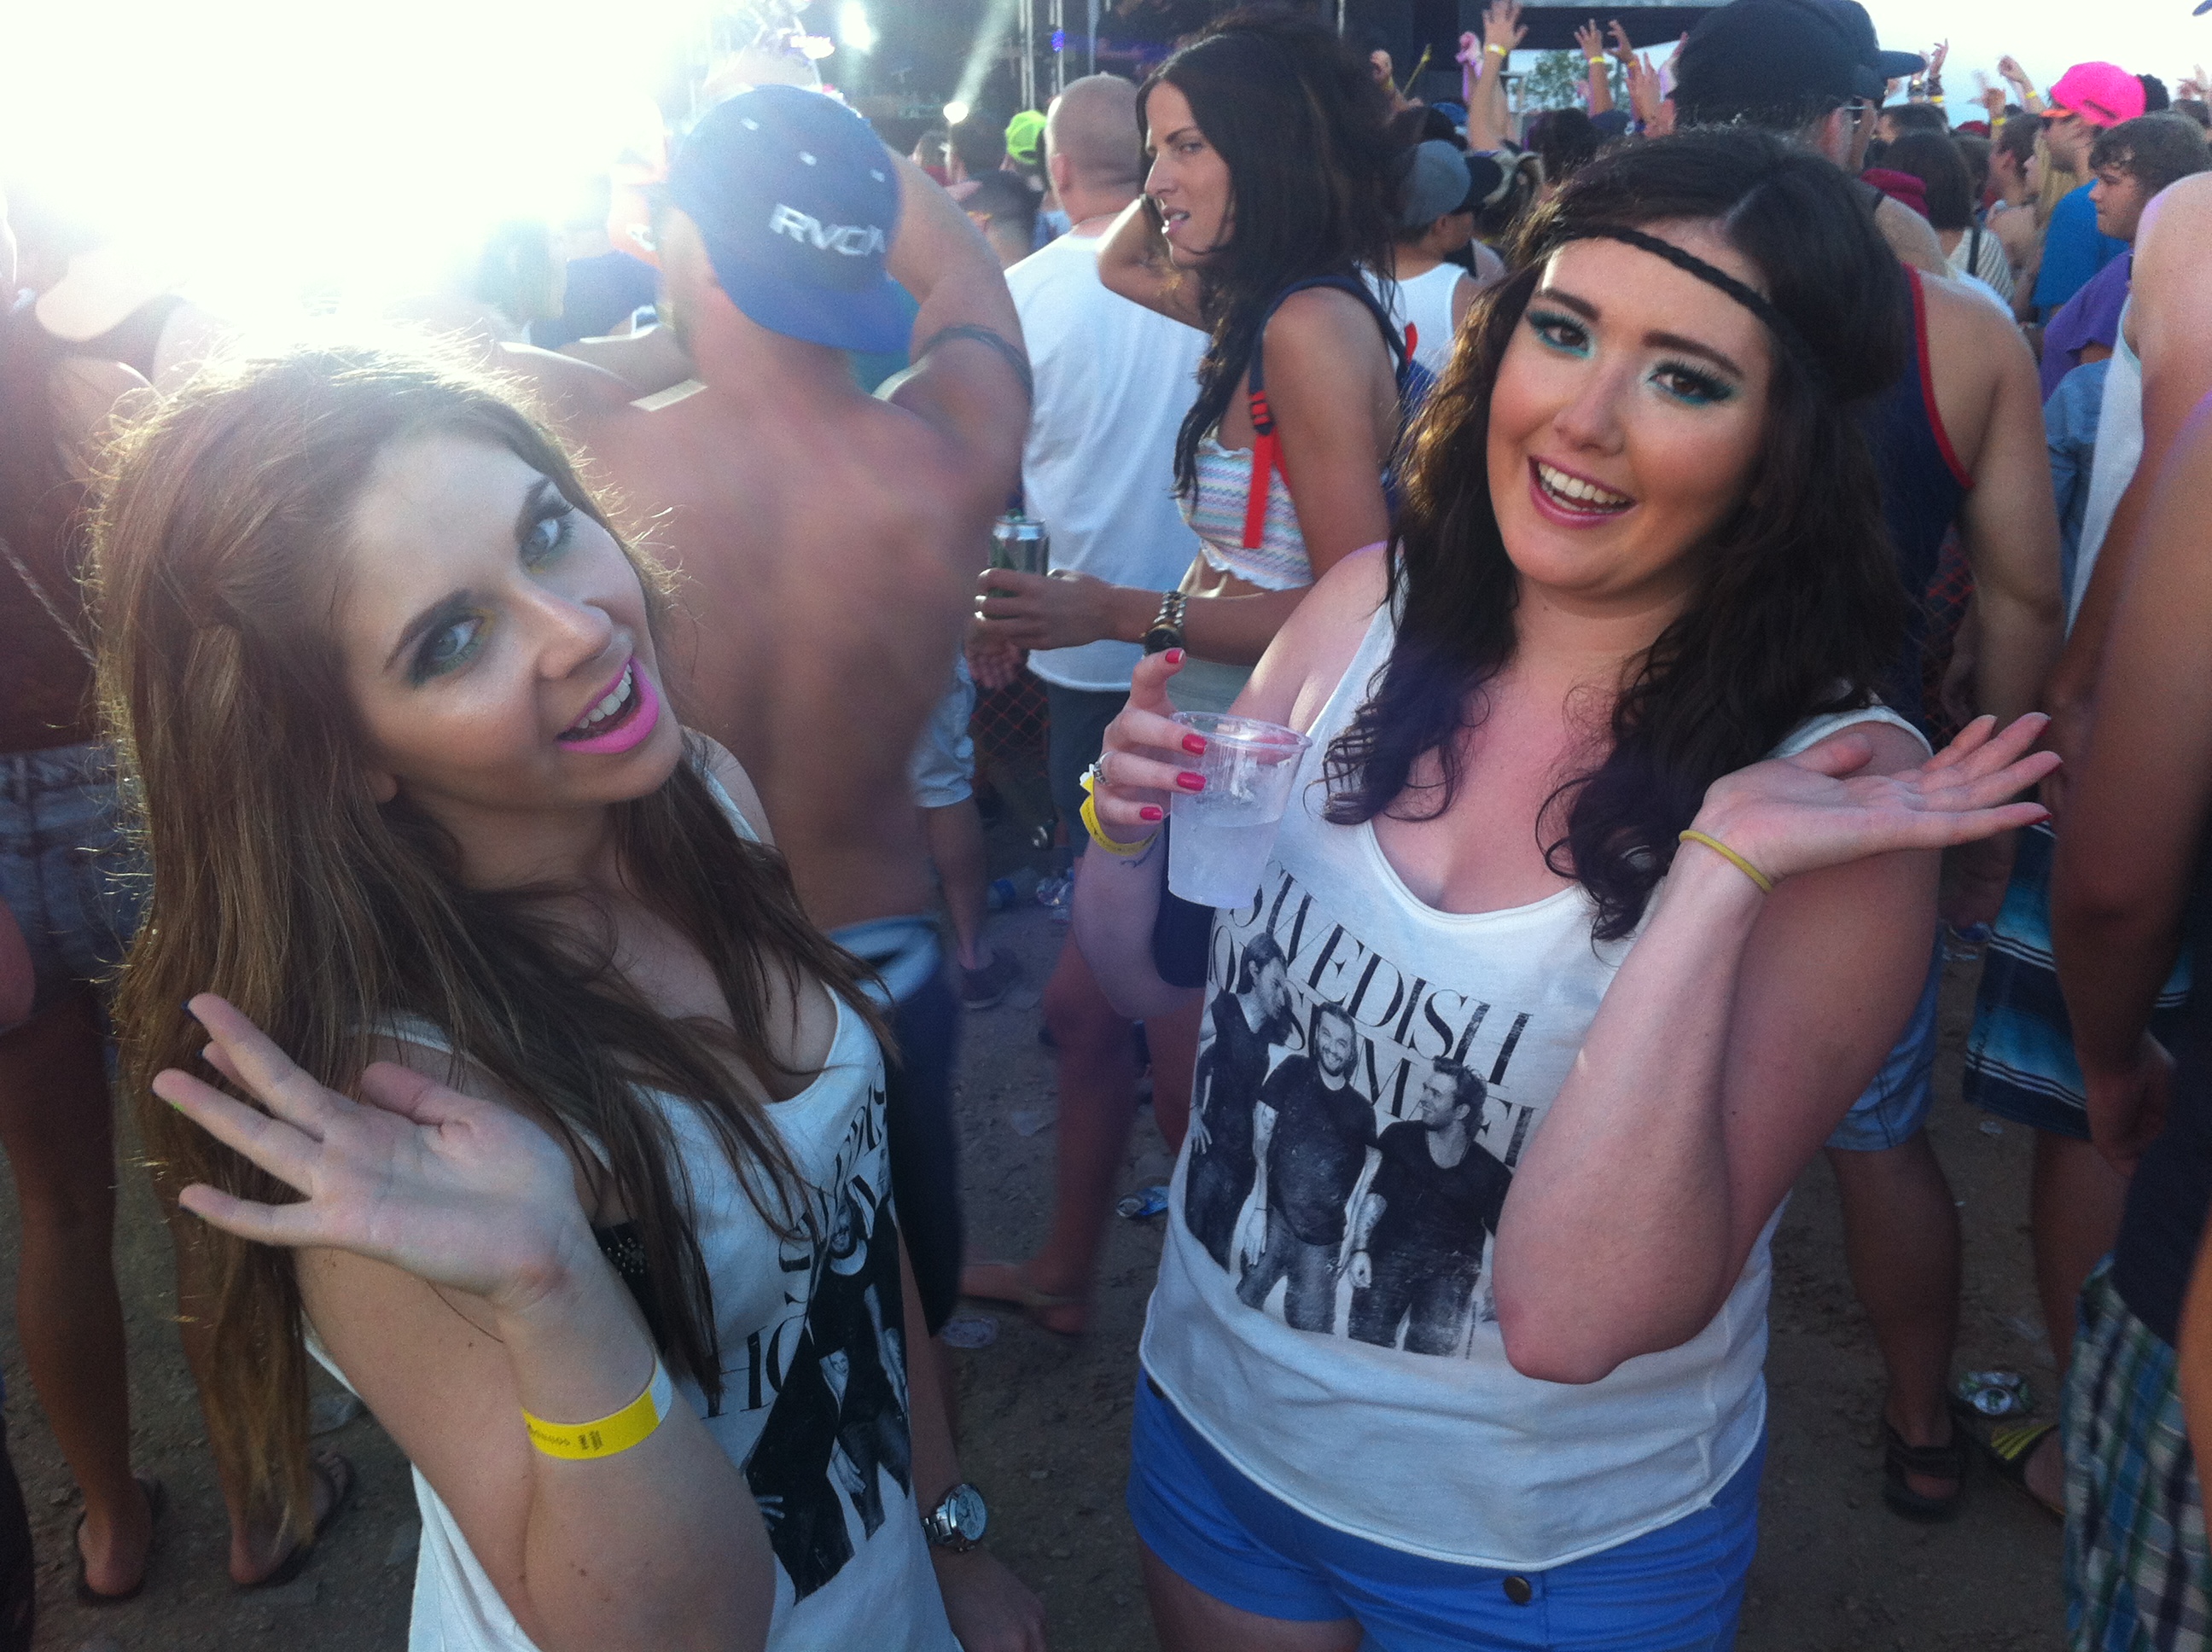
Last week I attended a local EDM music festival that was no Electric Daisy Carnival (EDC), but still really fun.
When it came to how I was going to do my makeup it was a no brainer: bright colours and totally over the top and out of my comfort zone. For this look I did a rainbow of colours on my eyes and then finished it up with an ultra-pink lip. I used mostly Make Up For Ever products because of their awesome colours and pigmentation. The palette I used in particular is the Technicolor palette which is limited edition, but I believe it is still available at Sephora.
Here’s how I did it.

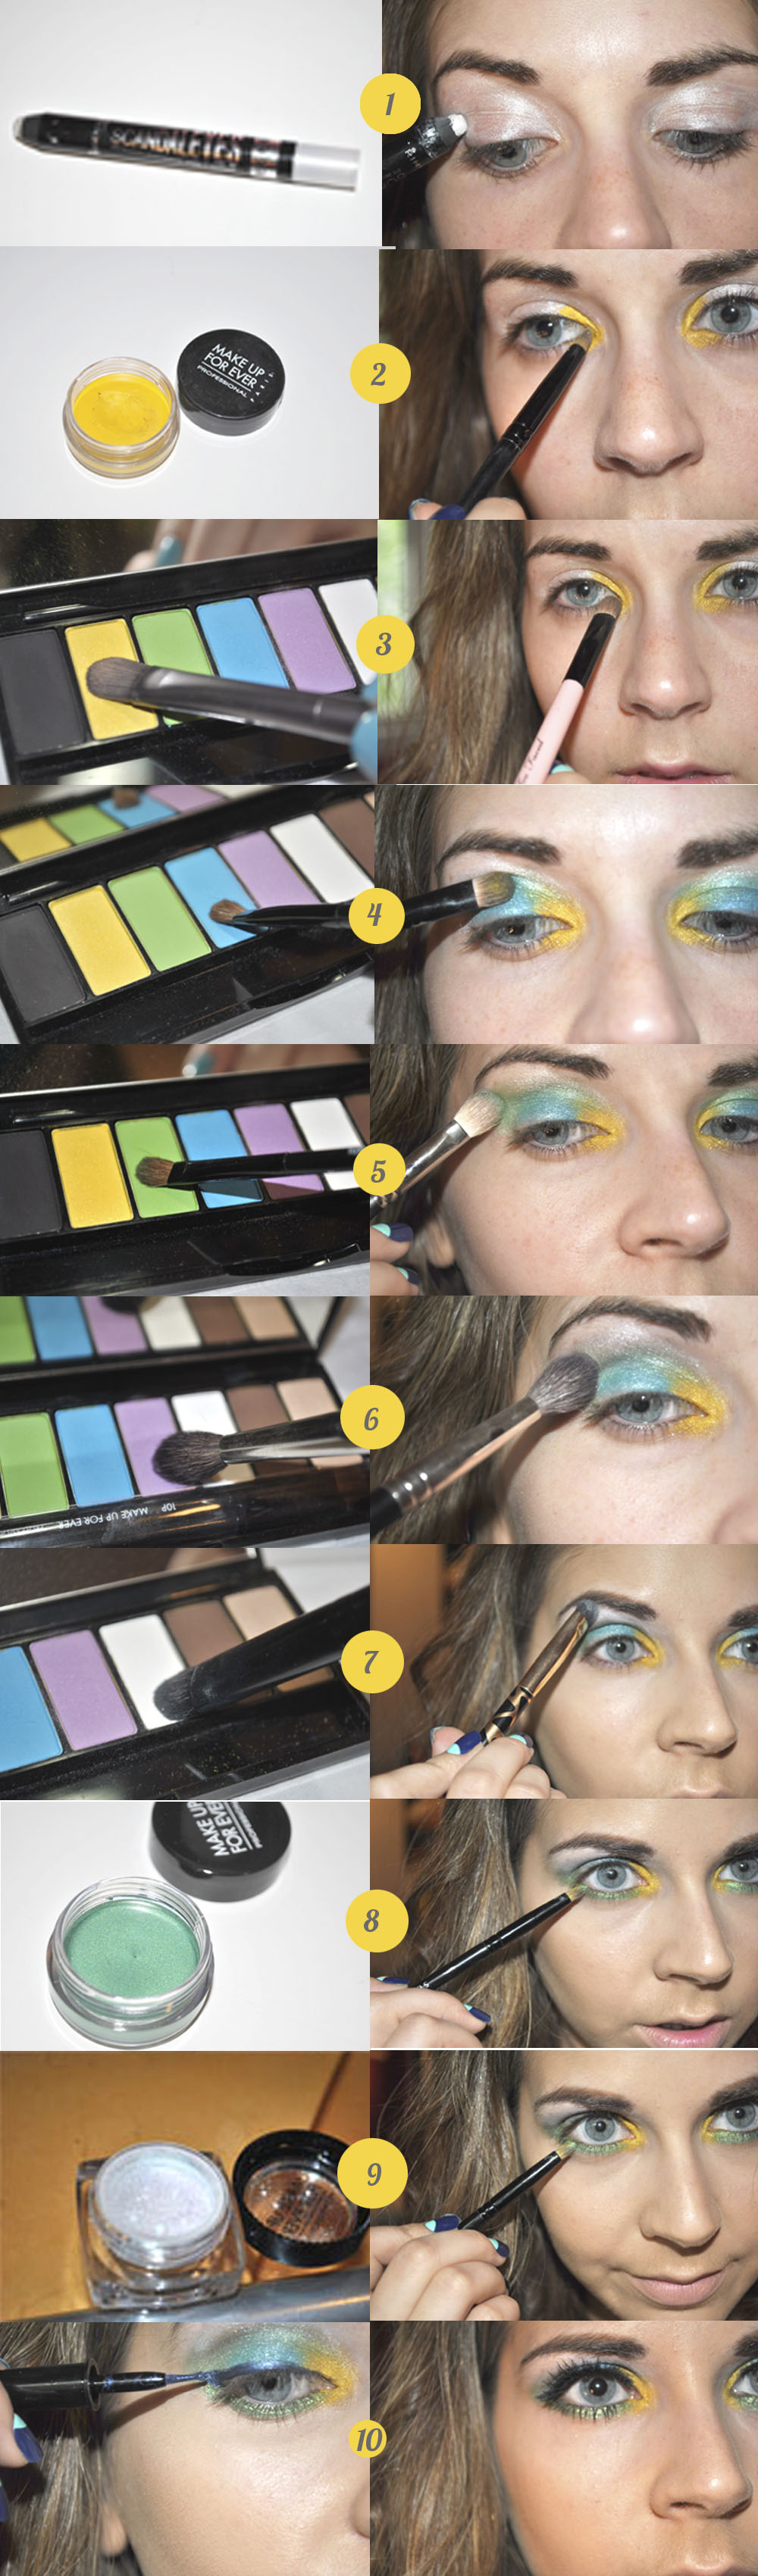
1. Lay down an eyeshadow primer (I used Too Faced Shadow Insurance), then apply a cream white eyeshadow. I used Rimmel London ScandalEyes Eyeshadow Stick in Witness White. Use white so the bright colours can really pop.
2. On the inner corners of your eyes, pop a yellow cream shadow as a base. I used Make Up For Ever’s Aqua Cream in 24 yellow.
3. With a yellow eyeshadow, such as Jaune from the Make Up For Ever Technicolor palette, apply this over your yellow base.
4. With a blue eyeshadow (I used 72 from the Technicolor palette), apply this on the centre of your lid.
5. Grabbing a green shade (I used 91), place this on the outer V blending into the blue.
6. With a purple colour (116) and a fluffy brush, blend this along your crease melding all the colours together creating a rainbow.
7. With a white shade ( I used the matte 00 shade), apply this onto your brow bone.
8. For the lower lash line, set down a cream green shade. I used Make Up For Ever Aqua Cream in 52.
9. To really amp up the volume, place some silver iridescent glitter over top. I used Make Up For Ever Holodiam Powder in 303, which I believe was limited edition for the holidays. NYX makes an affordable option.
10. To finish up the look, apply a blue liquid liner, winging it out (I used Lancome Art Liner in Azure), and then a couple coats of mascara. Amp up the look with some false lashes.


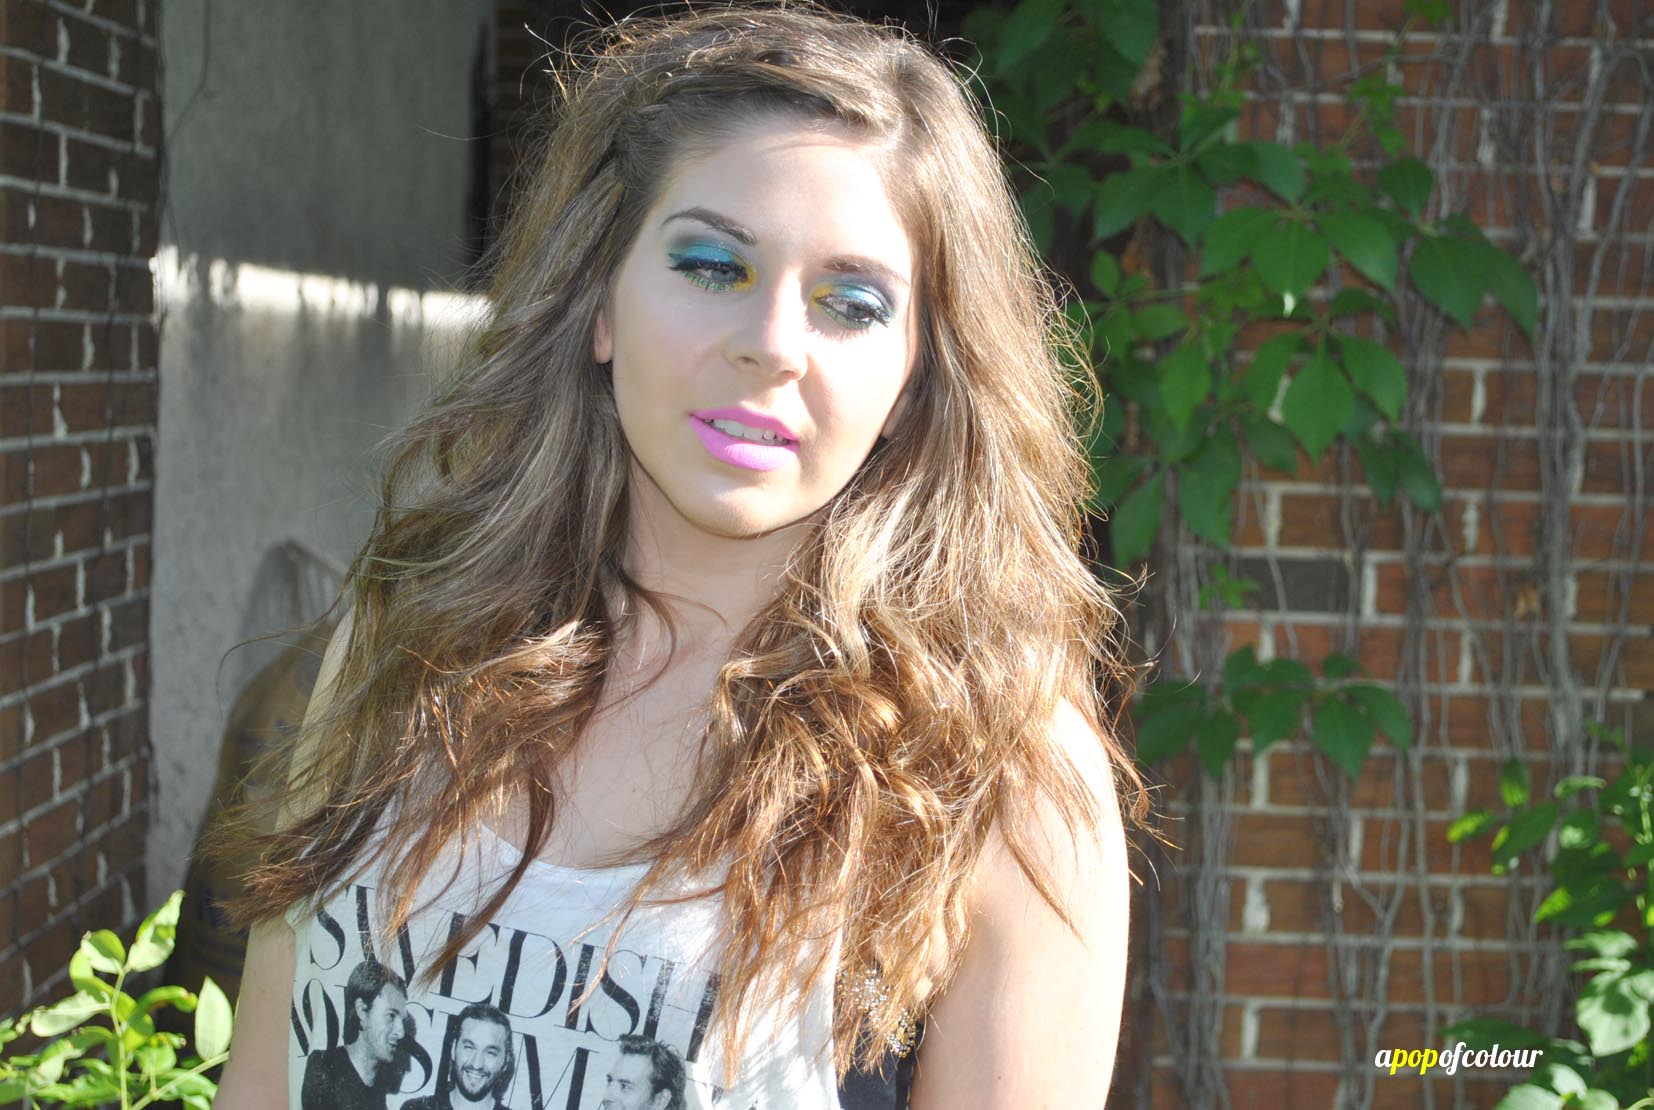
For the rest of my face, I used Benefit’s The POREfessional as a primer, then applied Laura Mercier Silk Creme foundation. For concealer I used the Make Up For Ever 5-Color Camouflage concealing palette, and for the lips I used Wet n Wild Mega Last Liquid Lip Colour in Click On My Hyperpink because once it’s on, it’s on. To set everything I used Victoria’s Secret Make It Last Prime & Set Makeup Spray.


Hope you enjoyed the look and Happy Canada Day!
Like what you read? Check out these related posts:

If you are like me, I often search the web for swatches of nail polish colours that I am interested in buying. Now, I’ve been told that I have long nail beds, but unfortunately, due to the crazy amount of lacquer painting that I do on a constant basis, my nails have become thin and chip quite easily. I long for beautiful nails, but don’t want to spend the money/do the damage that acrylics can cause on natural nails (they are damaged enough already).
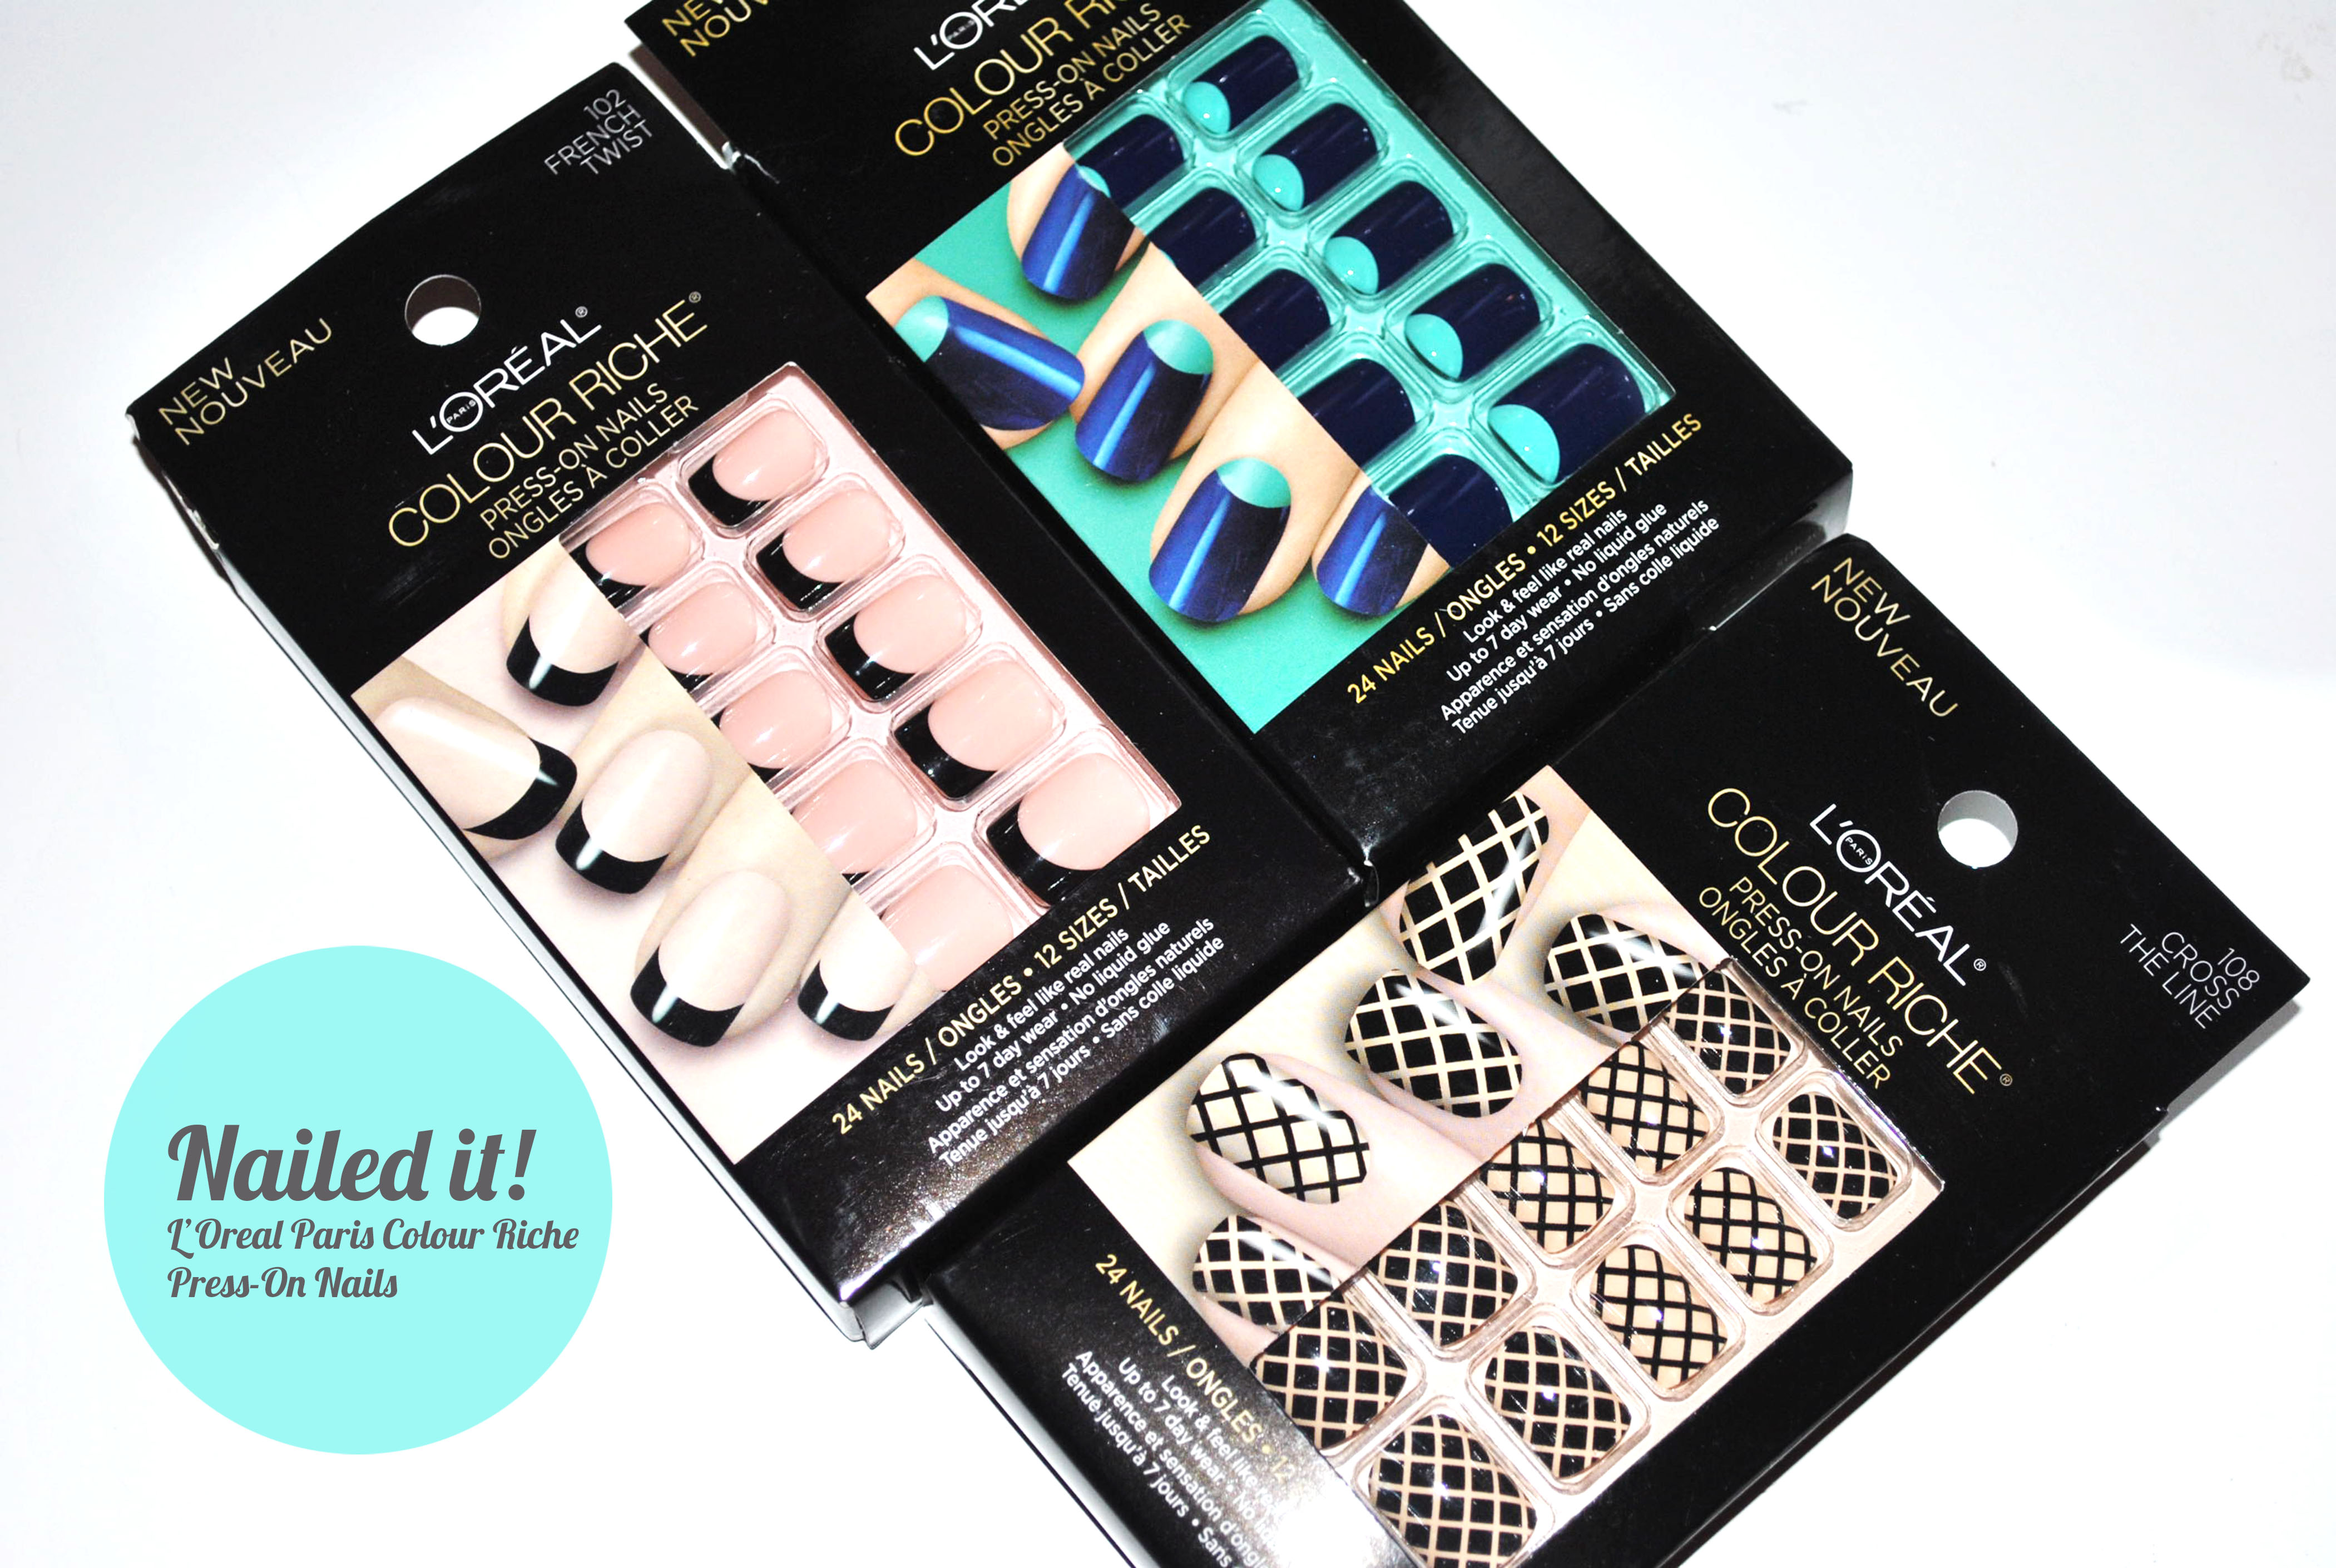
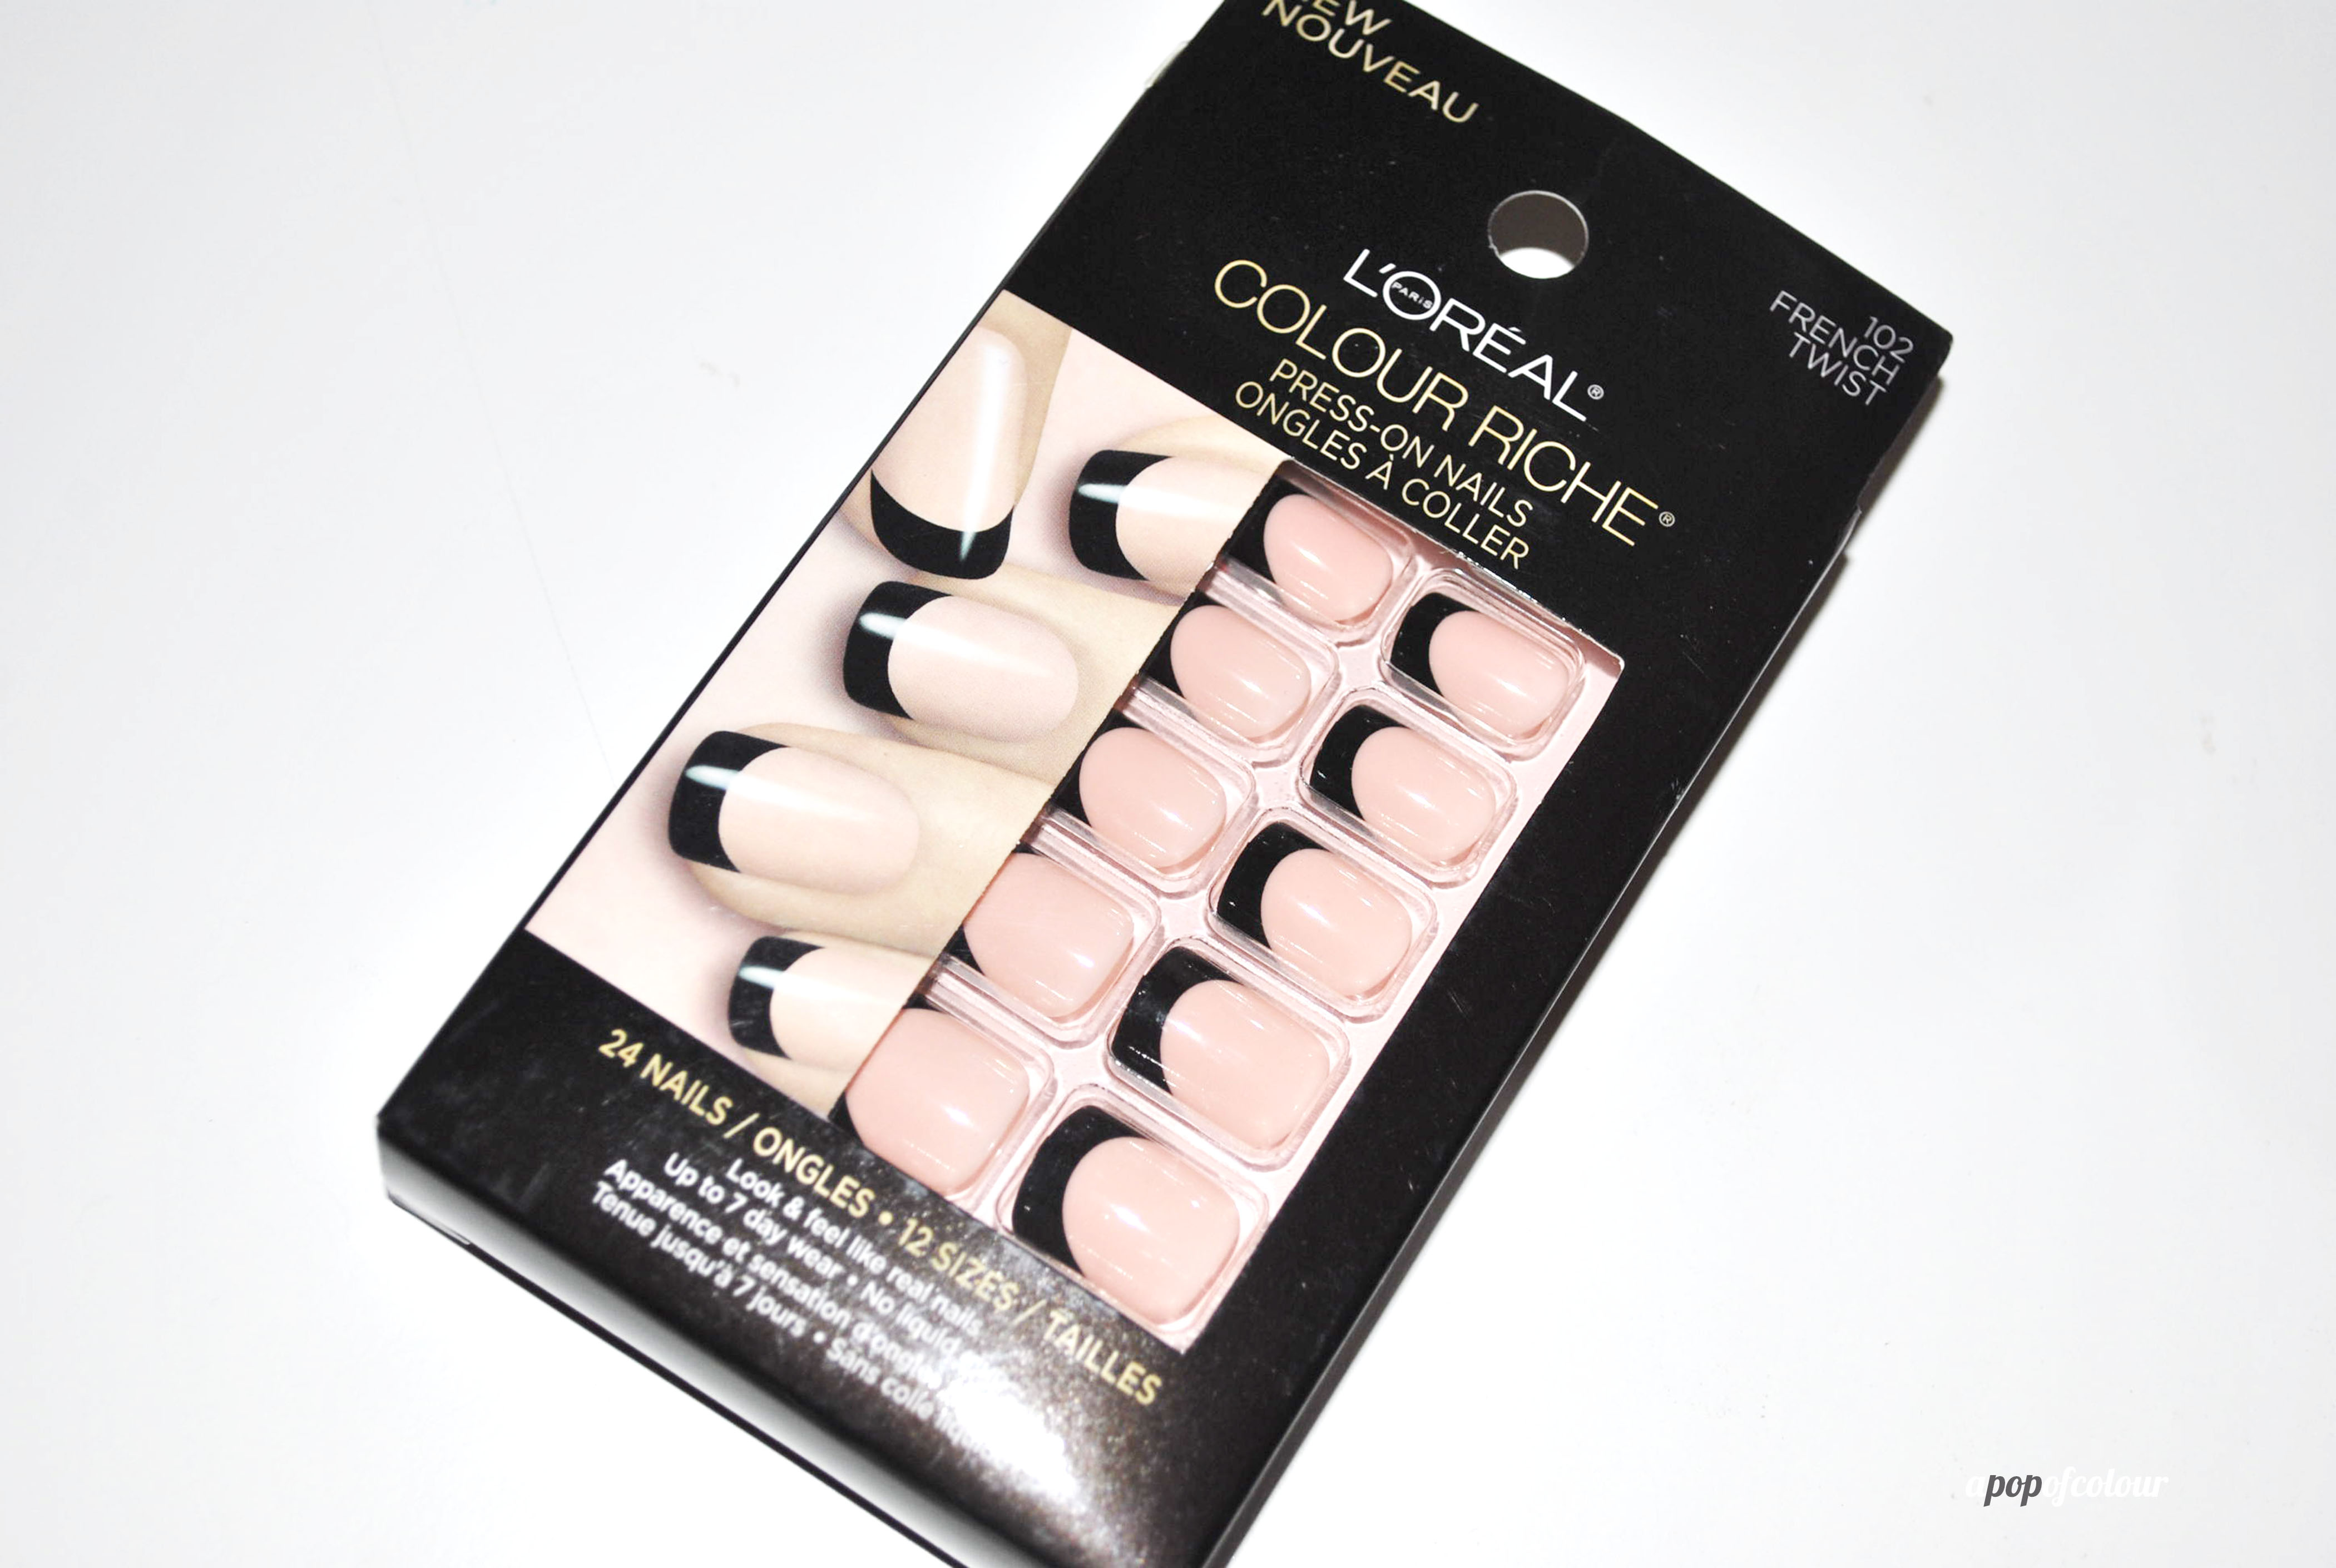
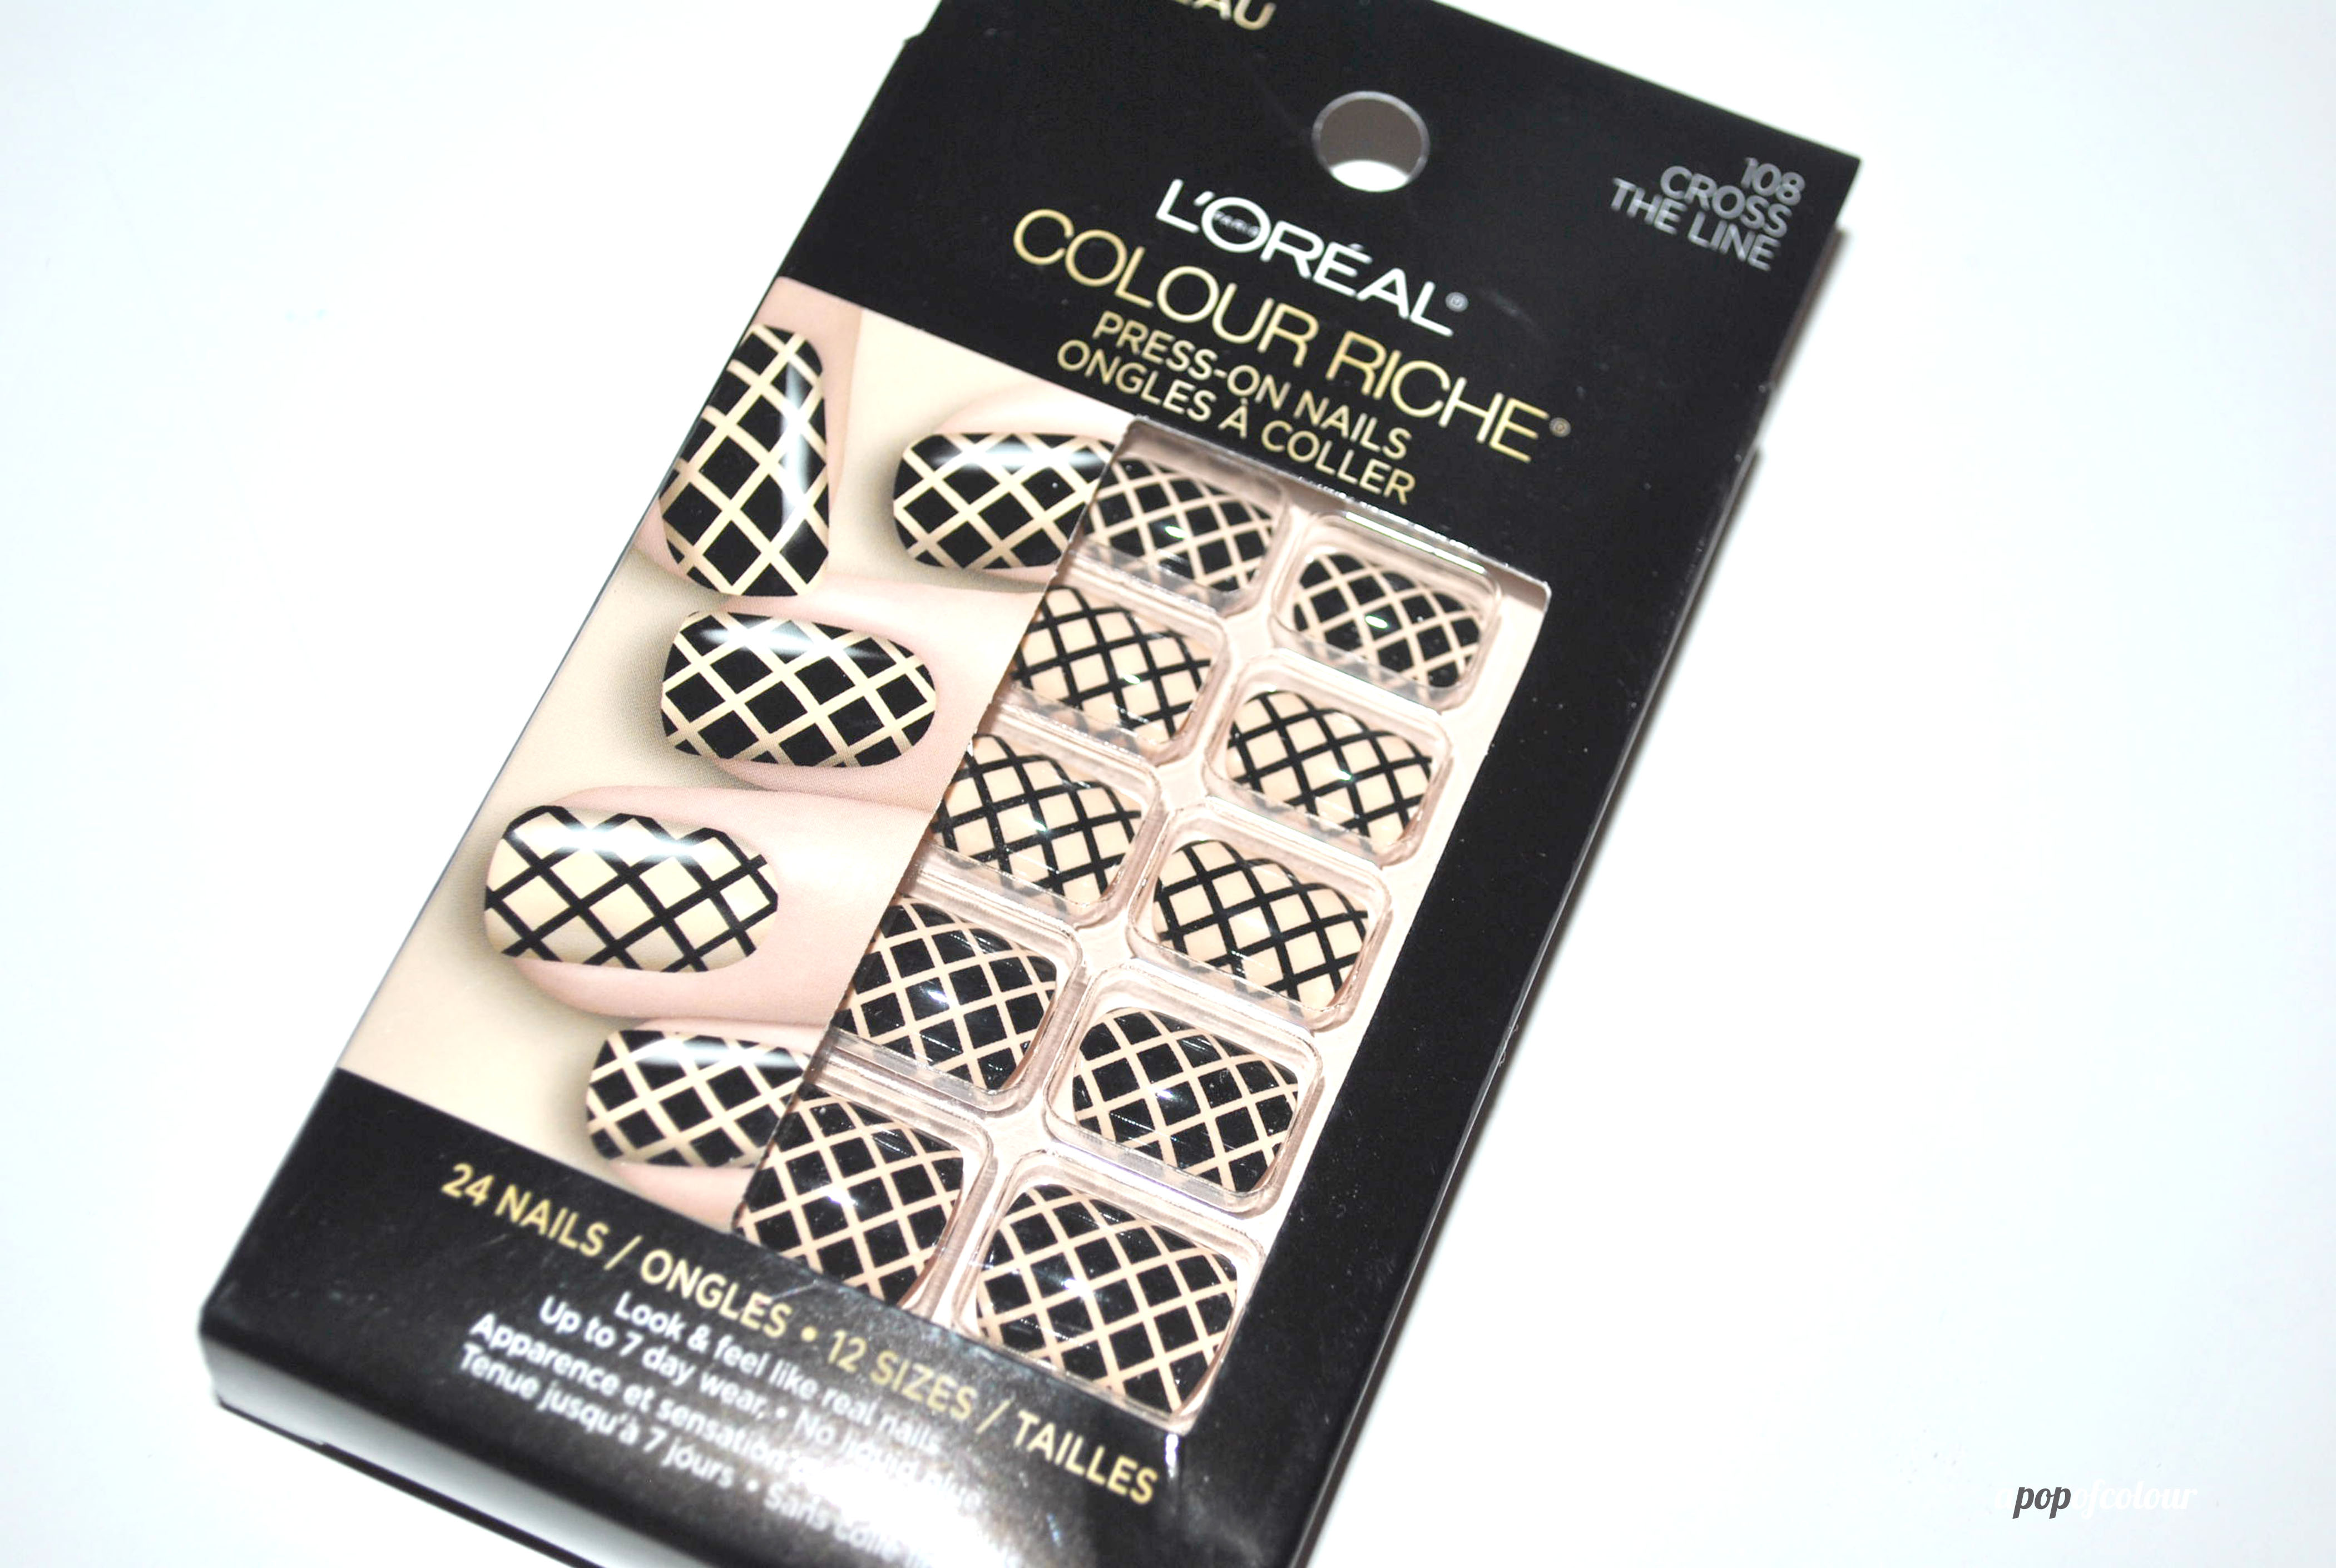
Well, lucky for us nail-challenged folks, L’Oreal Paris is releasing their Colour Riche Press-On Nails next month (July 2013). Press-on nails have been around for a while, but unlike other brands, the L’Oreal version doesn’t have glue. Instead, you put a separate adhesive on your natural nail and then press on the fake one, and voila! Fake nails that look gorgeous, natural, and totally embrace the whole nail art trend.
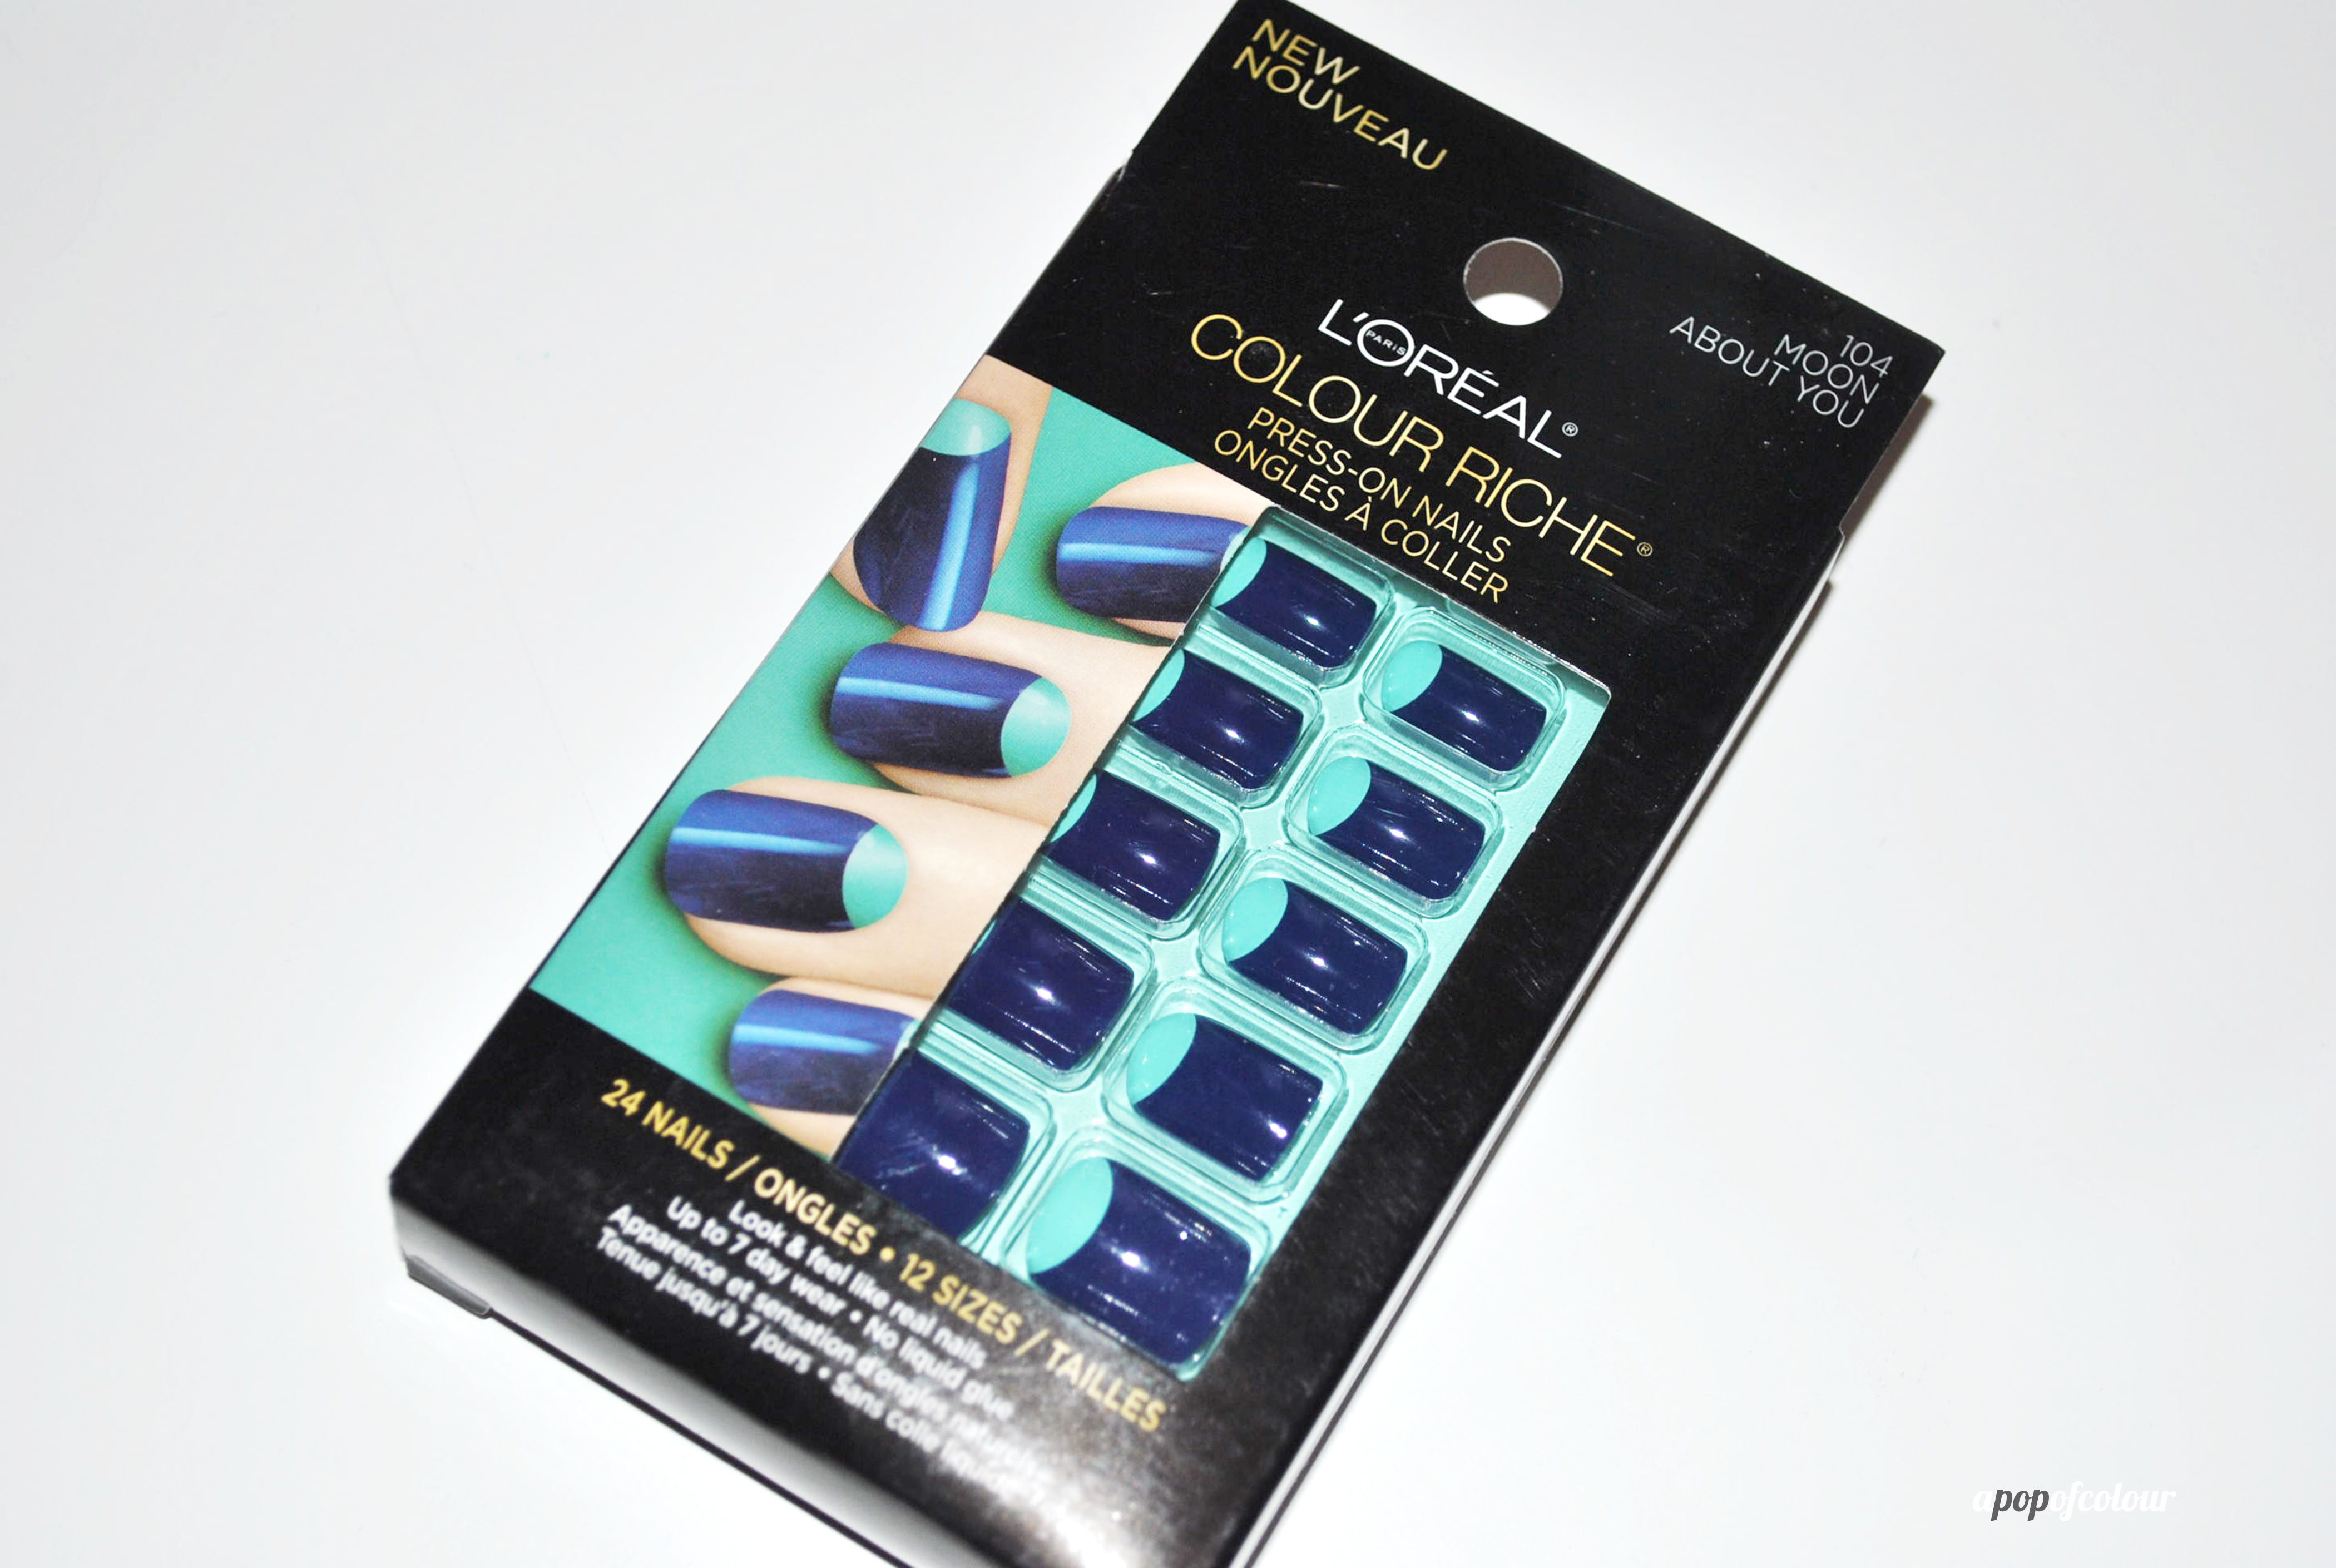
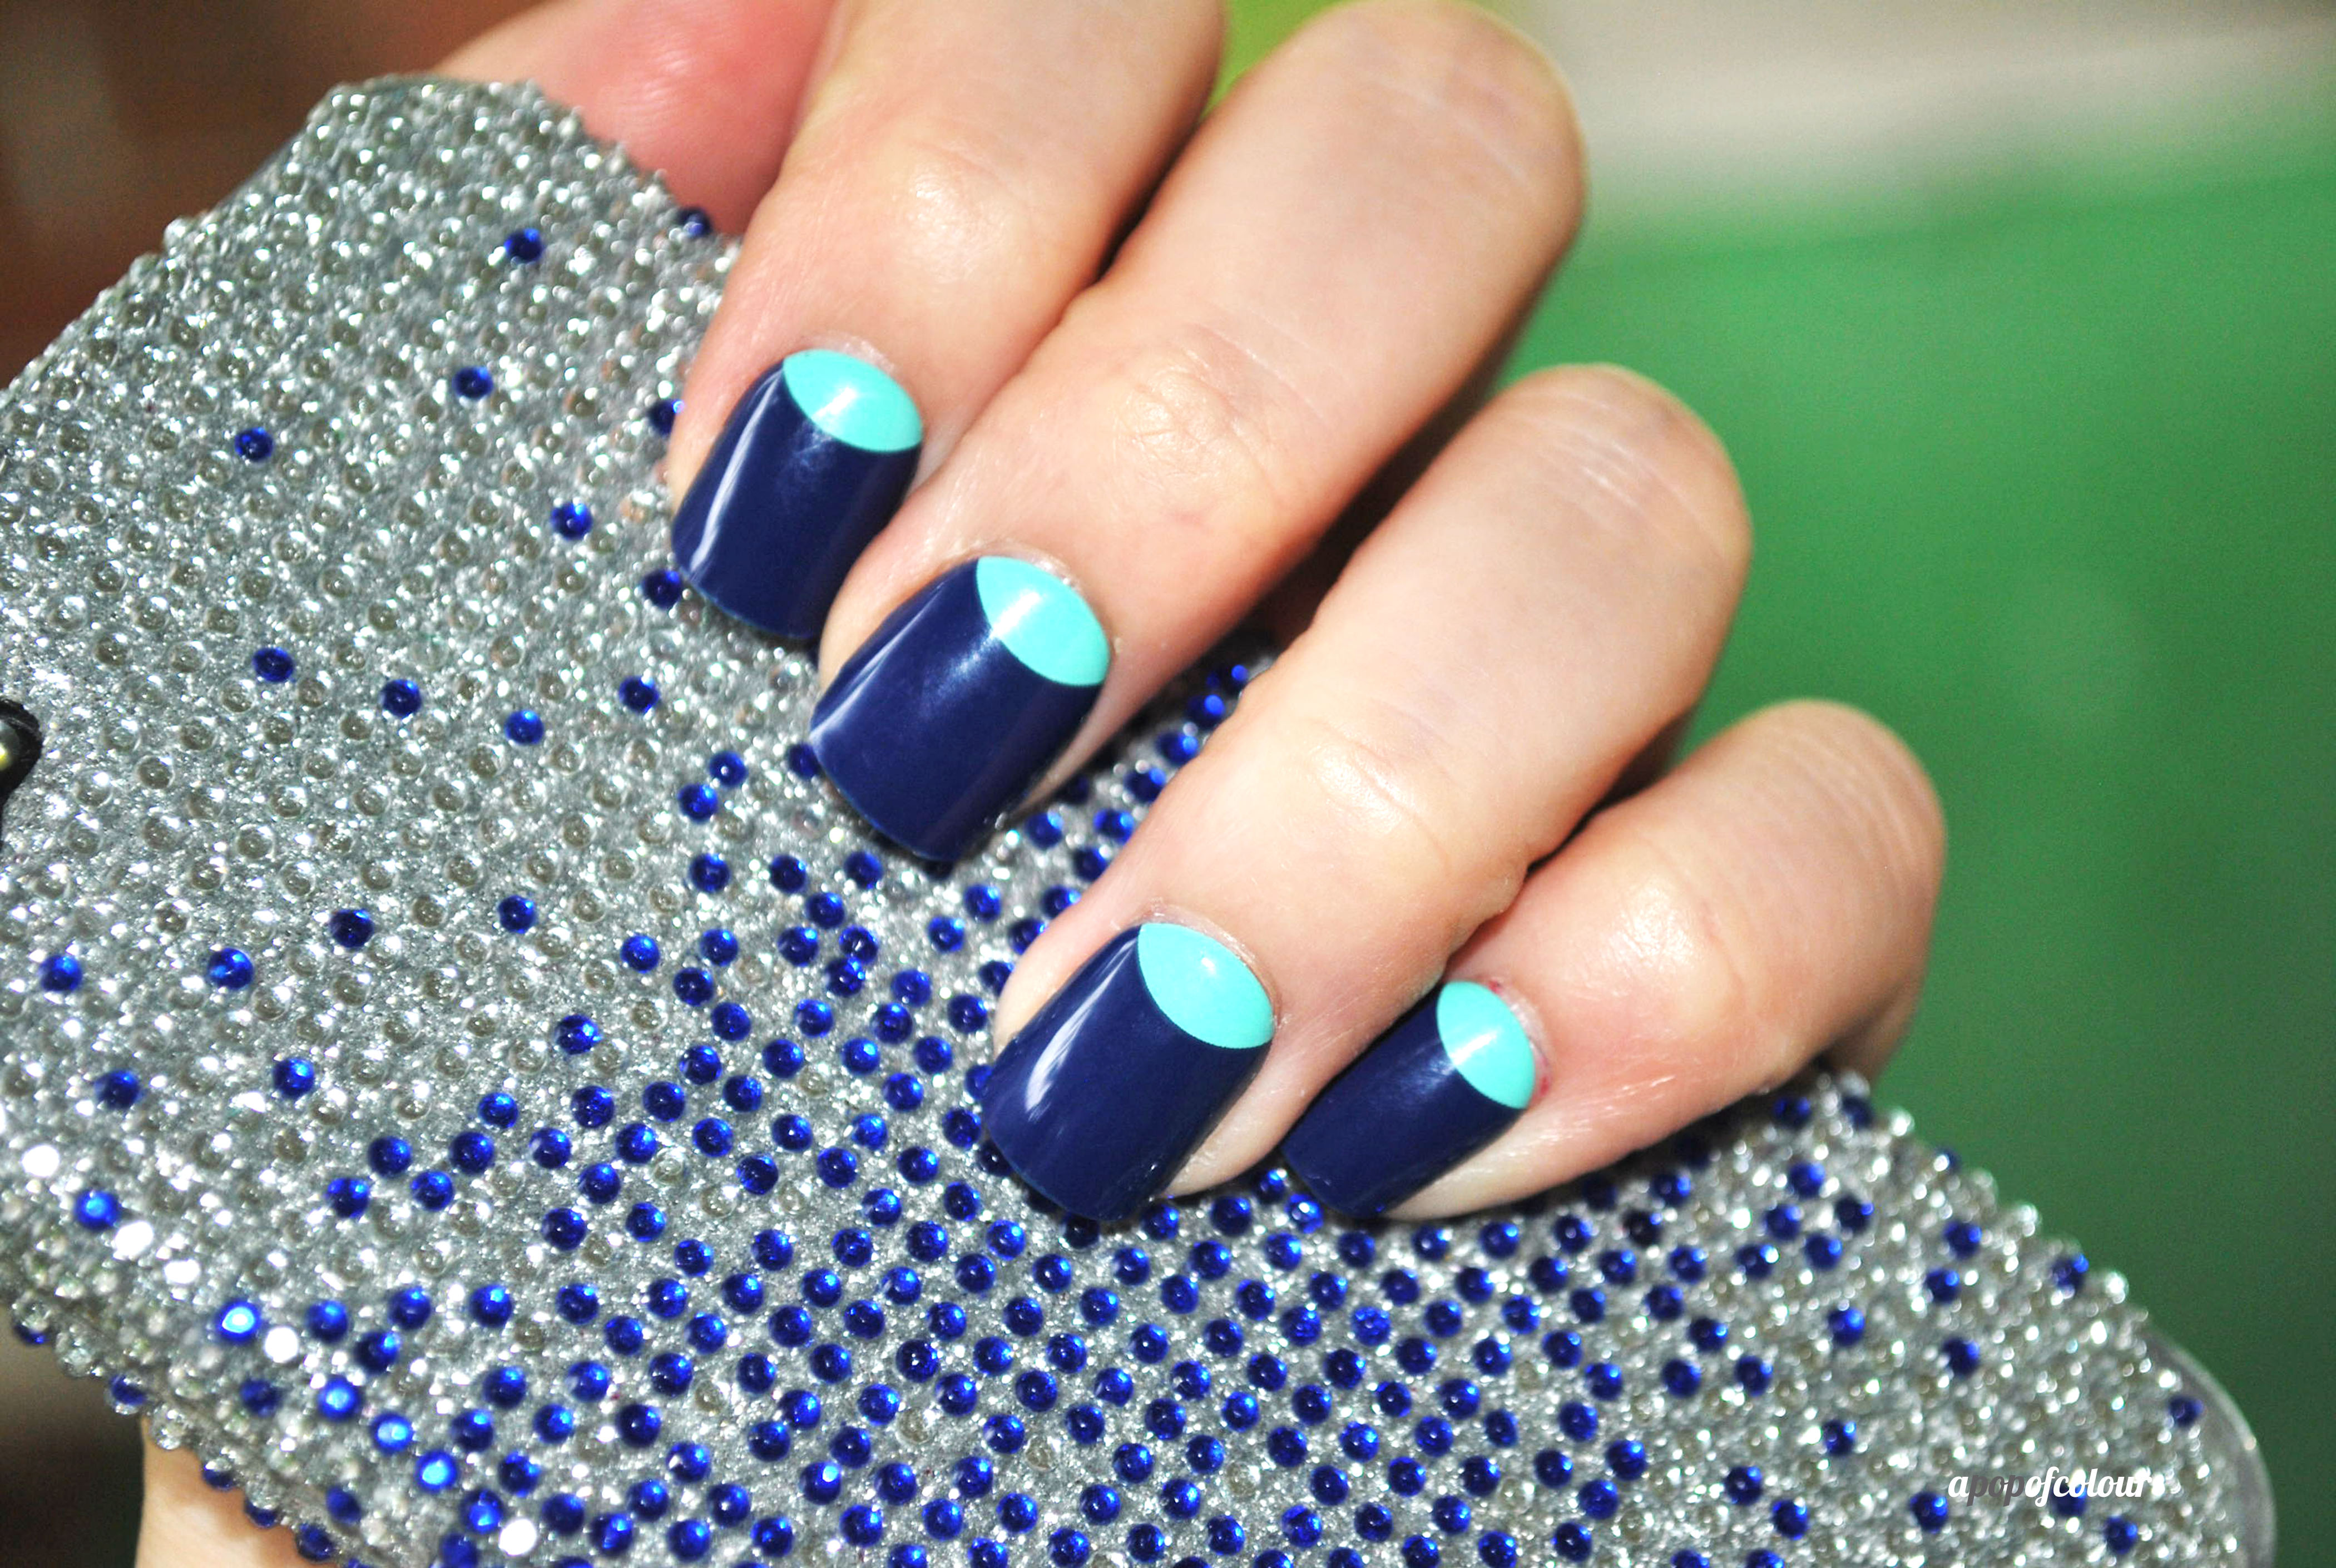
I received three different ones to try, Moon About You, French Twist, and Cross The Line. I chose to try Moon About You first because I’ve always loved the look of the half-moon mani but lacked the talent to actually pull it off properly (plus patience to let it dry).

Moon About You

French Twist

Cross The Line
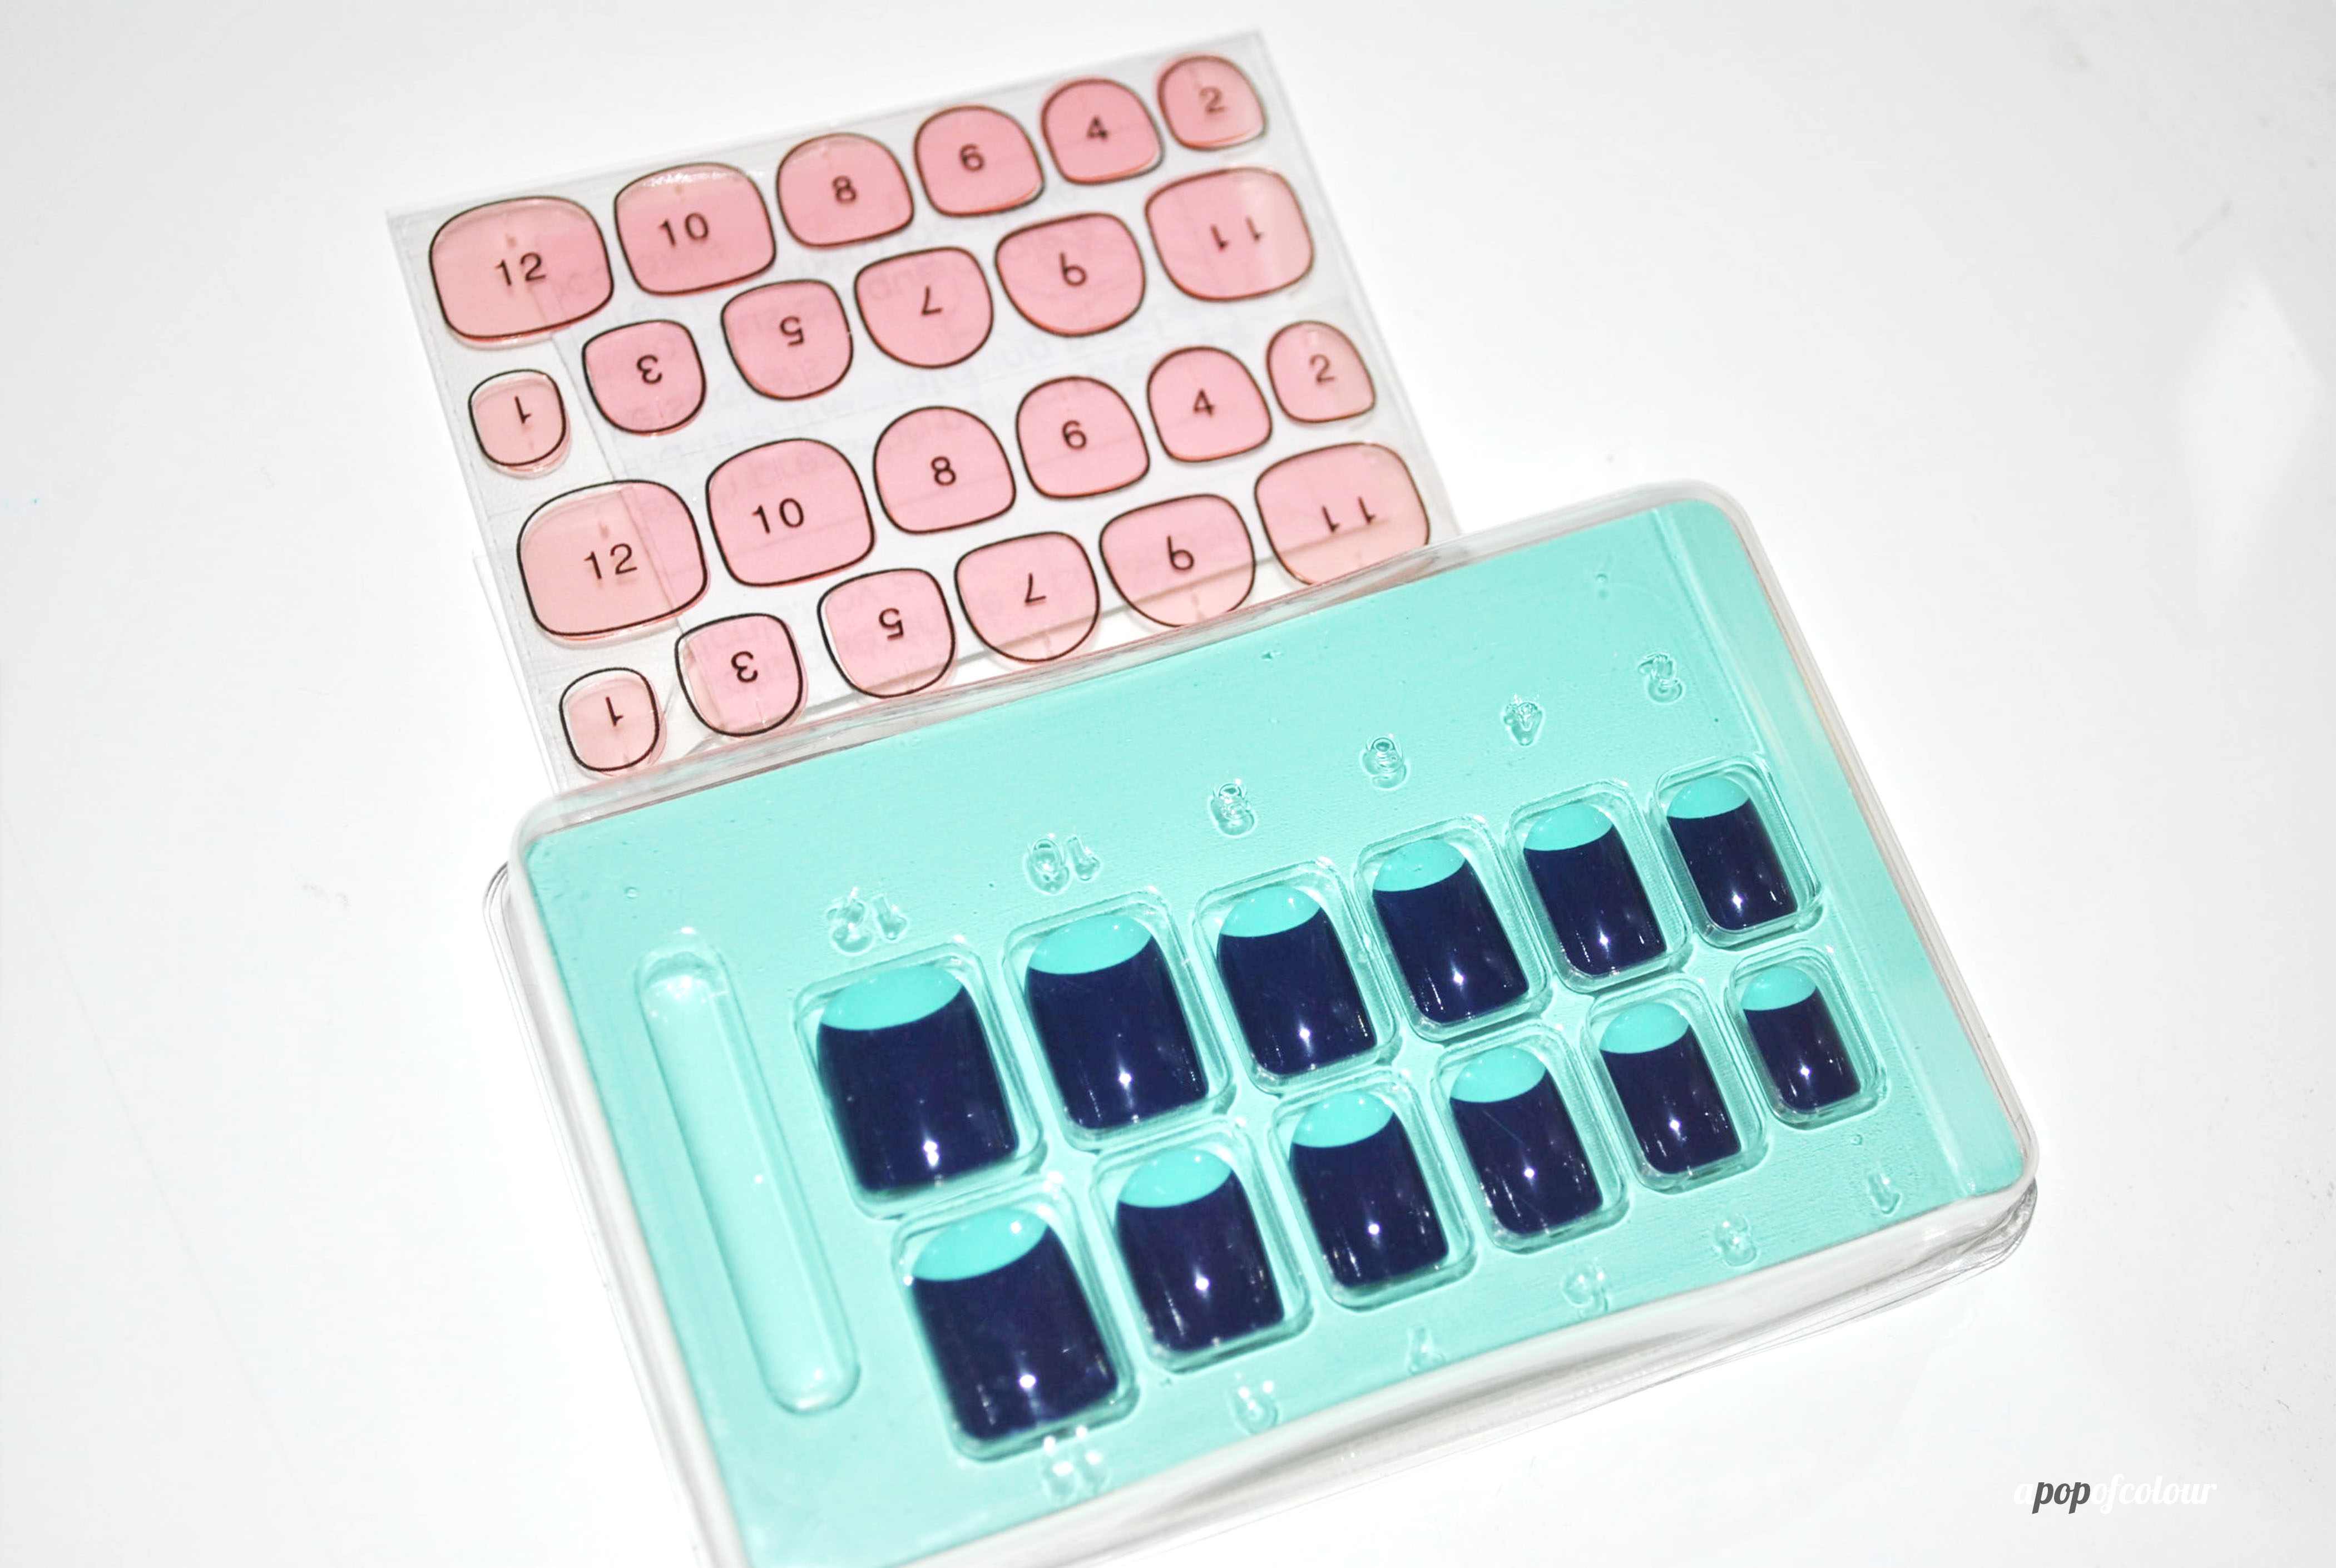
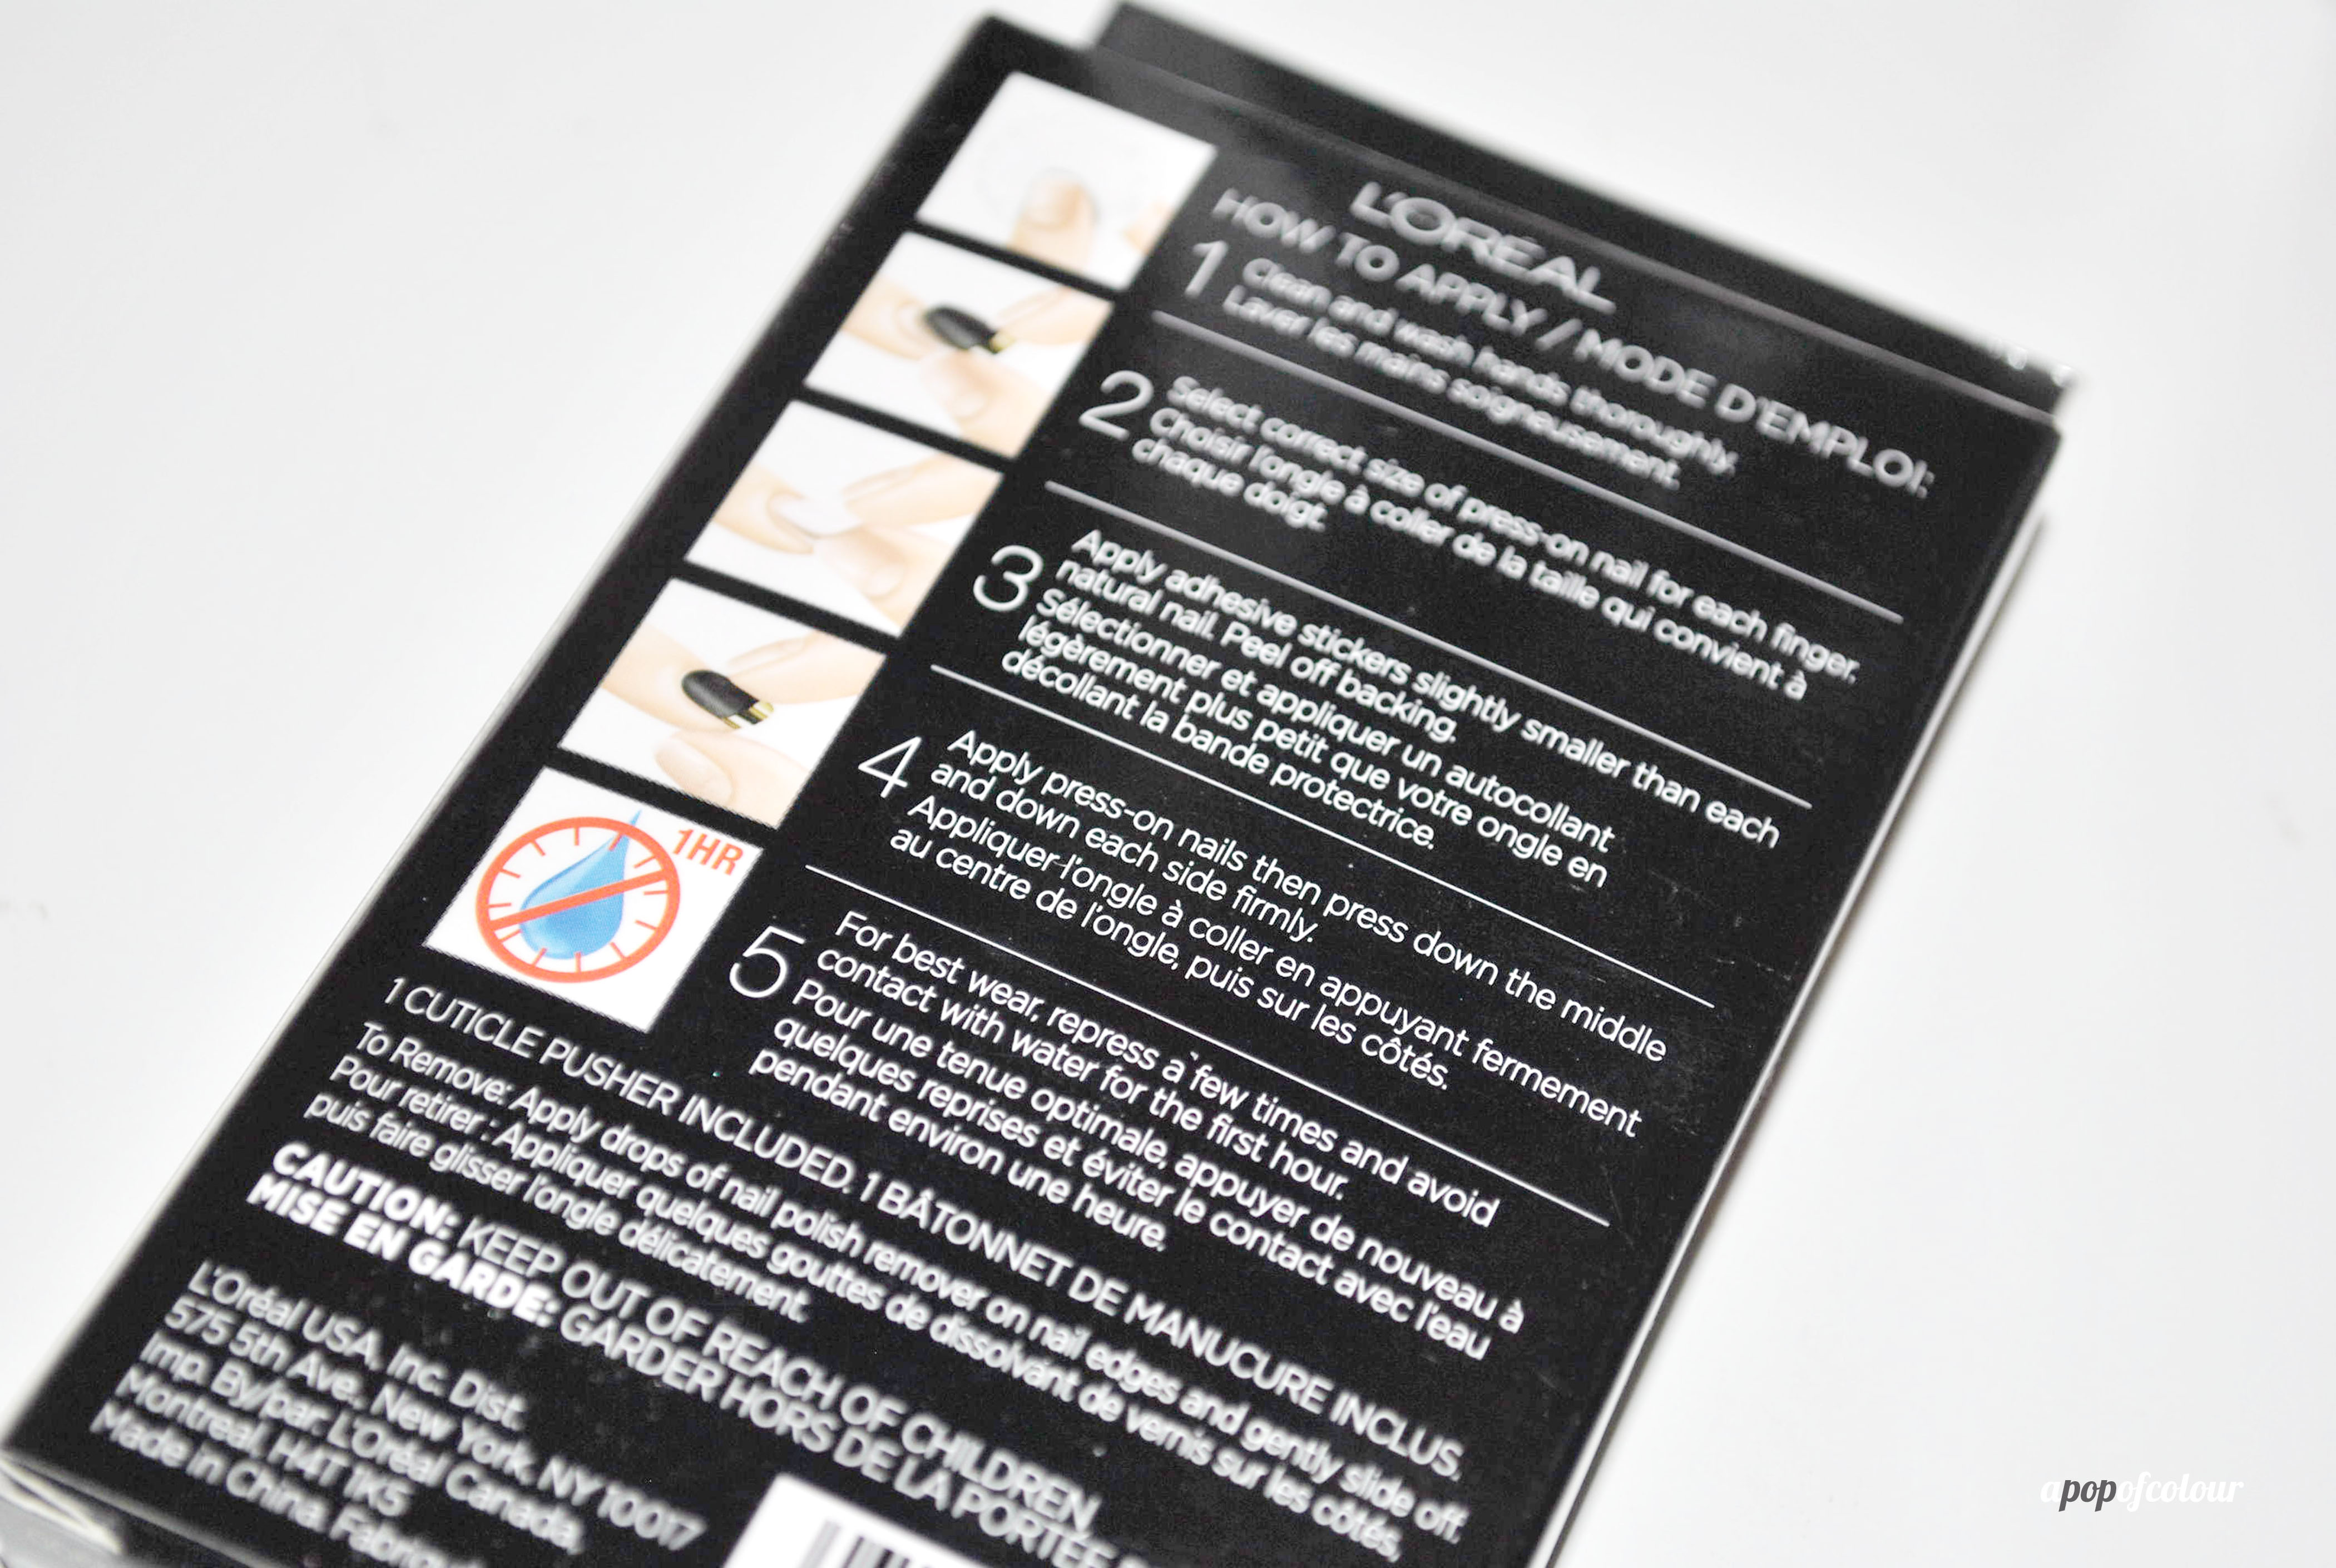
Application is super easy for these. First, pick out the nails that fit your real nails and then look at the back of each one for a number which corresponds with the numbers on the adhesive. Peel off the adhesive, apply it to your bare nails, press on the fake nails and you are good to go. L’Oreal recommends that you don’t get your nails wet within the first hour so the adhesive will set properly.


So how do they hold up? L’Oreal says they are supposed to last for seven days, which some of mine have. I have had to reapply a few nails throughout the week (make sure you hold onto the adhesive and spare nails!), which isn’t bad considering I taught four fitness classes, went to the pool twice, type daily, and had more than a few showers in that time. To remove the nails, L’Oreal says to apply nail polish remover around the edges and they should come right off.
I have to give a huge kudos to L’Oreal Paris for these. I absolutely love wearing them and as shallow as it sounds, they actually make me feel happier to have nice-looking, long nails. I have gotten so many compliments and people asking to “see my nails” (a lot of people think they are the sticker ones, so therefore they look pretty natural to the eye). It’s also nice to kind of give my real nails a break from polish, so they can actually grow out (although they aren’t really breathing with the fake nail on top).
L’Oreal Paris Colour Riche Press-On nails retails for C$14.99 and will be available in July 2013.

Are you excited to try L’Oreal Paris’ Colour Riche Press-On Nails?
Please note, I was given these products for editorial consideration/review from the company. All opinions are my own.
Like what you read? Check out these related posts: