For some, New Years is a magical holiday, but for me, I actually dread the day. I would rather do 10 Valentine’s Days than one New Years because I feel like you are obligated to do something.
There’s always the mad text rush of “what are you doing for New Years?” days before the big day and I’m always left scrambling to find plans, when in reality, there’s nothing more I would rather do than just go to bed at 11 p.m. and pretend like it’s not the last day/first day of the year.
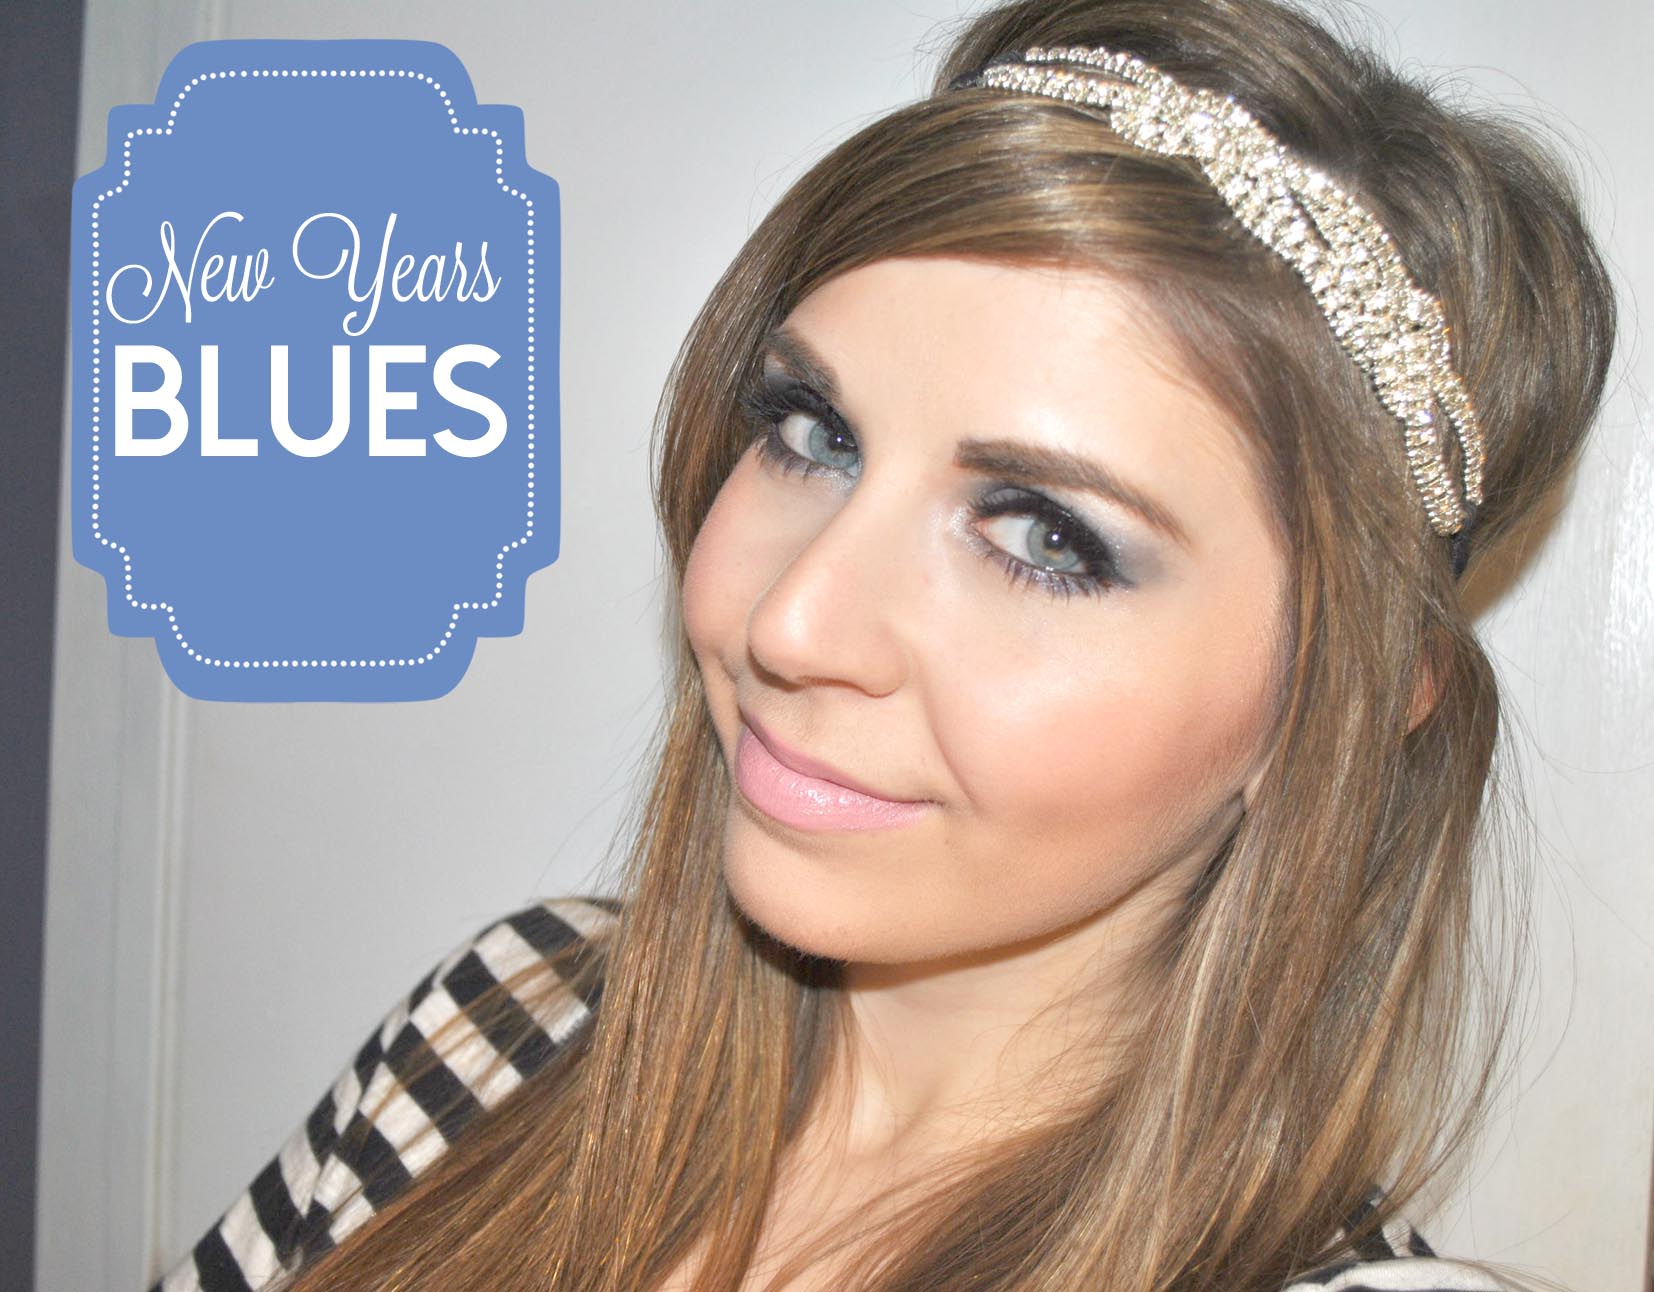
Now because I have major #FOMO (fear of missing out), I always manage to find something to do, and because it just may be the biggest night of the year I obviously have to go full-out glam squad. Usually I sport a smoky eye and glitter, but for this particular look, I chose to keep it a bit more icy. I used the Tarte Amazonian Clay Eyeshadow palette from the Tarte of Giving set to create this wintery look

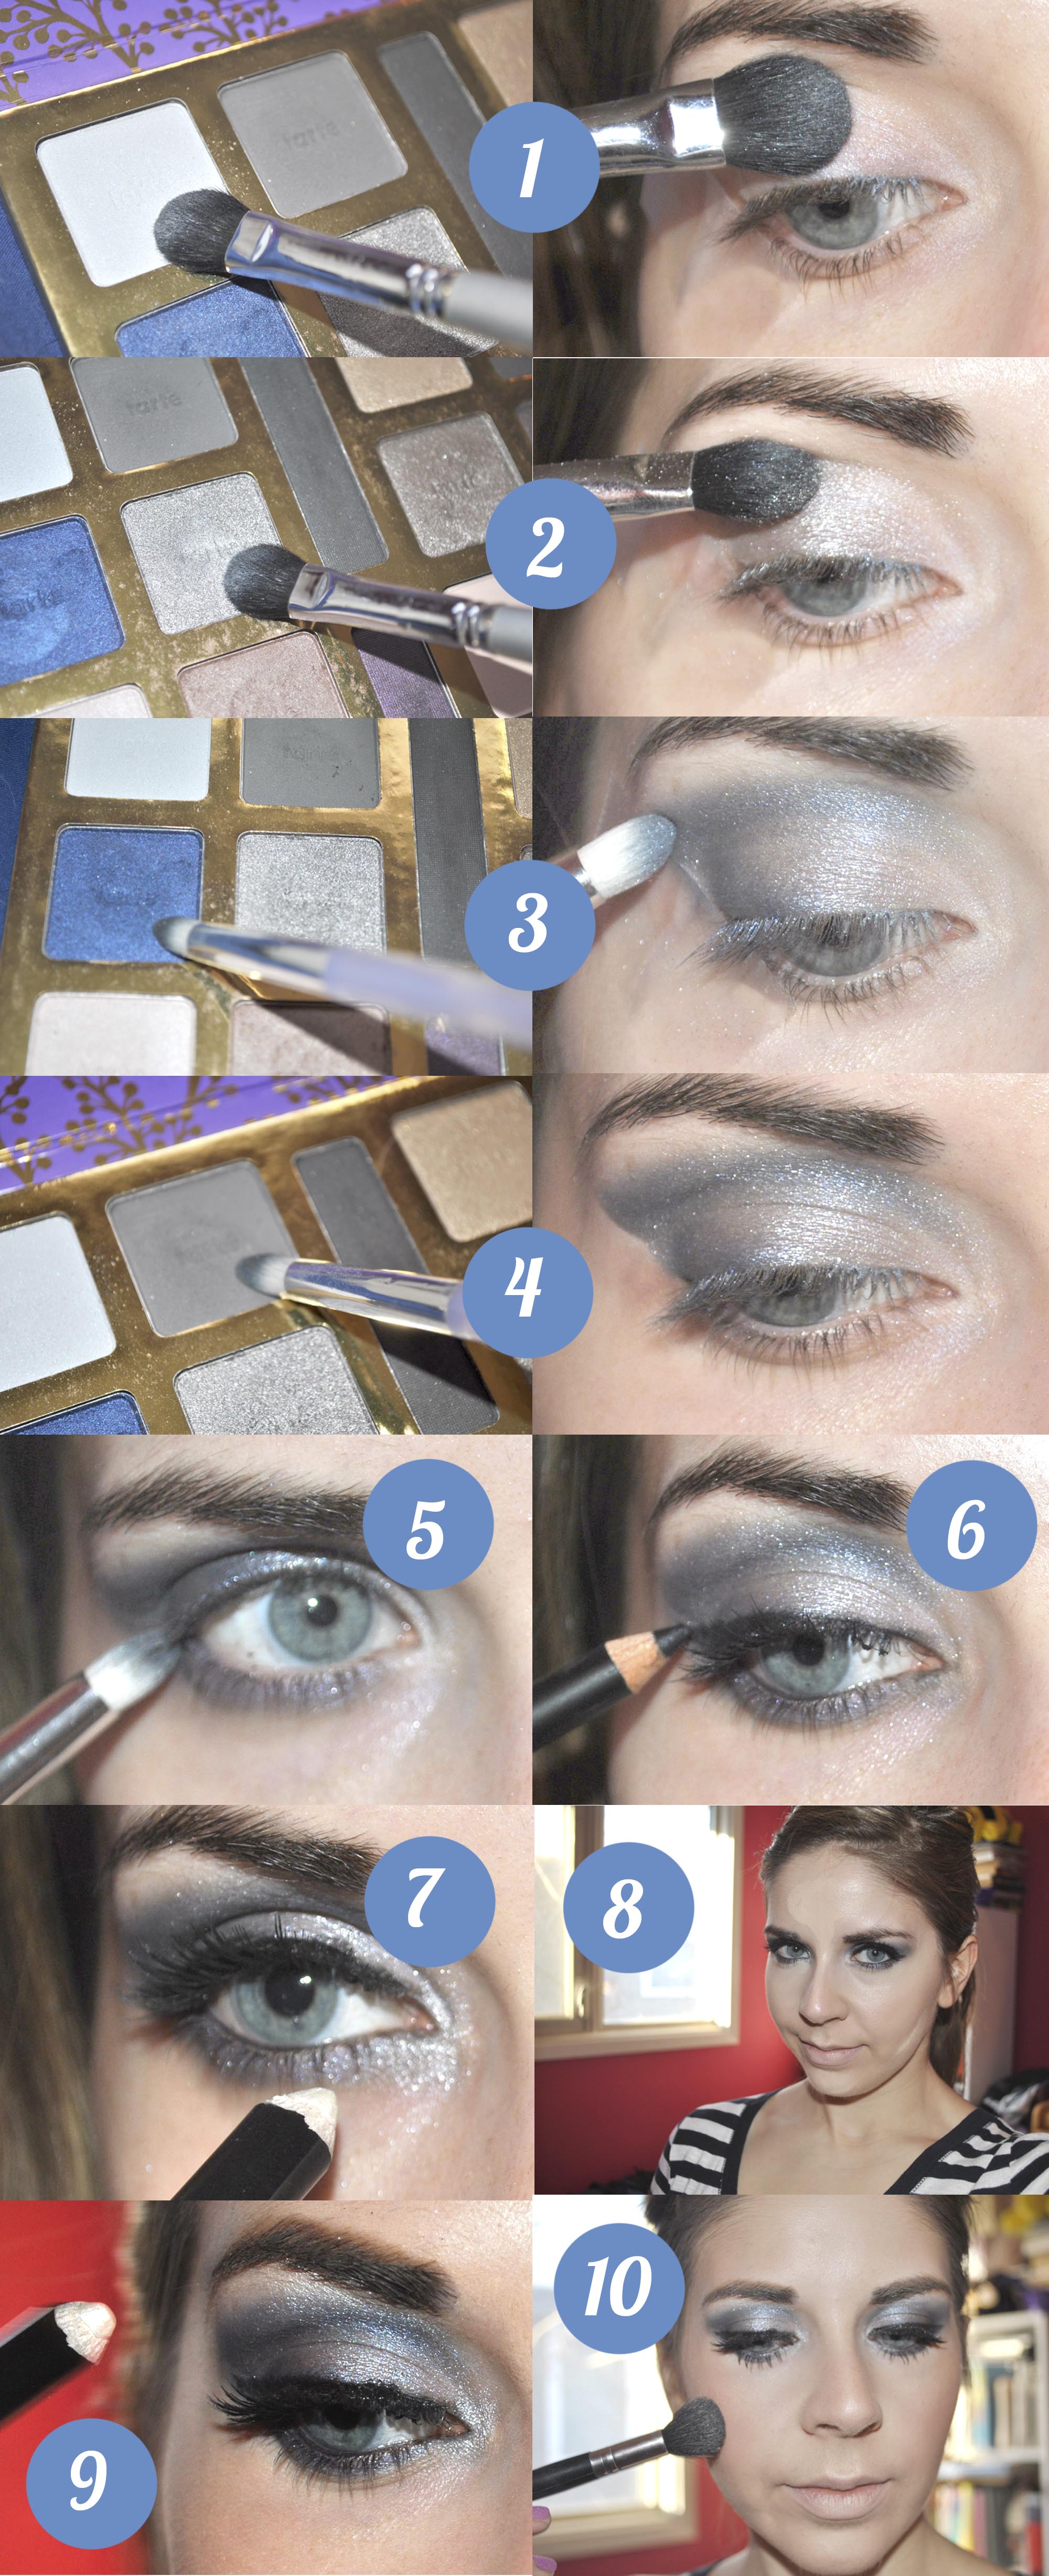
1. Apply an eyeshadow primer and then, using scotch tape, apply this at an angle on the outer corners of your eyes. We want to create a sleek edge on the eye area.
With an icy-blue shadow, apply this to the inner corners of your eyes, blending it towards the middle. I used Bianca’s Coloring Book by Tarte.
2. With a metallic grey eyeshadow (Tom’s Stuffed Tiger), apply this in the middle of your eyes, taking it to the crease.
3. With a royal blue eyeshadow (Daniel’s Teddy Bear), and a pencil brush, apply this in the crease area and along the outer half of your lash line, bringing it up into the crease.
4. With a matte grey shadow (Anna’s Tea Set) apply this to your outer V, darkening the area up. After, remove the tape and then with a blending brush (MAC 217), blend it out so the line isn’t as harsh.
5. With that same royal blue eyeshadow, apply this along your lash line joining it to the crease.
6. Using a liquid liner, line your upper lash line, winging it out. To make it even darker, I went over the liquid with a pencil liner.
7. Curl your lashes, apply a couple coats of mascara, and then pop on some falsies. I used Katy Perry by Eylure lashes in Cool Kitty. After, apply a shimmery white to the inner corners of your eyes to open up the eye area. I used Covergirl Flamed Out Shadow Pencil in Ice Flame.
8. Apply your foundation, concealer, and powder. For the concealer, I really wanted to make my face light up, so I went with a shade lighter than my skin tone and applied this under my eyes, down the bridge of my nose, my forehead, chin, and cupid’s bow to add some highlight. I used Covergirl Stay Fabulous Foundation, IT Cosmetics Bye Bye Undereye in Light, and Make Up For Ever Pro Finish powder.
9. To finish up the eye area, pencil in your brows and then using that same icy white colour you used for the inner corners of your eyes, apply this along your brow bone to highlight.
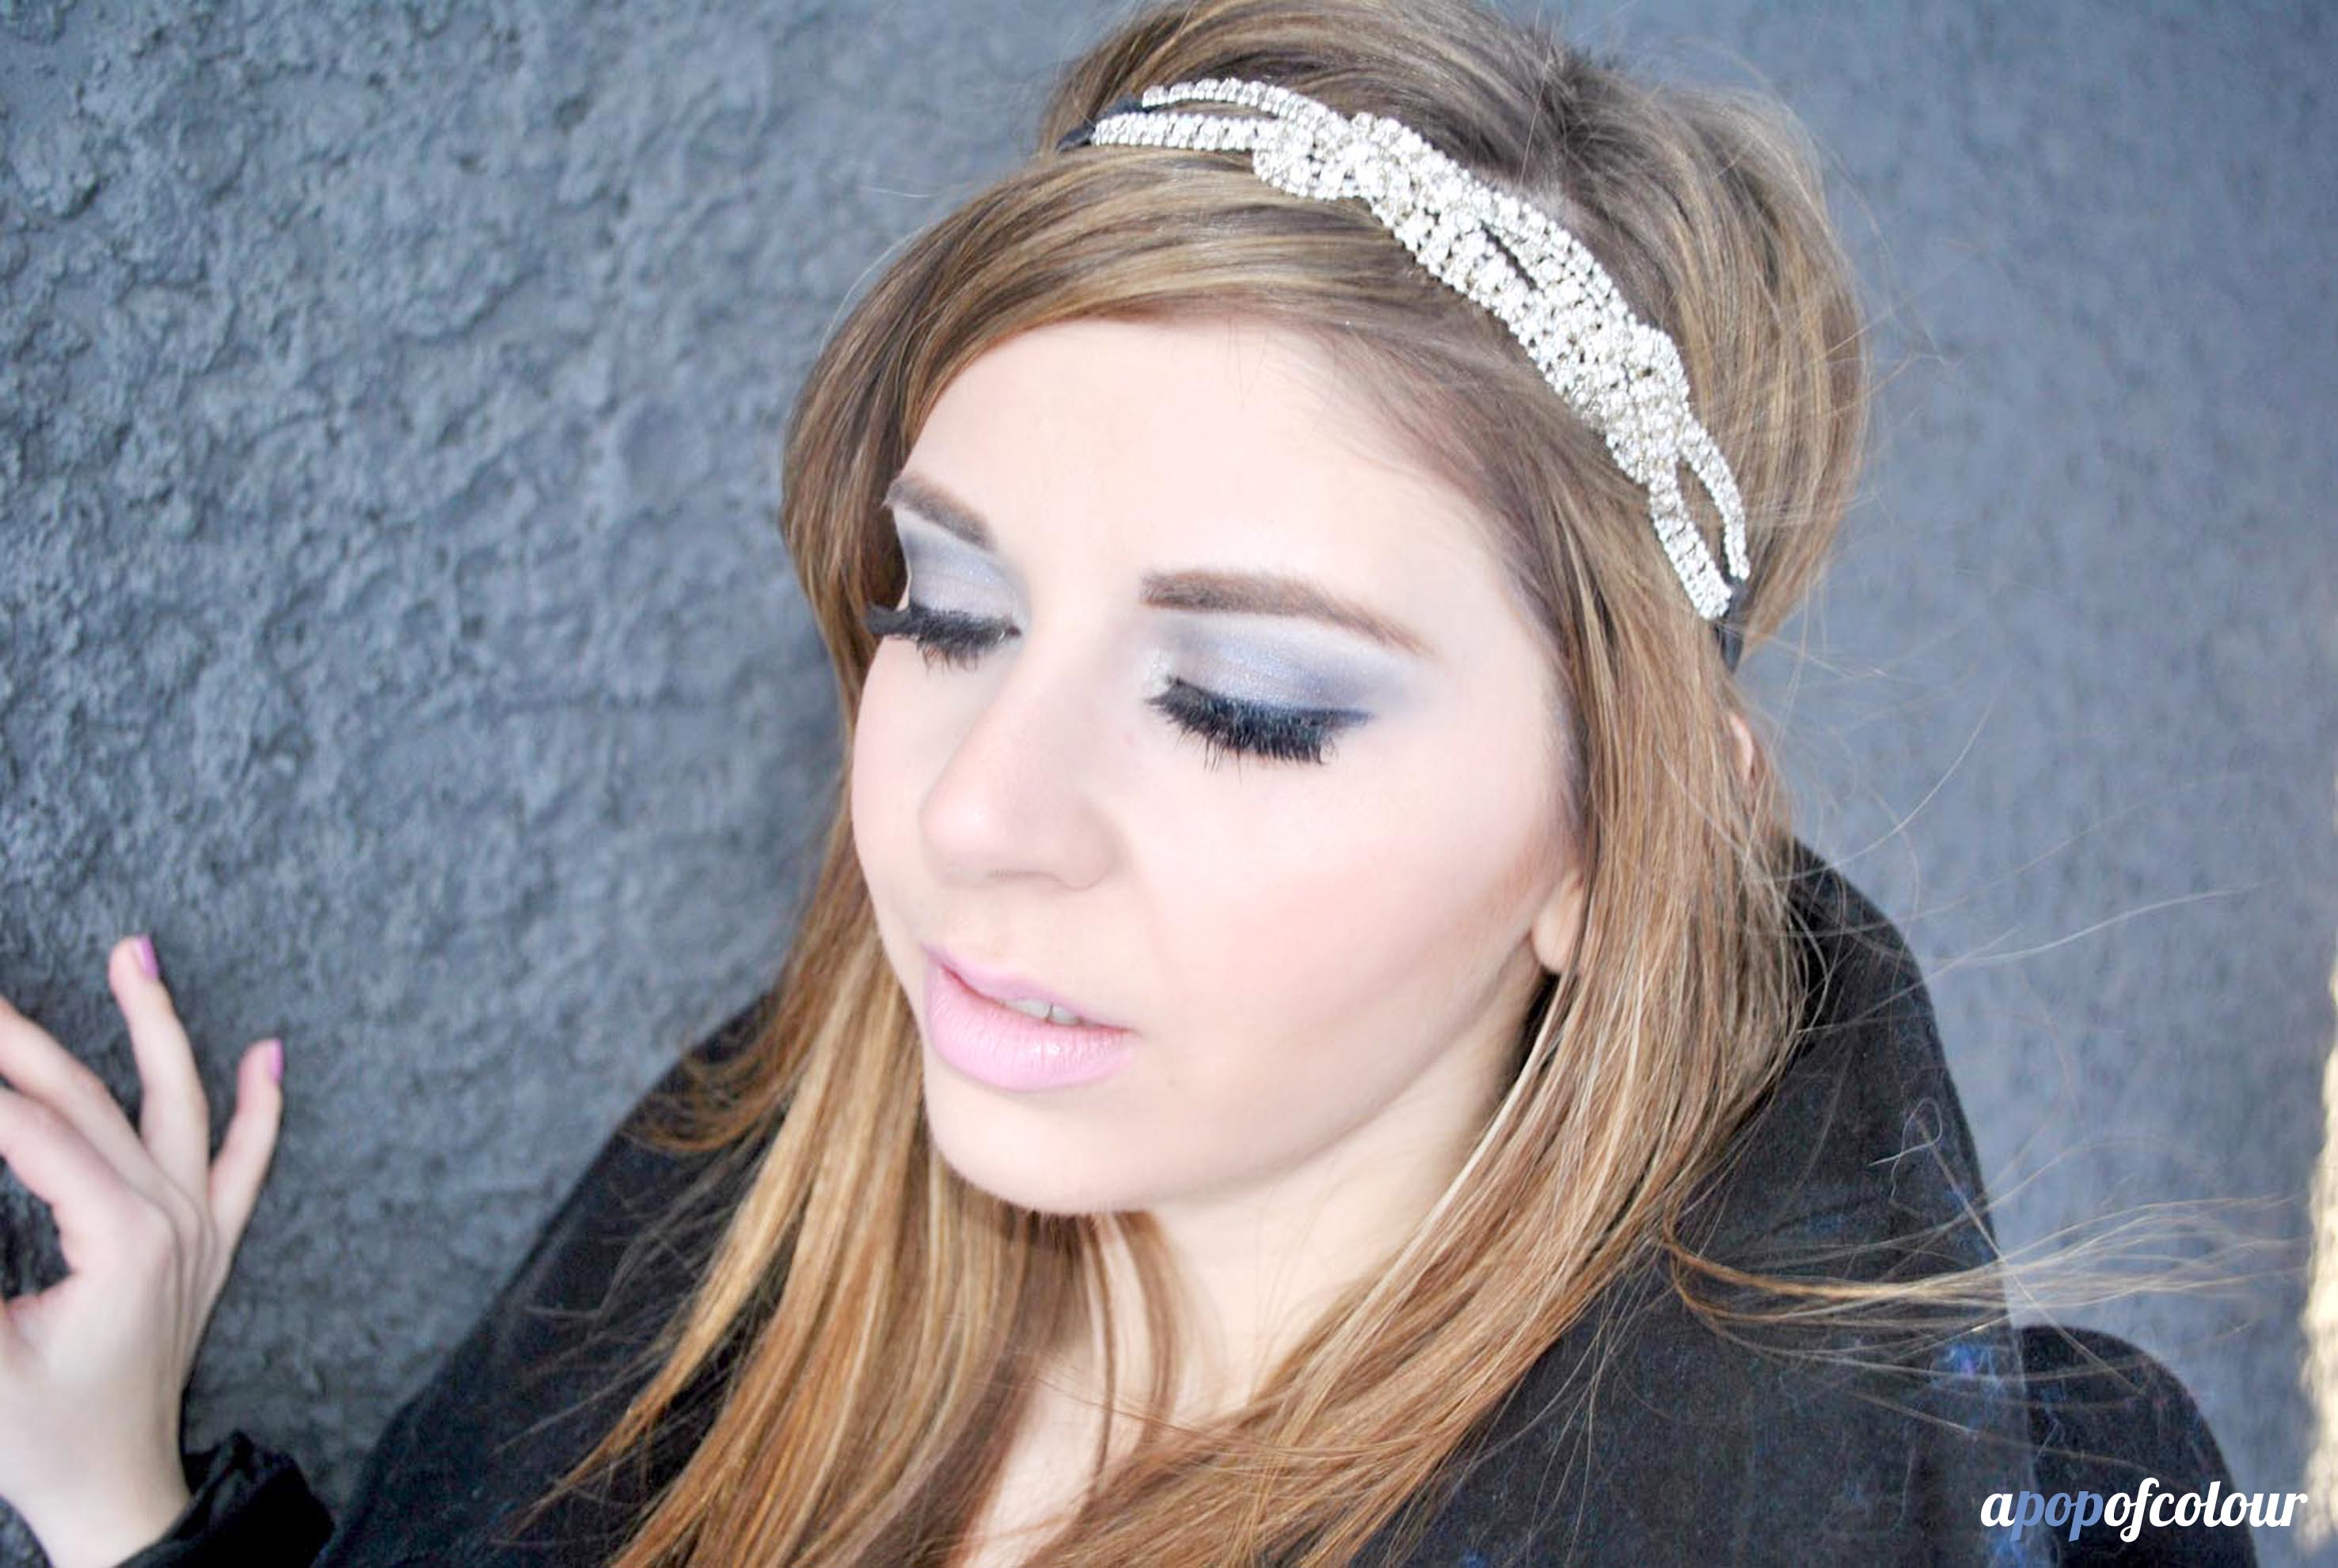
10. Finish up the face by contouring your cheekbones, adding some blush, and then a highlight along your cheekbones. For the lips, I chose to go with a baby pink colour, YSL Rouge Volupte in #7 Pink Lingerie.


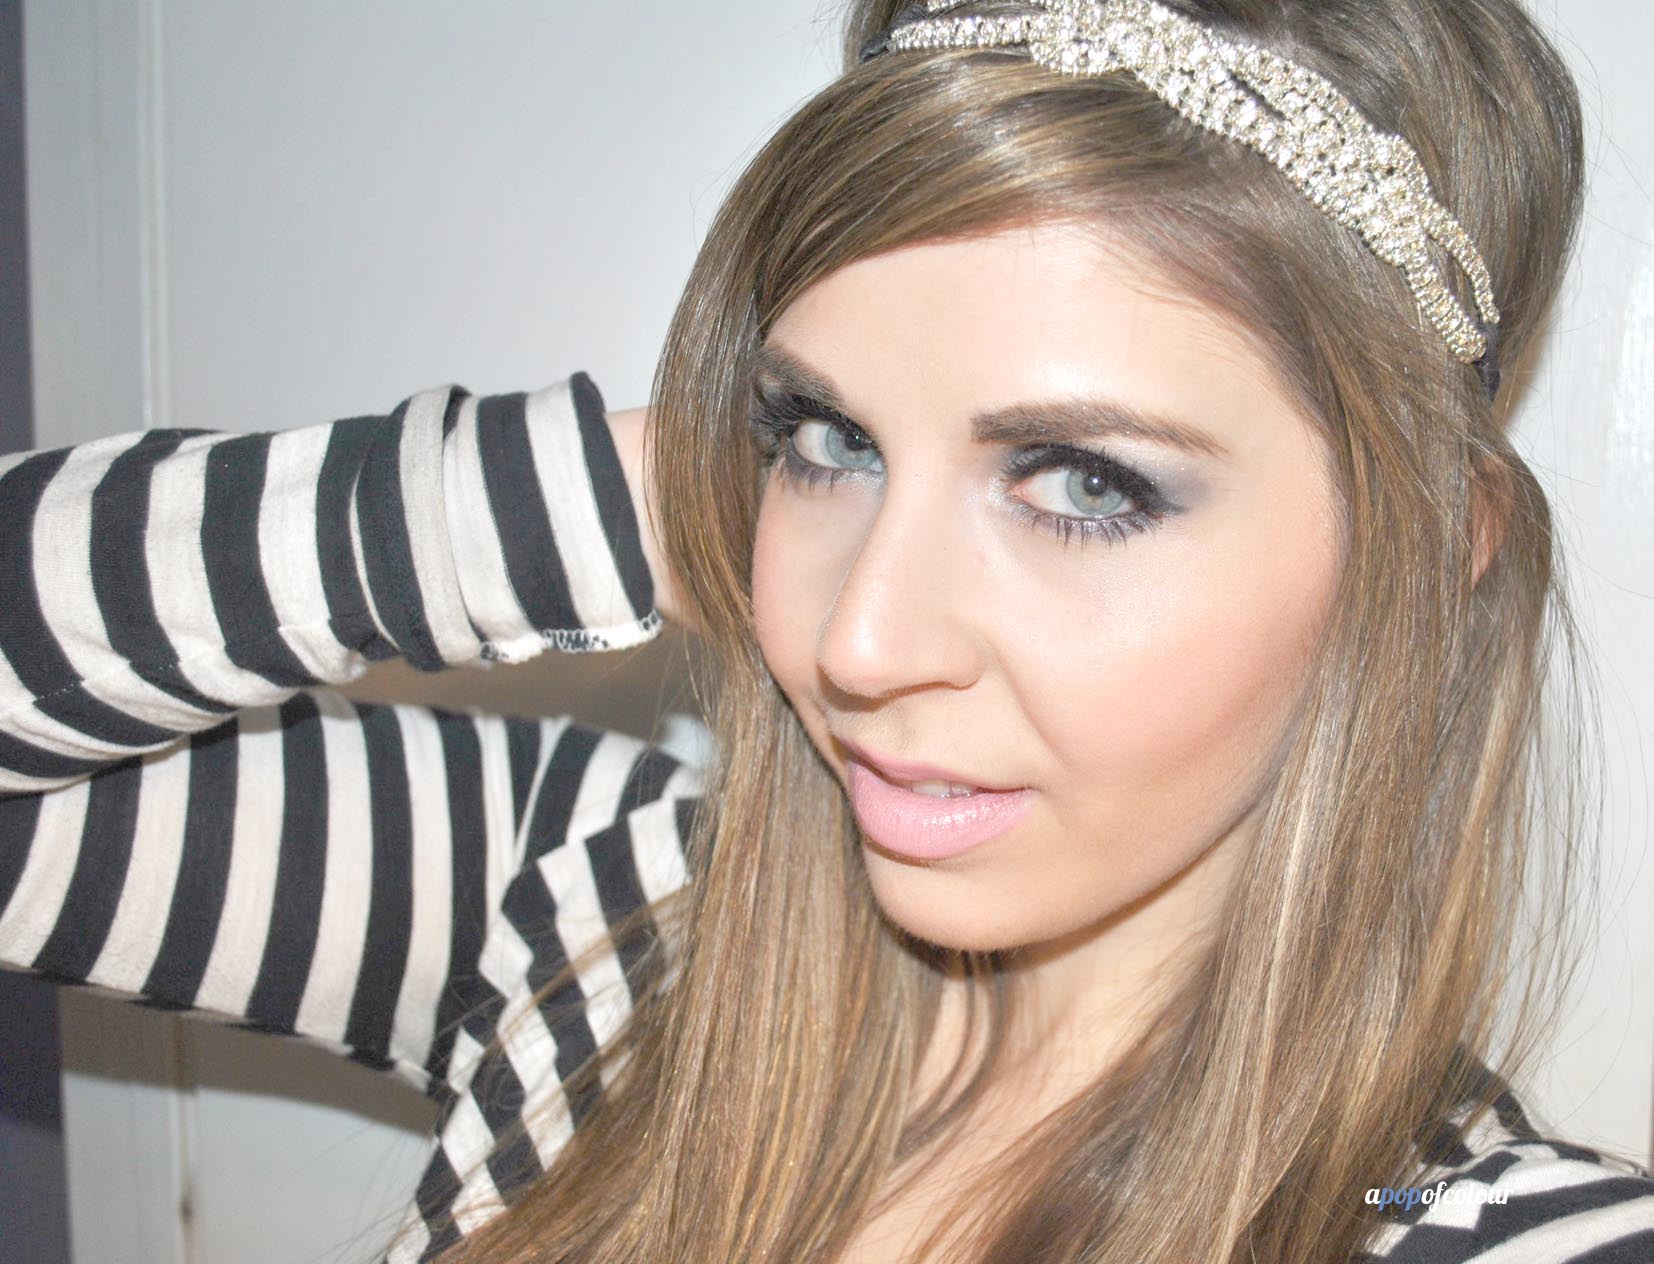
And that’s the final look! For the hair, I chose to keep it sleek, but I added a bit of glam with this jewelled headband from Claire’s. For more New Year’s inspiration, check out last Thursday’s Beauty Panel challenge on FASHION magazine online.
I hope you all have a safe and fun New Year’s Eve, whatever you may be doing. My only resolution for 2014 is to be more positive in life. I had a wonderful 2013 up until a few months ago when my boyfriend passed away. I don’t usually share my personal life on here that often, but it’s been an very difficult (and sad) time in my life. I would have never thought that my beauty blog would help me cope with all this, but it really has. If I didn’t have all these things to keep my busy, I don’t know what I would do.
Anyways, this is getting too sad, but I wish you all a Happy New Year and I hope you have a fun and safe new year’s eve.
Like what you read? Check out these related posts:


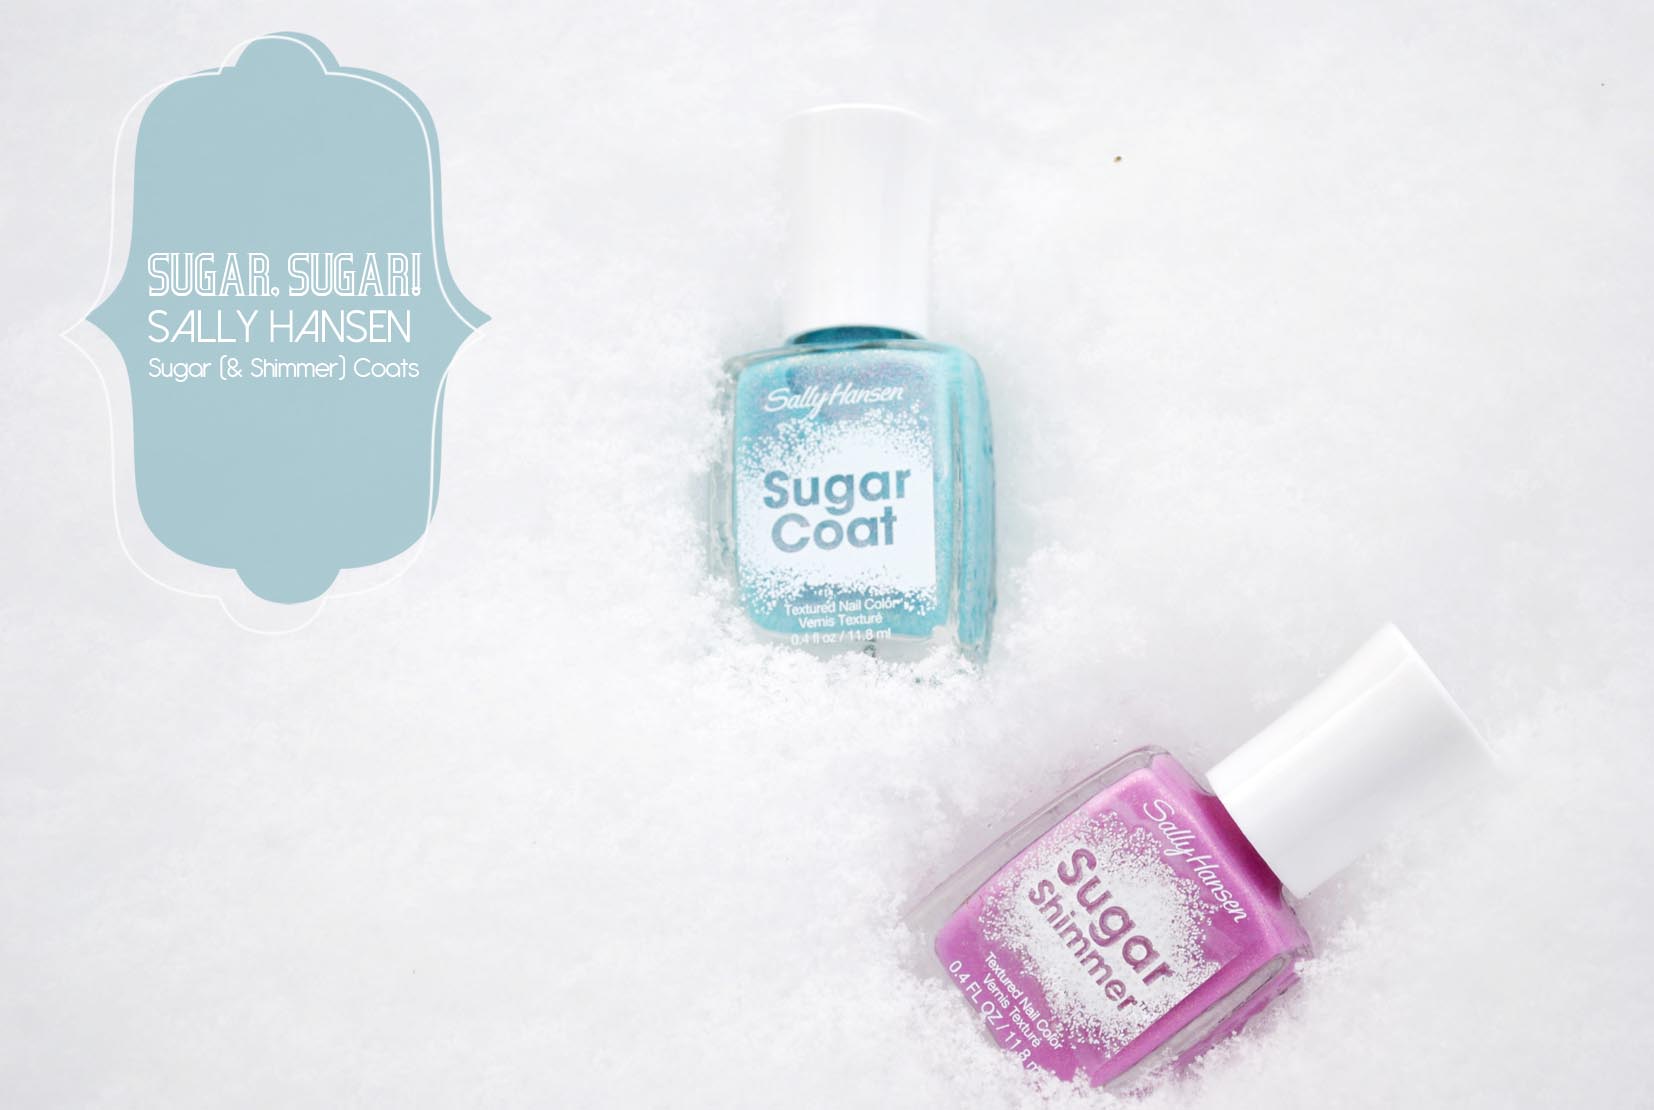
One of the most surprising nail products for me in 2013 were the Sally Hansen Sugar Coats. These texturized nail polishes create a sugar-like feel on your nails, making them not only unique to look at, but gritty to touch as well.
When I first spotted these months ago I thought I would hate them. Why would you want an emery board-like texture on your nails? And then I tried the black one, Lick-O-Rich, which was so gorgeous on the nails that I instantly fell in love and quickly took back anything I said about them.
Now the thing about the original set of colours that I felt like they lacked was some sparkle. Since sugar is sort of glittery, I thought a hint of glitter would be so gorgeous in these. Well, obviously Sally Hansen and I are on similar brainwaves because not only did they release more glittery shades, but they also came out with a Sugar Shimmer line.
The Sugar Shimmer line is comprised of eight different shades and each colour is infused with mica for a sugary, shimmery look.

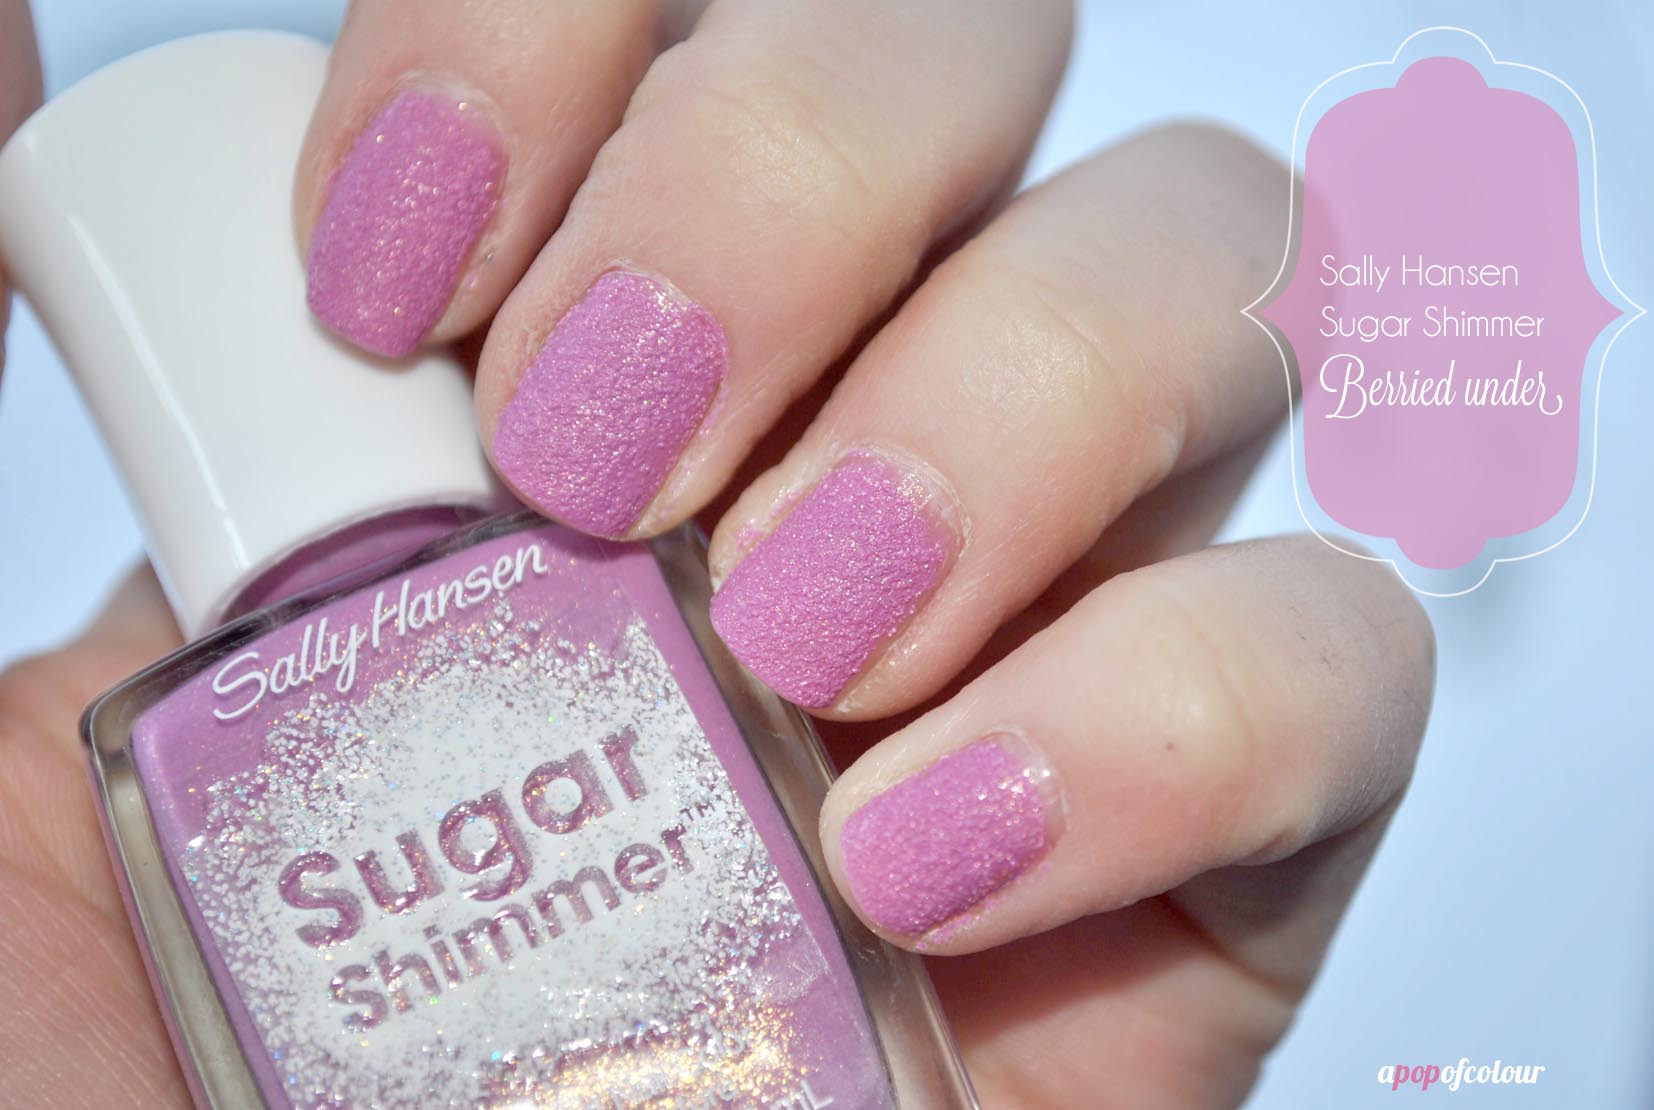
I received the colour Berried Under, which, if you read my last post, you would spot this colour as something similar to radiant orchid, the Pantone Color of the Year for 2014. I really liked the colour and got a few compliments on it, although I did find it to be a big muted. Also, I didn’t find this to be that shimmery, which was super disappointing. To me, it seemed like the regular Sugar Coats.

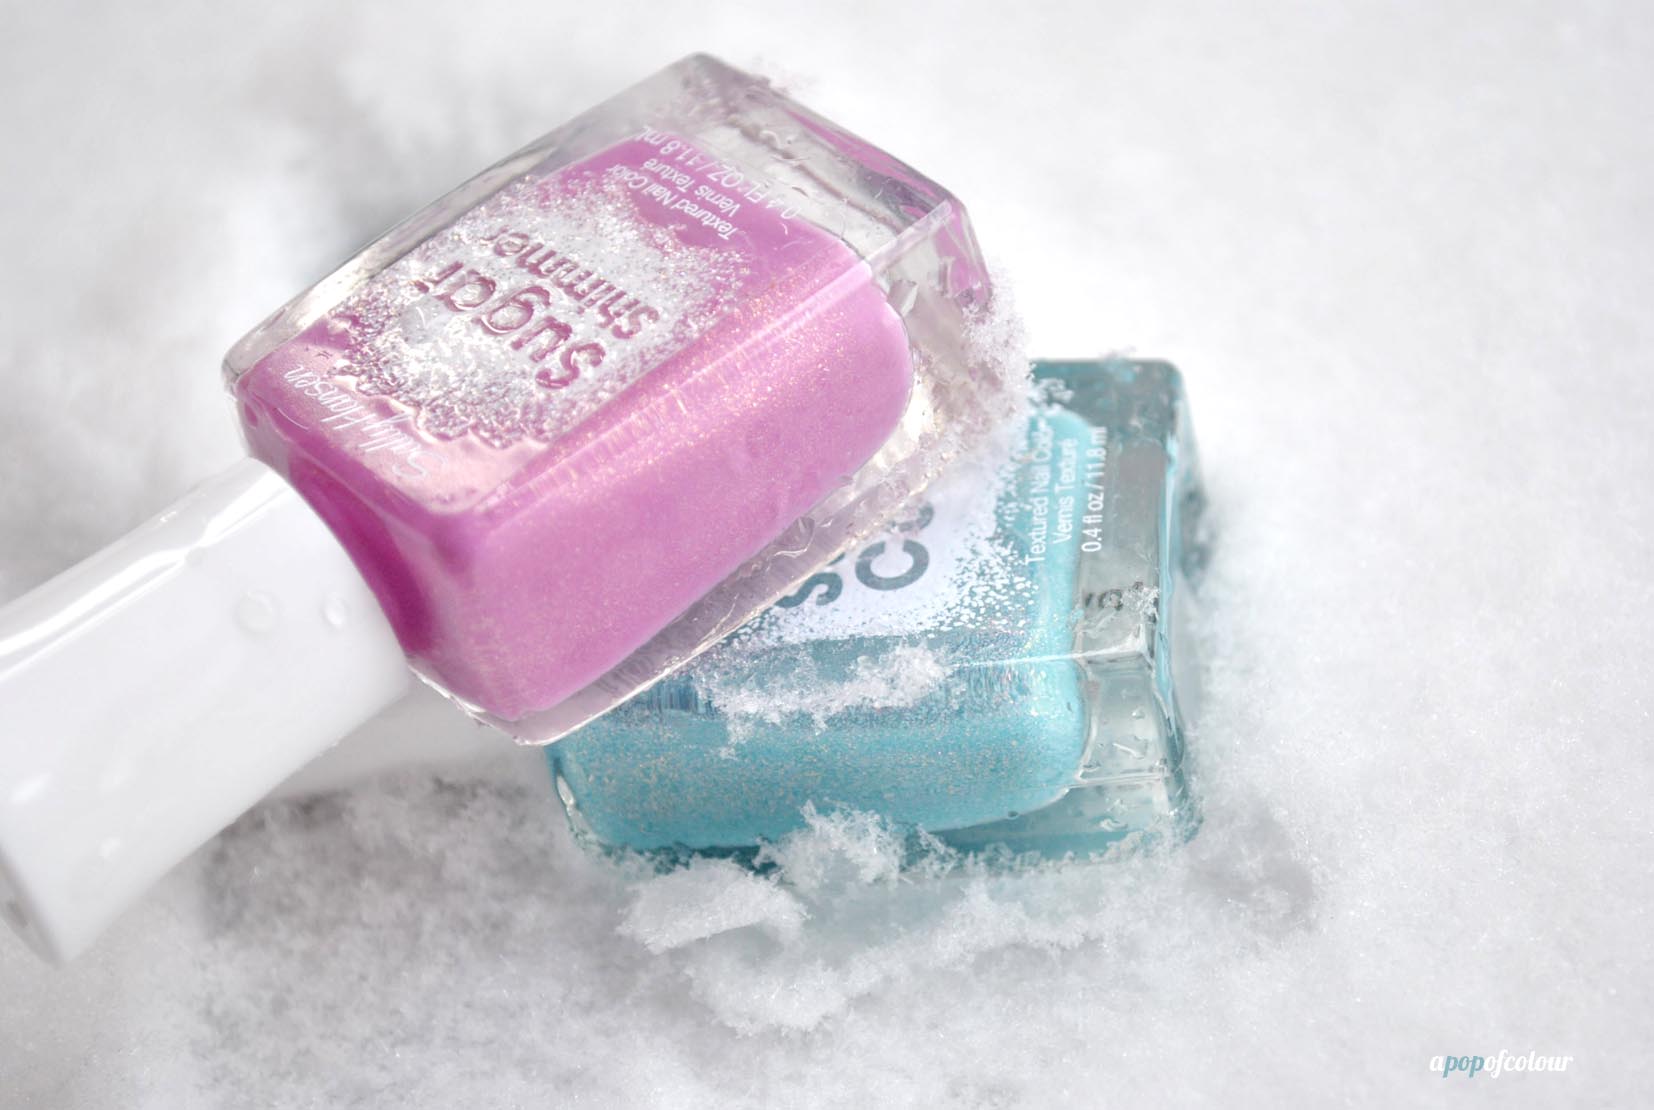
From the regular line of Sugar Coats comes Royal Icing, which is a light blue with pink, purple, and silver micro glitter. I actually found this one to be way more glittery than Berried Under, even though this one is part of the regular Sugar Coat line. The above swatch is with four coats and as you can see, the colour is very sheer. This one would be best layered over another colour to really make for a glamourous mani. Perfect for the wintertime, this shade is great for adding a little sparkle to your winter day.

Overall, I love the new shades that Sally Hansen has come out with in the Sugar Coats line, as well as the Shimmer line, however, I just wish they were a bit shimmery (maybe it was this one colour?).
As for removal, these aren’t actually as bad as you would think. Because of the gritty texture, they aren’t as easy as regular nail polish, but not as difficult as a glitter polish.
Do you like the Sally Hansen Sugar Coats? What’s your favourite shade?
Please note, I was sent these products from PR. All opinions are my own.
Like what you read? Check out these related posts:

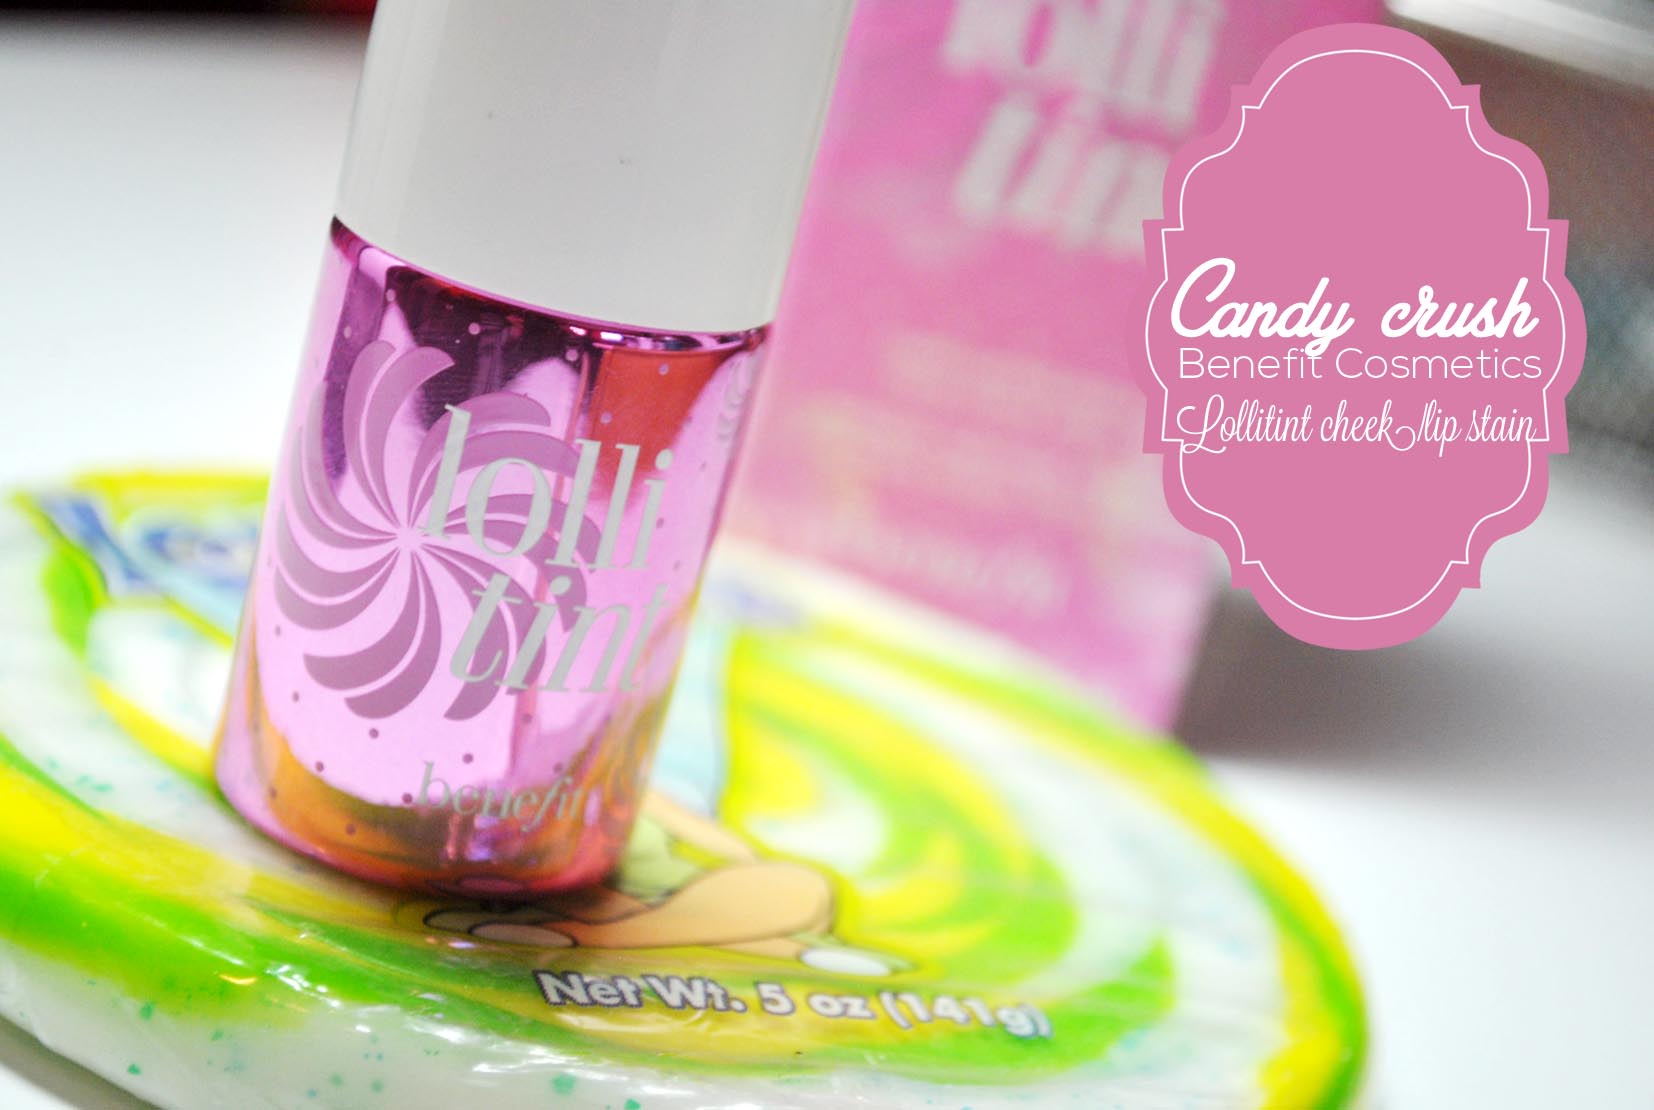
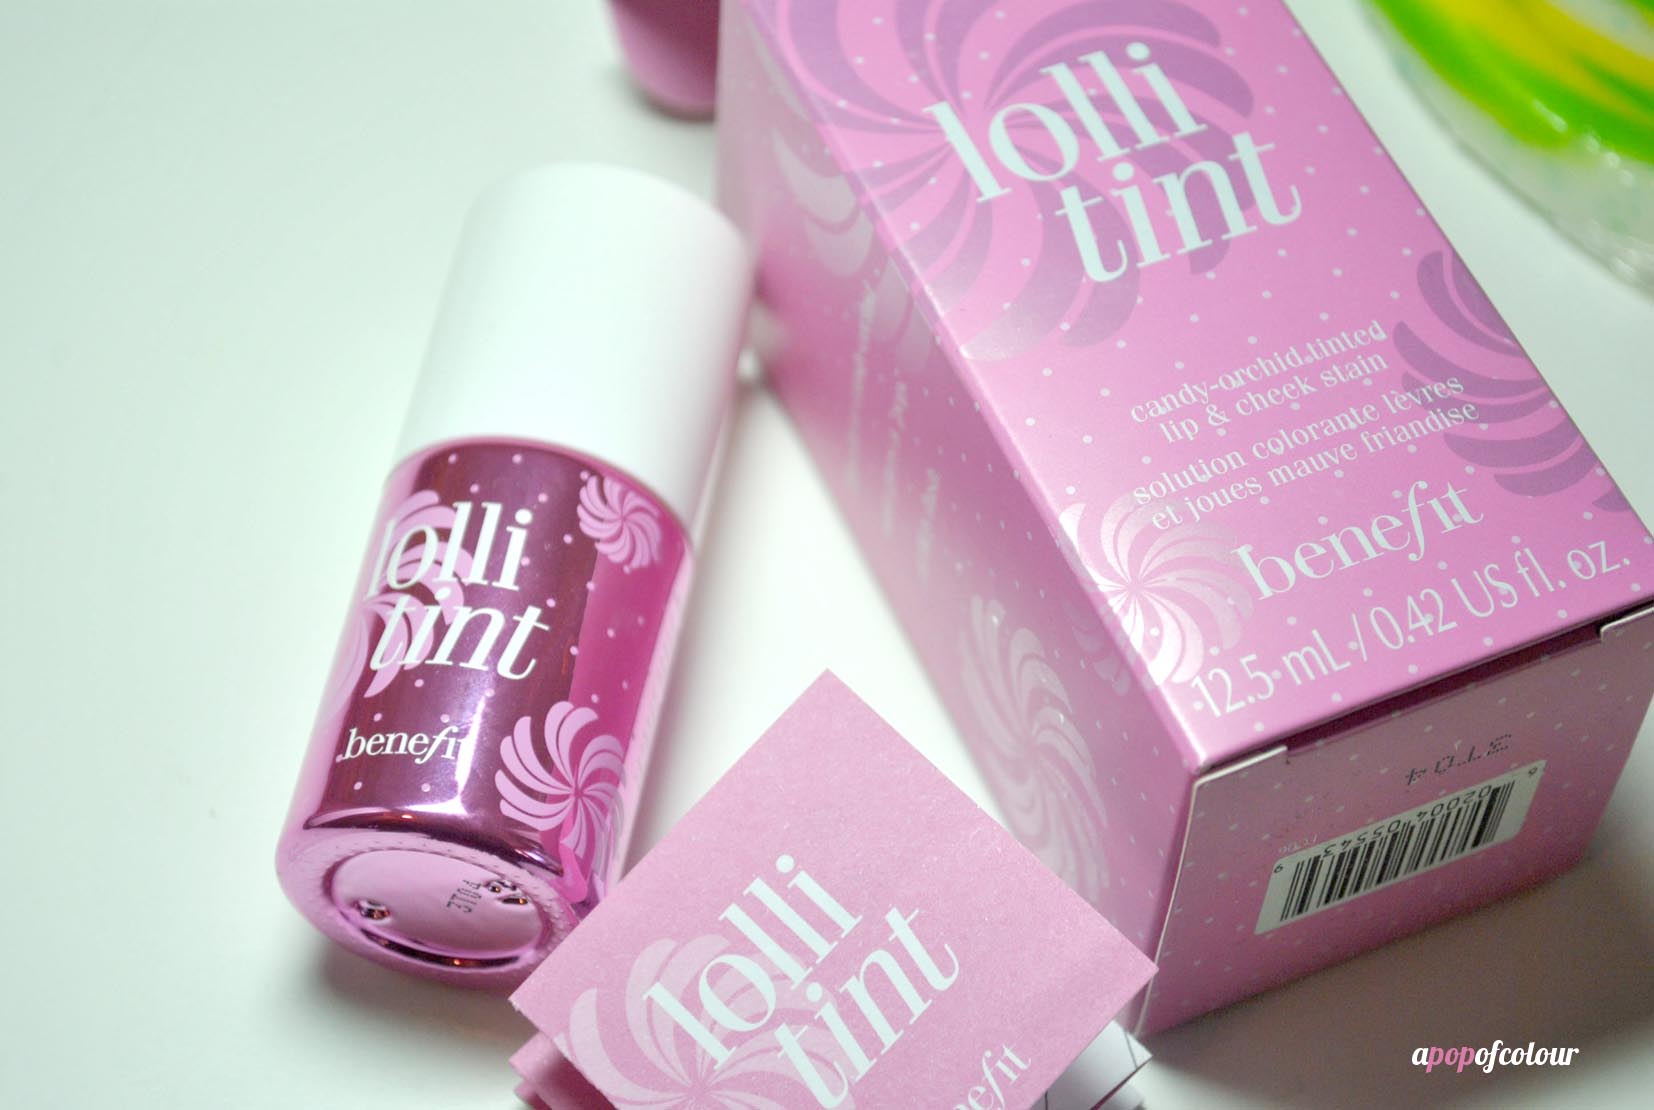
Gumdrops and lollipops and unicorns and glitter, Benefit Cosmetics is releasing a new cheek/lip stain!
In true perfect-timing fashion, Pantone announced last week that the Color of the Year for 2014 will be Radiant Orchid, a harmony of fuchsia, purple and pink. I was so excited that they chose a purple hue for next year because it’s much more wearable than emerald (2013) and tangerine (2012), although those colours were really fun to look at. Either Benefit and Pantone are on the same brainwaves or they just knew ahead of time (besties?), but their new cheek/lip stain is the perfect complement to the trendy shade.
For those of you not familiar with their flagship product, first there was Benetint, a rose-tinted stain that was first introduced for an exotic dancer in the ‘70s who was looking for rosier tits for better tips (sorry, had to). Basically, girl was looking for something that would make her nipples look rosy throughout the night, so the creators at Benefit created their revolutionary stain that gives you that rosy, sexy glow (like orgasm in a bottle… NARS Orgasm, people! 😉 ).
After Benetint came Posietint, a poppy-pink tint, and then Chachatint, a mango-tinted tint. I have tried Benetint and Posietint and found them to be full of colour, natural looking, and long wearing. Because of my love affair with both Benetint and Posietint, I was oh so excited to try out Lollitint.


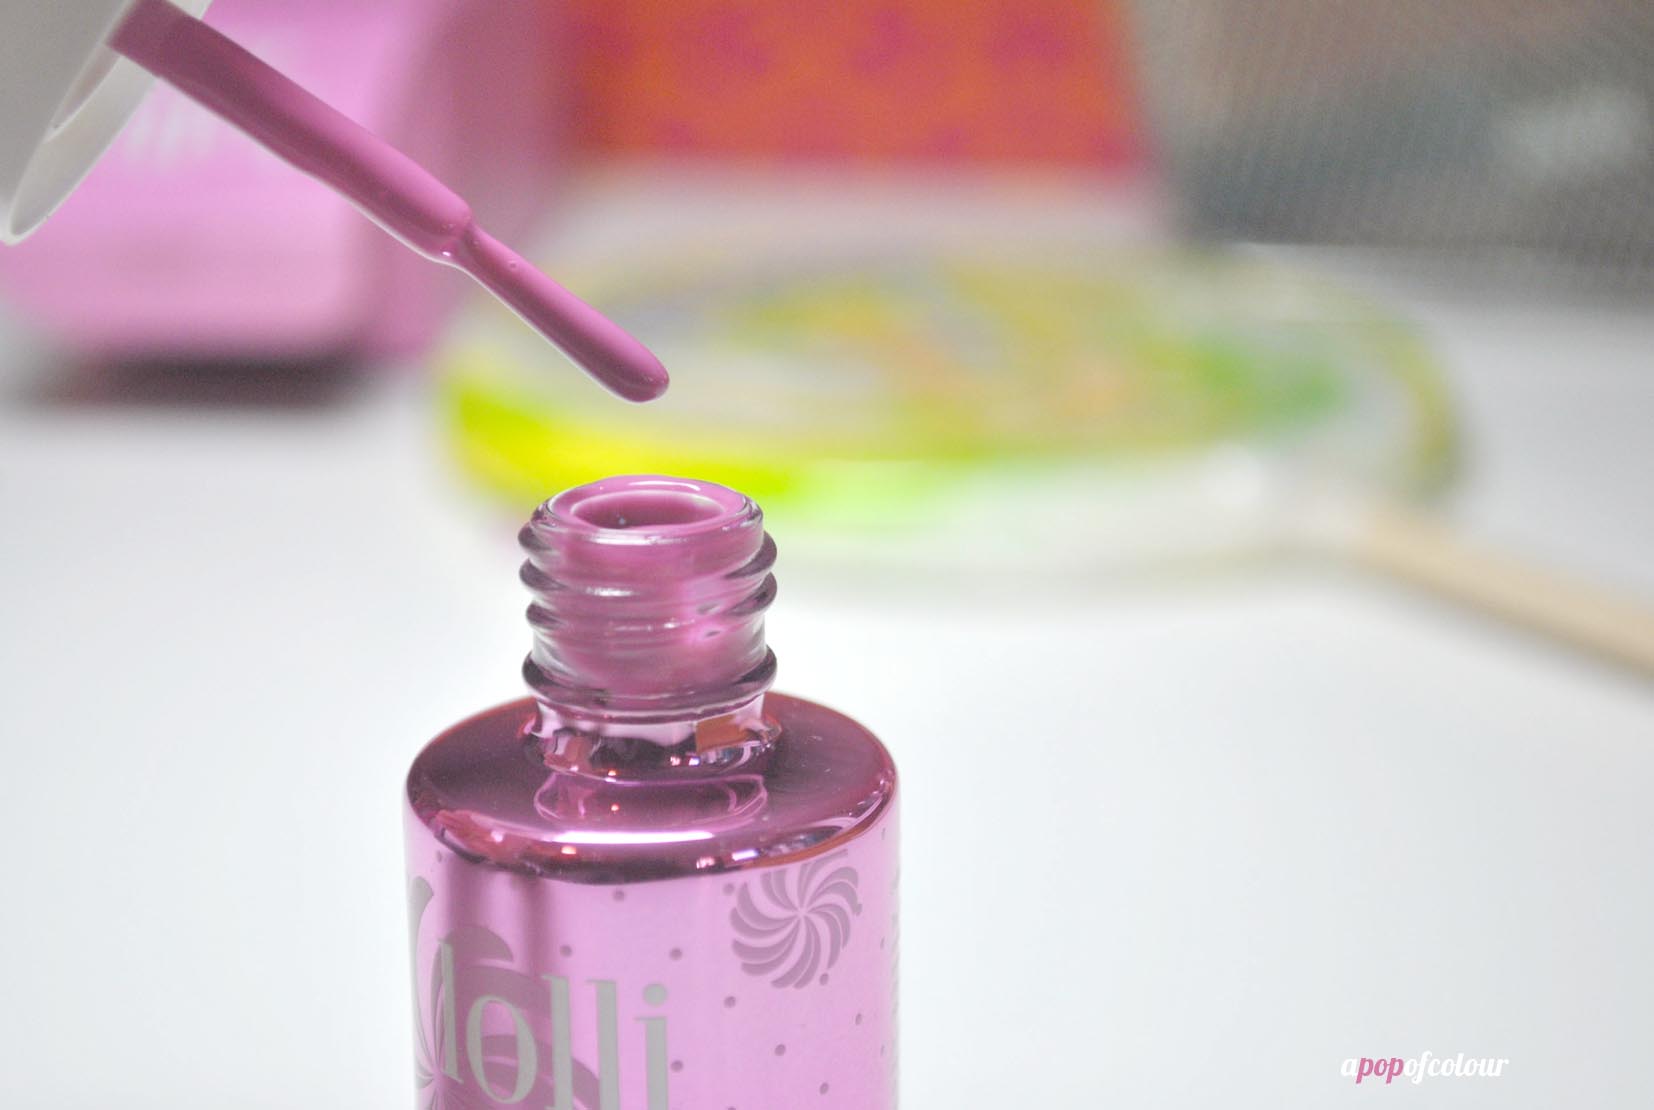
Housed in the same kind of bottle as their other tints and highlighters (like High Beam), Lollitint is sweet like sugar. It’s radiant pink shell is so cute I just want to bring it everywhere I go. Like their other tints, it’s super easy to use. Use the nail polish-like applicator to paint a small dab of the product on your cheeks, and then (working quick!), use your middle finger and ring finger to blend the products into your cheeks. Unfortunately I have always found the product to stain the pads of my fingers, but I mean that’s easily overlooked because this product is just too cute (it’s more embarrassing with Benetint compared to the other ones I’ve tried).
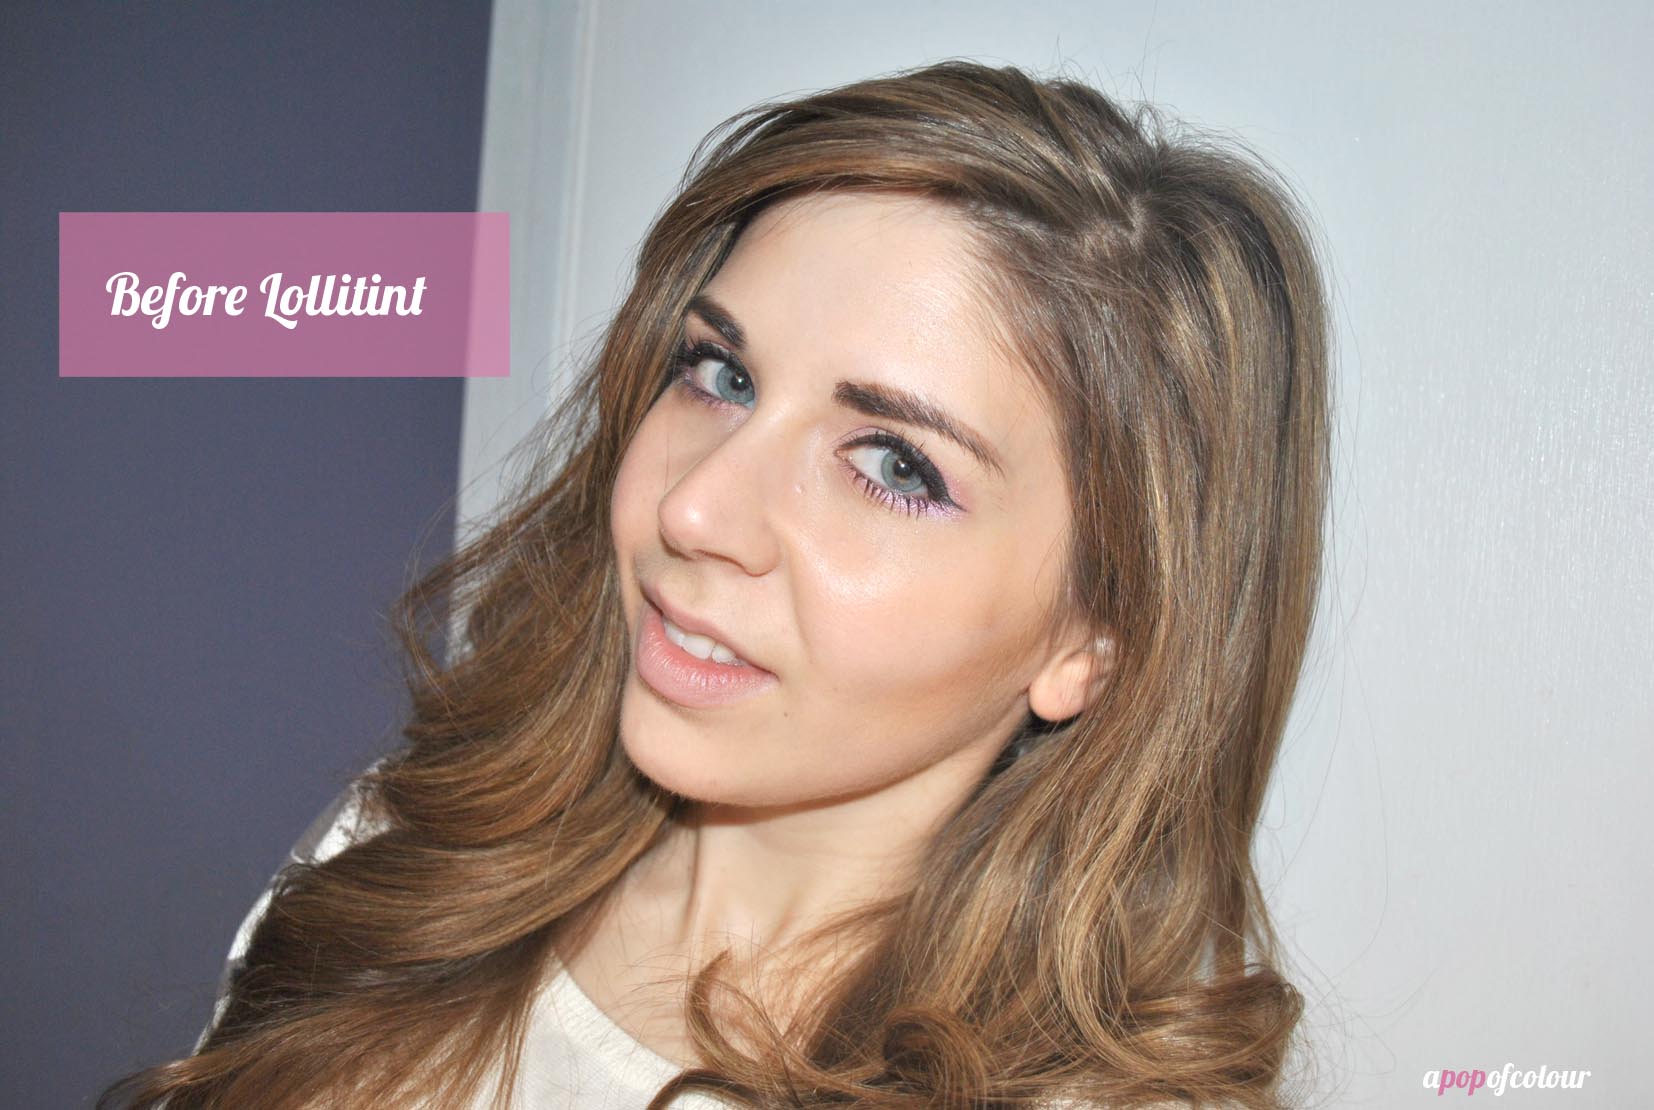
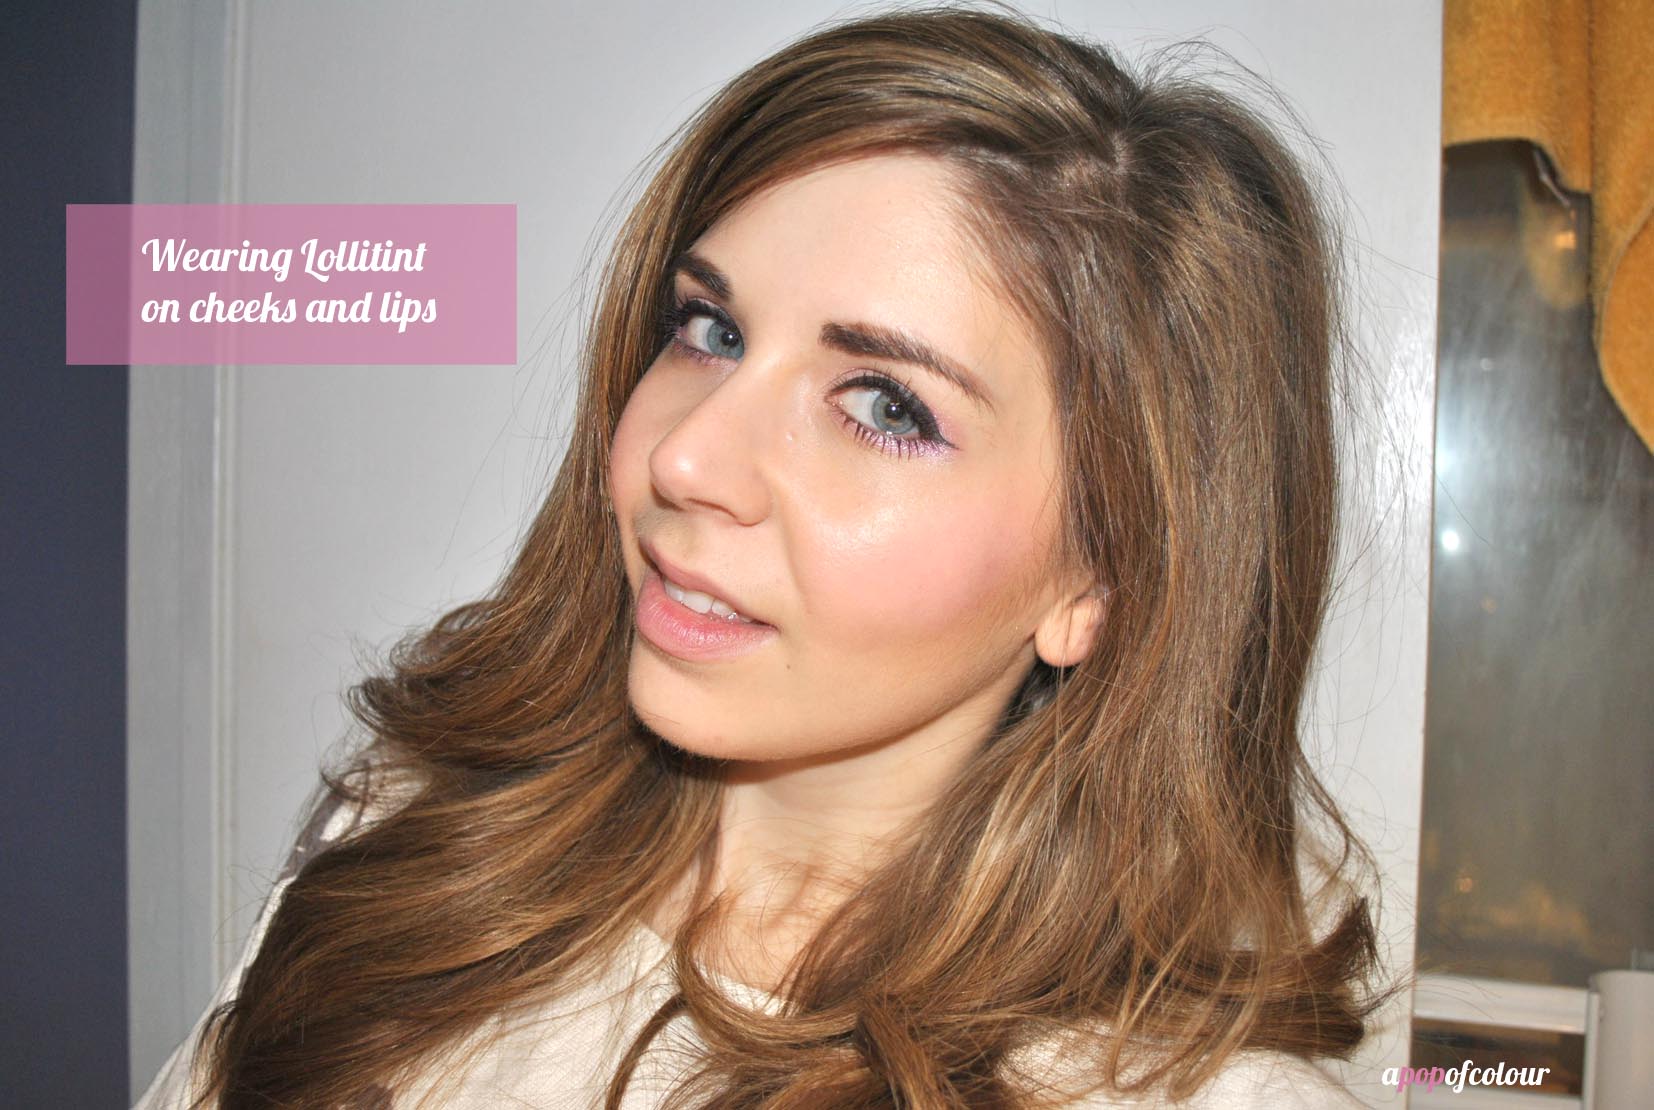
You can use Lollitint as a base and then layer another blush overtop or just wear it by itself for a natural, flushed look. Personally, I love these for summer because they are so lightweight and give you that long-lasting cheek colour, however, if you want that “I just ran in from the cold” look, these work for that too.


If you are loving the Radiant Orchid shade as much as I do or if you are just a fan of the uber-popular game Candy Crush (but seriously, don’t send me invites to help you get levels on Facebook), this is a must have. Plus, you know it’s pink. Who doesn’t love pink? And lollipops?

Are you excited to try Benefit’s Lollitint? Launches in January 2014!
Please note, this product was sent by PR. All opinions are my own.
Like what you read? Check out these related posts: