Sally Hansen has done it again.
Just when I thought they couldn’t possibly outdo their Salon Effects Real Nail Polish Strips, they came out with the gel version.
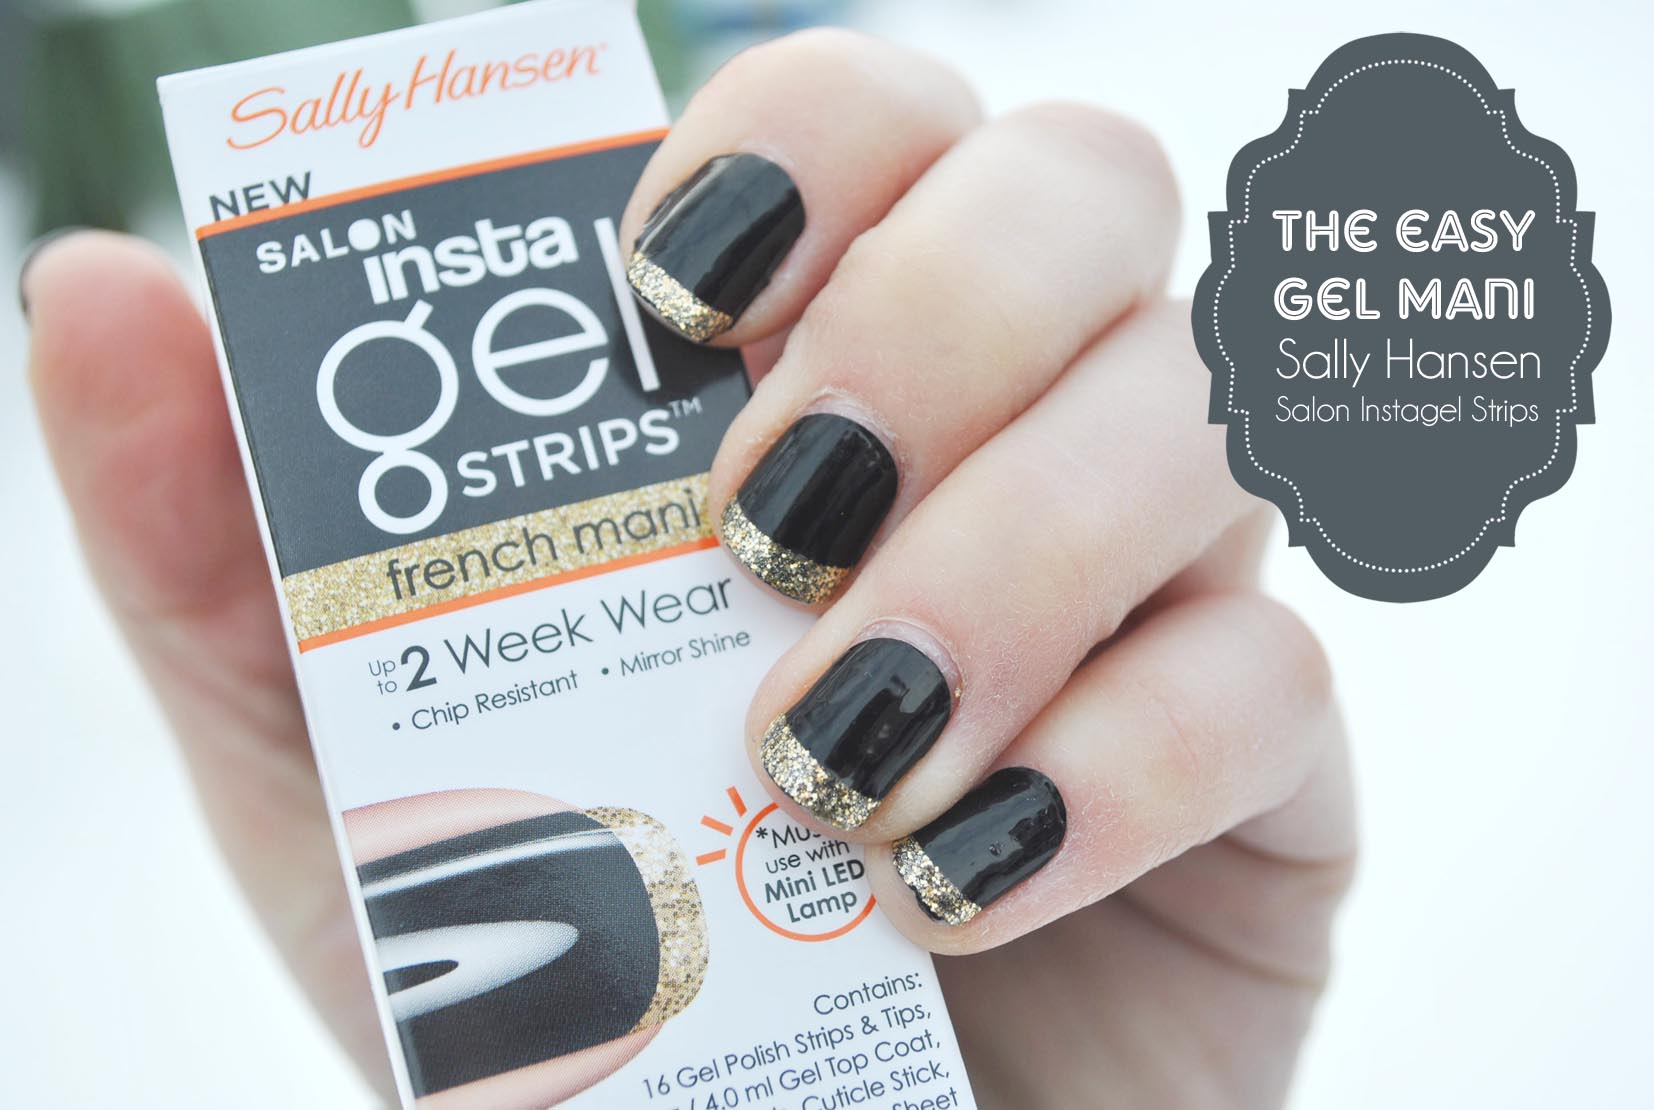
The Salon Instagel Strips were released last year along with the Salon Gel Polish Starter Kit (sold separately), which is essentially the gel version of the strips. Nail polish strips are still all the rage these days with so many different brands coming out with their own version. I have tried a handful of them, but my heart still remains with the tried-and-true Sally Hansen ones. I feel like their version are the easiest to apply, feel the best, and are the longest wearing. Plus, they always look so fabulous on my nails. I’ve tried many different designs, but this was my first foray into the gel version.
The original formula claims to last up to 10 days, whereas the gel version lasts up to two weeks, so basically four more days. Not a huge difference really, especially for the kind of girls who like to switch up their nail polish quite often. For me, the biggest thing is the gel shine that you get with the pricier version.

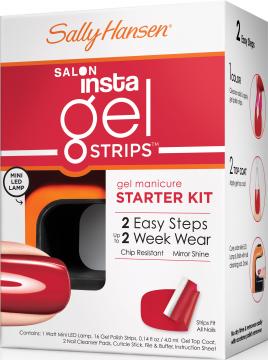
You can buy the Instagel Starter Pack, which includes a mini LED light, a pack of the strips, the gel topcoat, and cleanser pads (especially a pad soaked in rubbing alcohol), amongst all the other goodies you would get in a pack of the regular version (nail file, cuticle stick, etc.). I don’t have the starter pack, but I do have the gel manicure kit, which includes a few more goodies and a full-size lamp, which is much less time consuming than the little one which fits one finger at a time.
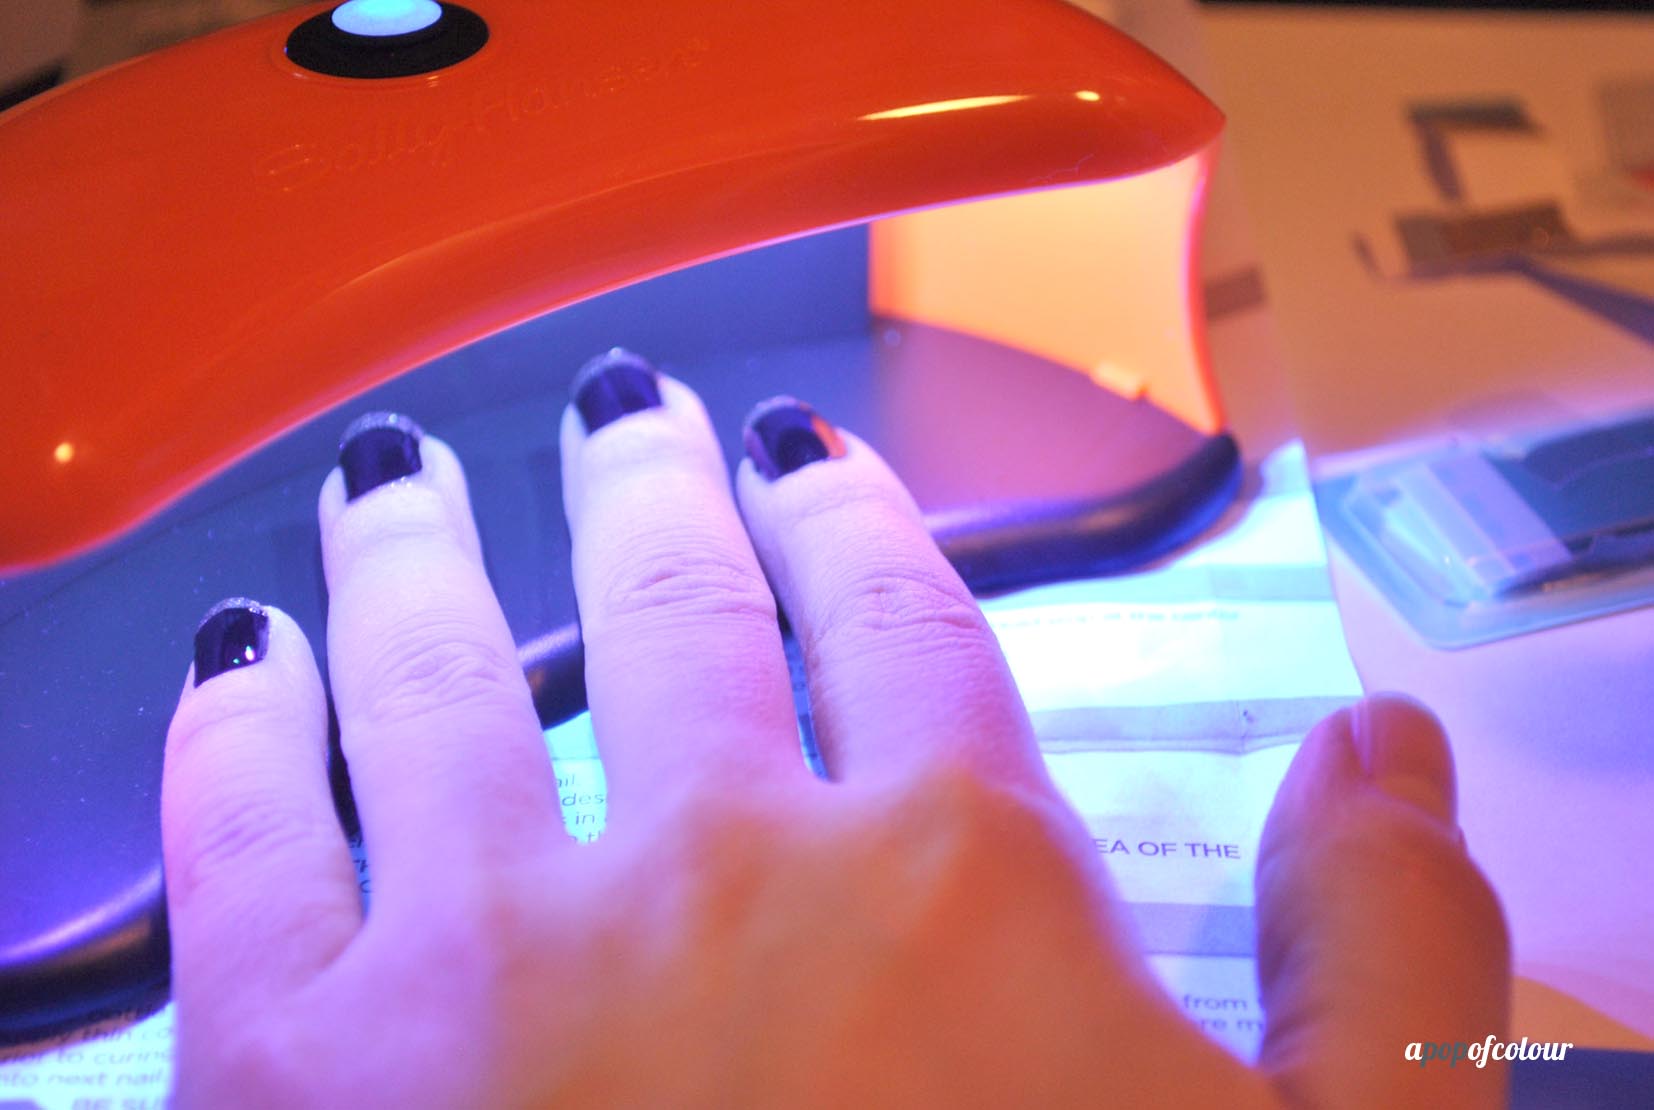
You apply these the same way as you would the Salon Effects, where you clean your nails, shape them, find the size that fits your nails the best, apply them, file off the excess, etc. What makes them gel is the included topcoat, which is a generous size of the product (more than enough for probably 10 gel manis). Top each nail with the gel topcoat, cure it in the LED lamp for 30 seconds, rub off the tackiness, and voila! Salon-quality gel nails with a super cute design (if you wish, they also have plain colours as well).

The starter pack comes in three colours, all solids, but if you want to spice it up, there are ones with designs on them that are sold separately. They do cost a bit more than the regular Salon Effects version ($14.99 compared to $9.99 approx. depending on the store), but I’m assuming that’s because they come with the gel topcoat. I may be wrong, but honestly I don’t see a difference between these and the strips that are in the regular version. I’m sure you could coat the regular version with the gel topcoat and be fine, and lawd knows there is more than enough gel topcoat included in one pack of these bad boys.
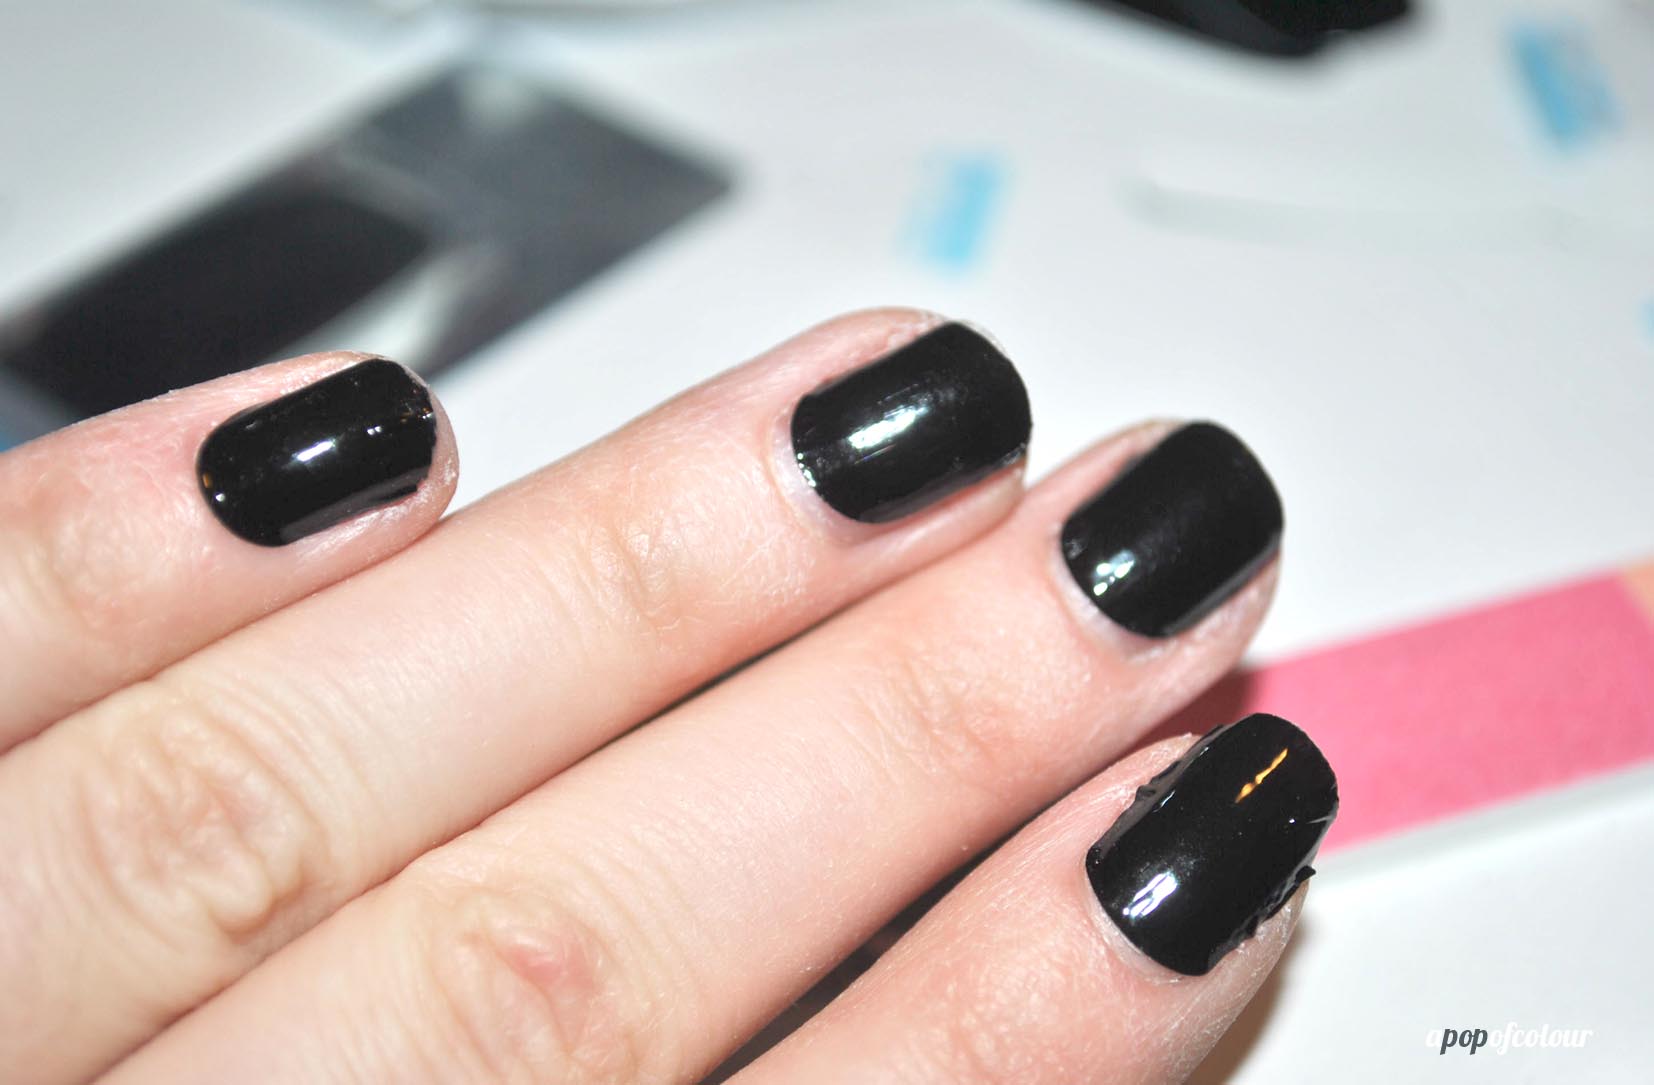
I tried out the product in Good as Gold, a black manicure with a gold glitter French tip. You apply the black first and then the gold part is a lot shorter and shaped in a curve so it makes it super simple. I actually really love this manicure as it’s a nice spin on a classic.


I did get two weeks wear out of it but I do have to say that the black did show through a teeny bit at the ends from normal tip wear by day eight (this wasn’t that noticeable though, only if you looked up close). They were still glossy til the bitter end, but I did manage to scratch up a few nails throughout their wear. Compared to the regular Salon Effects, I would say these do last a bit longer, as I can usually wear those for five to seven days before they start to peel off. The gel version definitely adhered more to my nails (but that would be because of the gel topcoat). These were also way more glossy than their regular counterparts.
Overall, I love the idea and I do love the product, but I just don’t feel like it’s worth the extra money. As someone who likes to change her nails up often, I don’t mind that week wear of the regular version and if I want it to be a bit glossy, I can just add a topcoat. I think both are phenomenal products, I just don’t think a gel version of these are necessary. Maybe if you are going on a vacation and you want something really eye-catching and very long wearing would these be justifiable. I understand a regular gel manicure, but I feel like these are too similar to the normal Salon Effects that I just don’t know if its justifiable to buy them. Just my personal opinion, I have nothing bad to say about the product itself. I will also be reviewing the Salon Gel Manicure Kit, but give my nails a few weeks ;).

Now because I love Sally Hansen’s Salon Effects so much, I’m holding a giveaway for four packs from their new collection (the regular ones, not the gel), as well as 10 shades from the Sally Hansen Triple Shine line (new year, new nails!). To enter, fill out the rafflecopter below. Contest ends on January 15, and sorry for my international readers, Canadians only!
a Rafflecopter giveaway
Good luck!
Please note, I was sent these products from PR. All opinions are my own.


When it comes to drugstore mascaras, I can think of the cult favourites from each brand. L’Oreal Voluminous, Maybelline Great Lash, and Covergirl Lash Blast. I have tried the original Lash Blast, but Covergirl seems to have a variety of different offsprings of the original formula that sometimes it’s hard to choose just one!
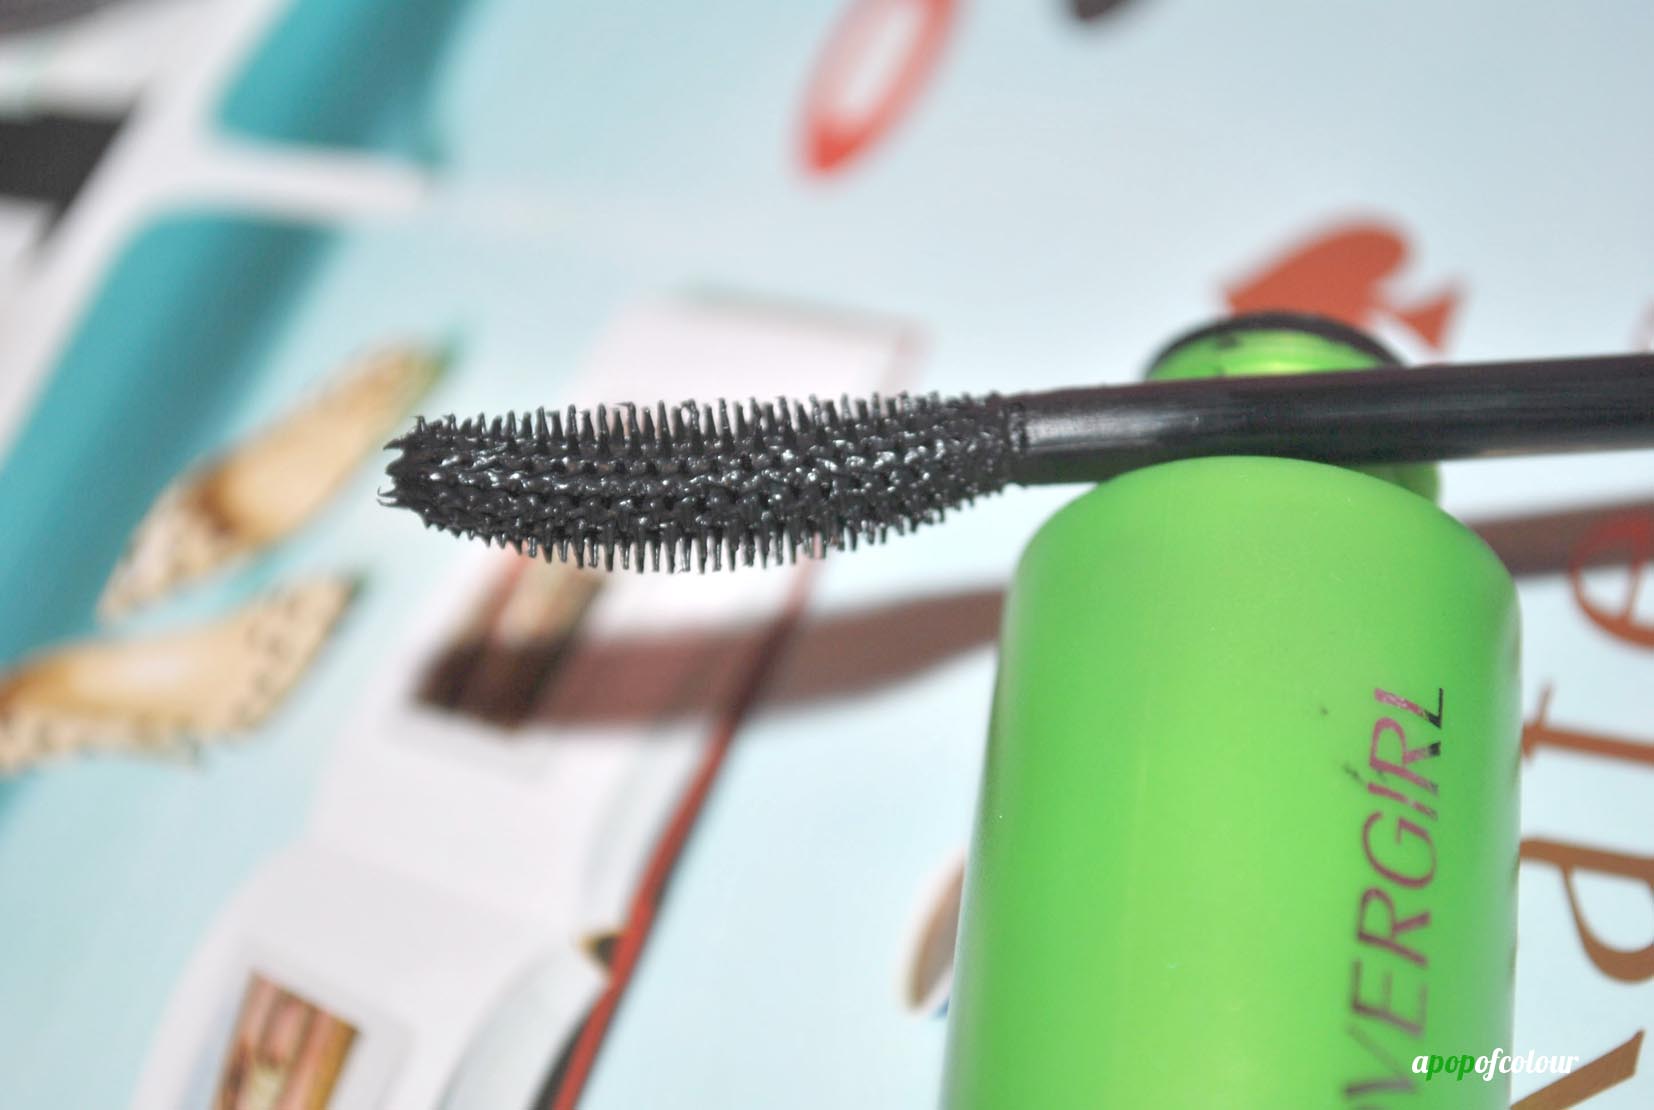
Clump Crusher by Lashblast promises 200 per cent more volume and zero clumps. The brush is curved and has short bristles so you can really get in there and coat every lash. There is also a waterproof version and an extensions version, but I just tried the OG.

I actually really like this mascara but I use it more for layering. I love using two different mascaras to achieve some sky-high lashes. Because the can really coat every lash, I’ll use another mascara first and then go in with this one to separate my lashes, giving me that falsies effect.


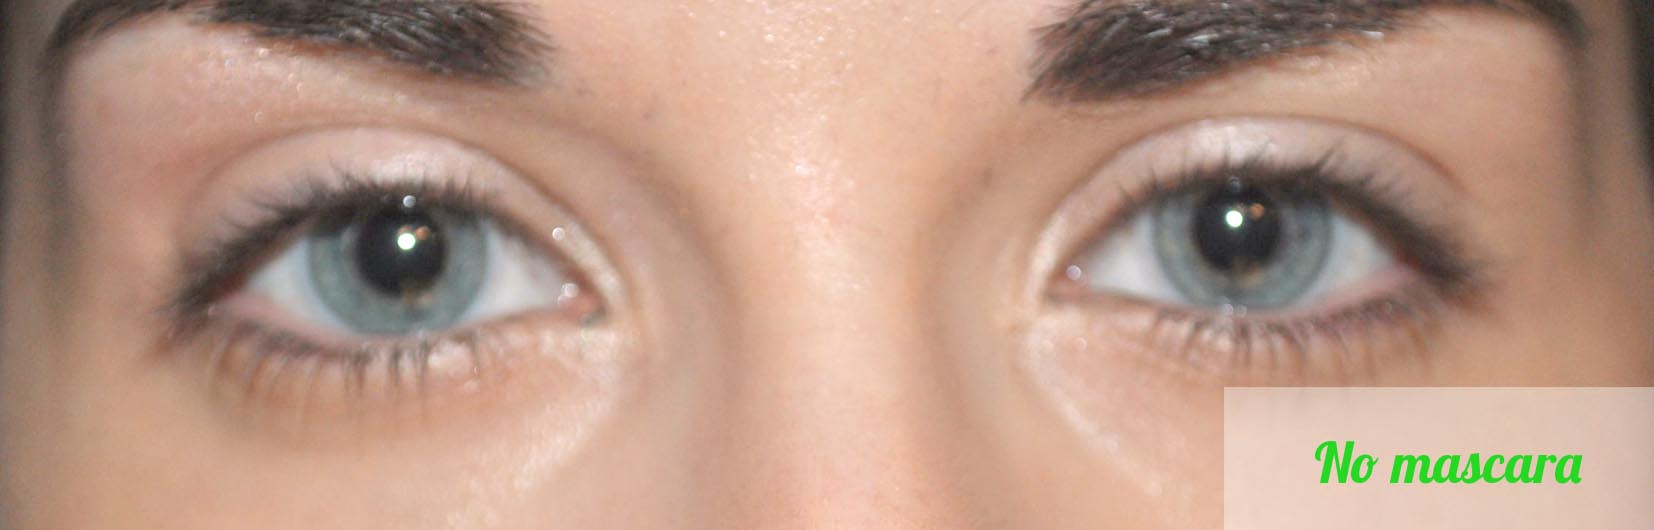
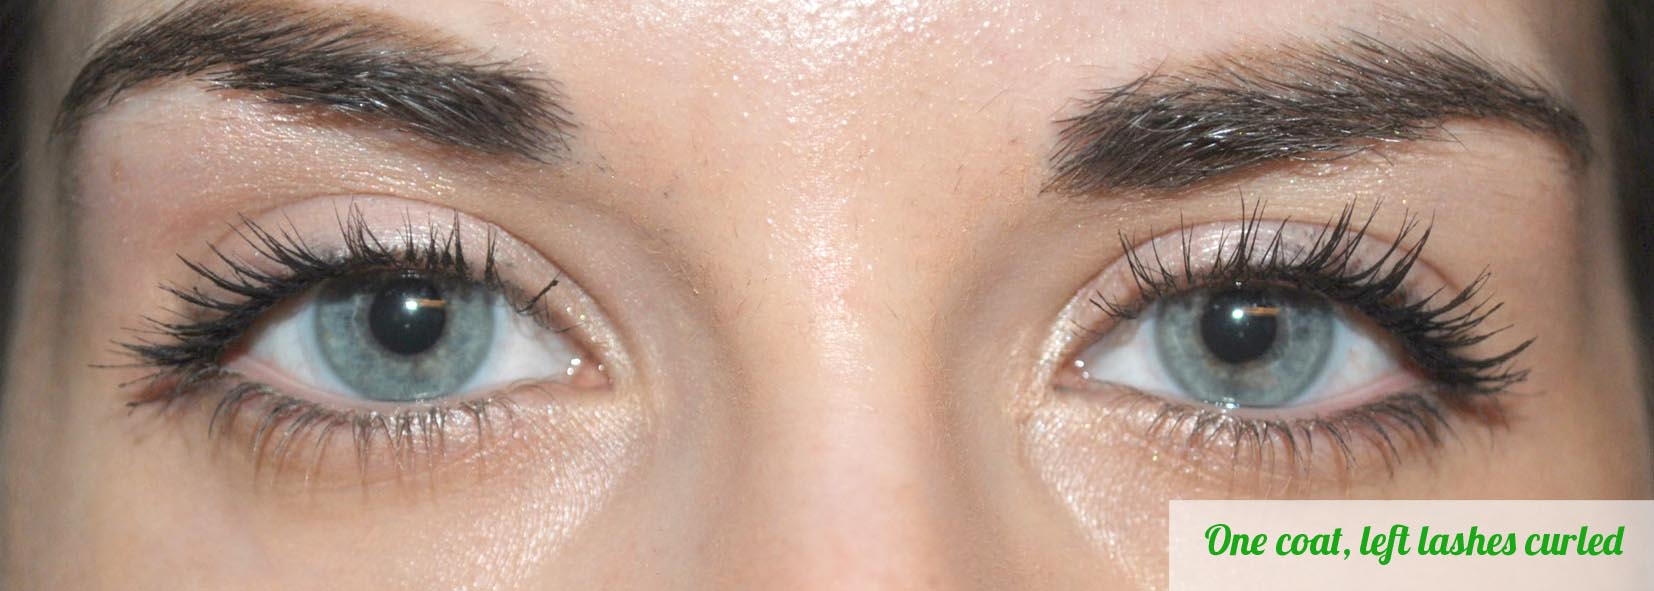
As you can see, just by itself, this mascara makes my lashes look dark, long and feathered. If you are looking for a drugstore mascara, this one is great, but like I said, I think it gives you the most bang for your buck when you layer it over another mascara. It’s not the best mascara I have ever tried, but judging by the photos, yeah, I would say my lashes look double the volume.

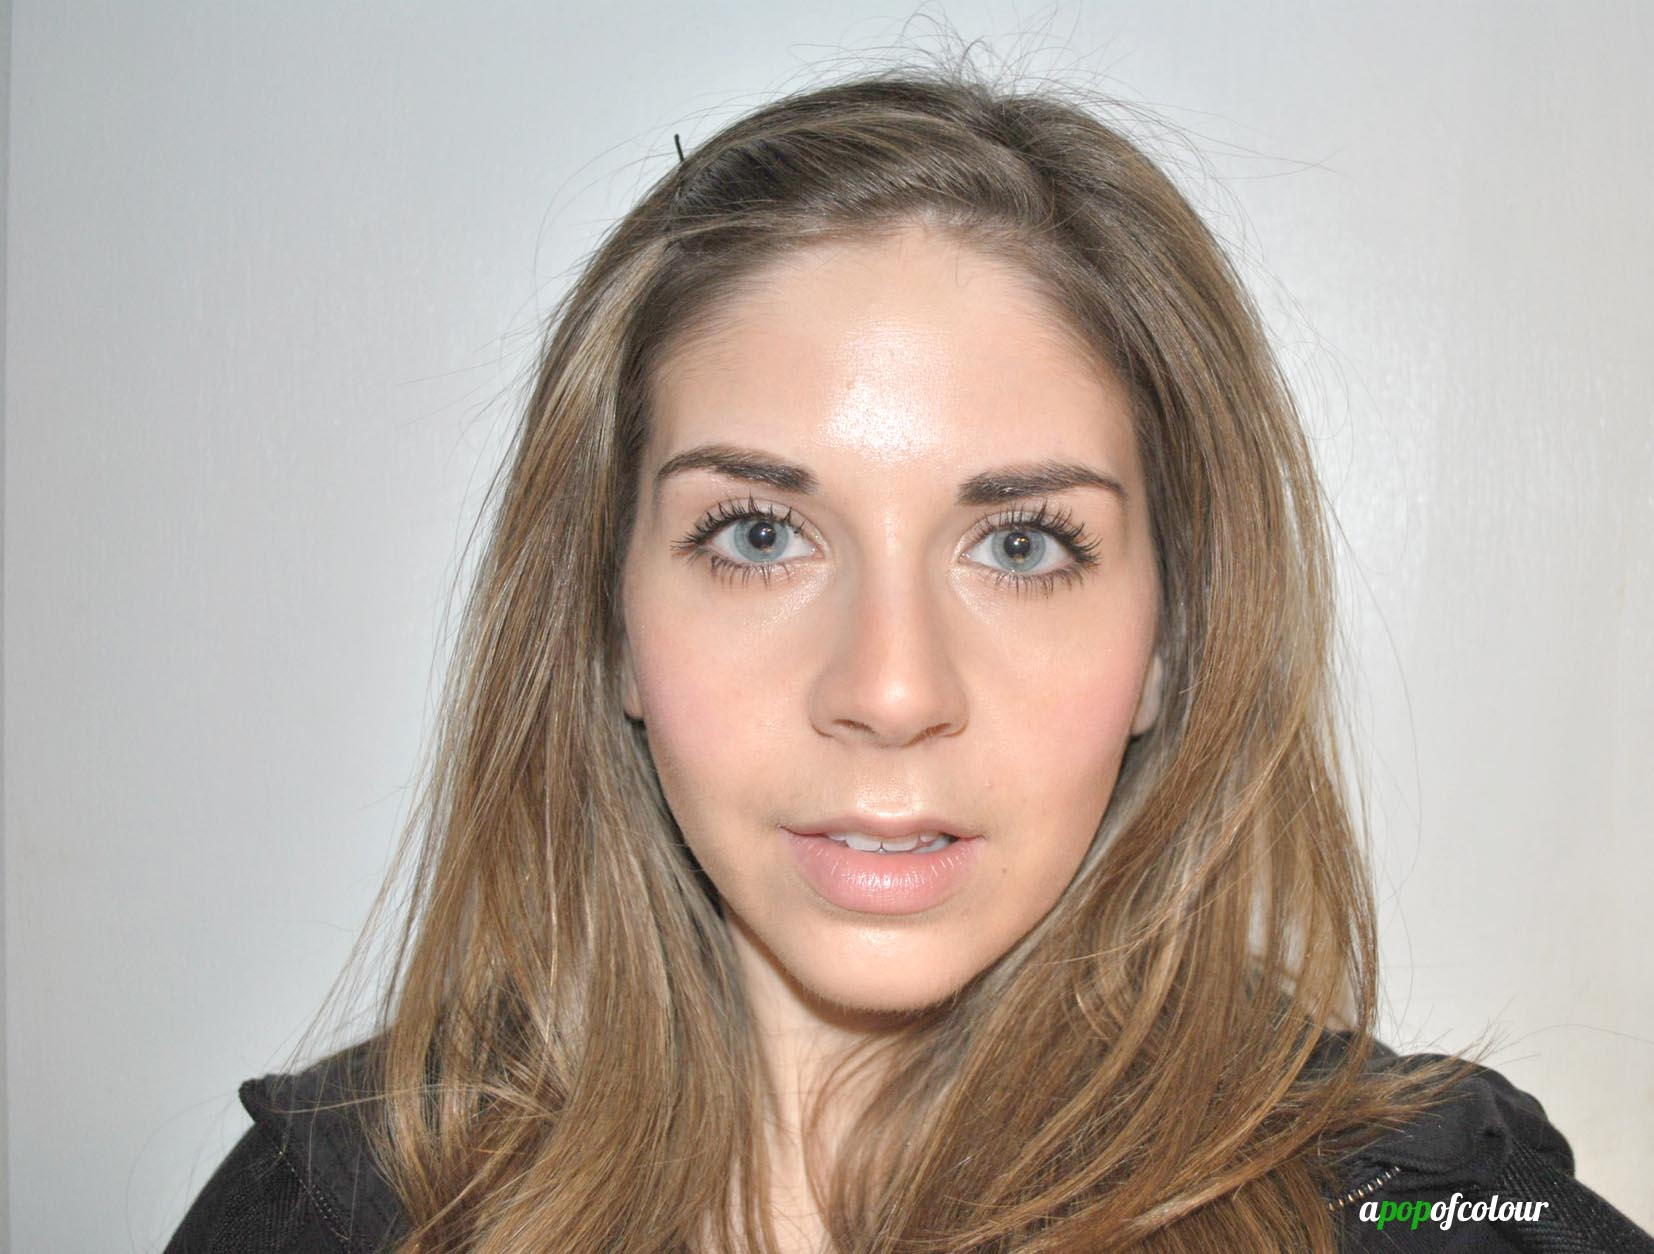
This photo looks like a mugshot, but I thought it was the best at showing off my lashes.
Have you tried Covergirl’s Clump Crusher by Lash Blast mascara? What were your thoughts?
Disclosure: I am a #BeautyUnited blogger. As part of my affiliation with this group I receive products and special access to P&G events. The opinions on this blog are my own.
Like what you read? Check out these related posts:

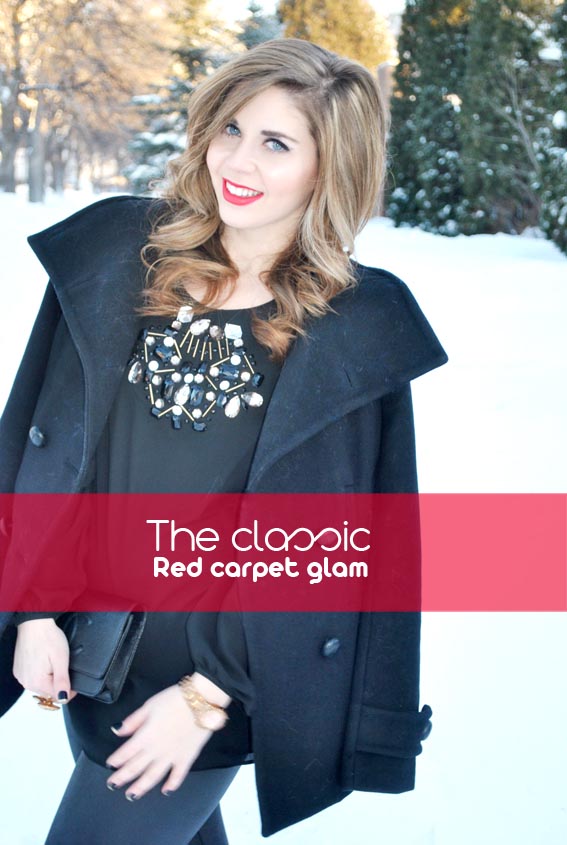
Happy New Year chickas!
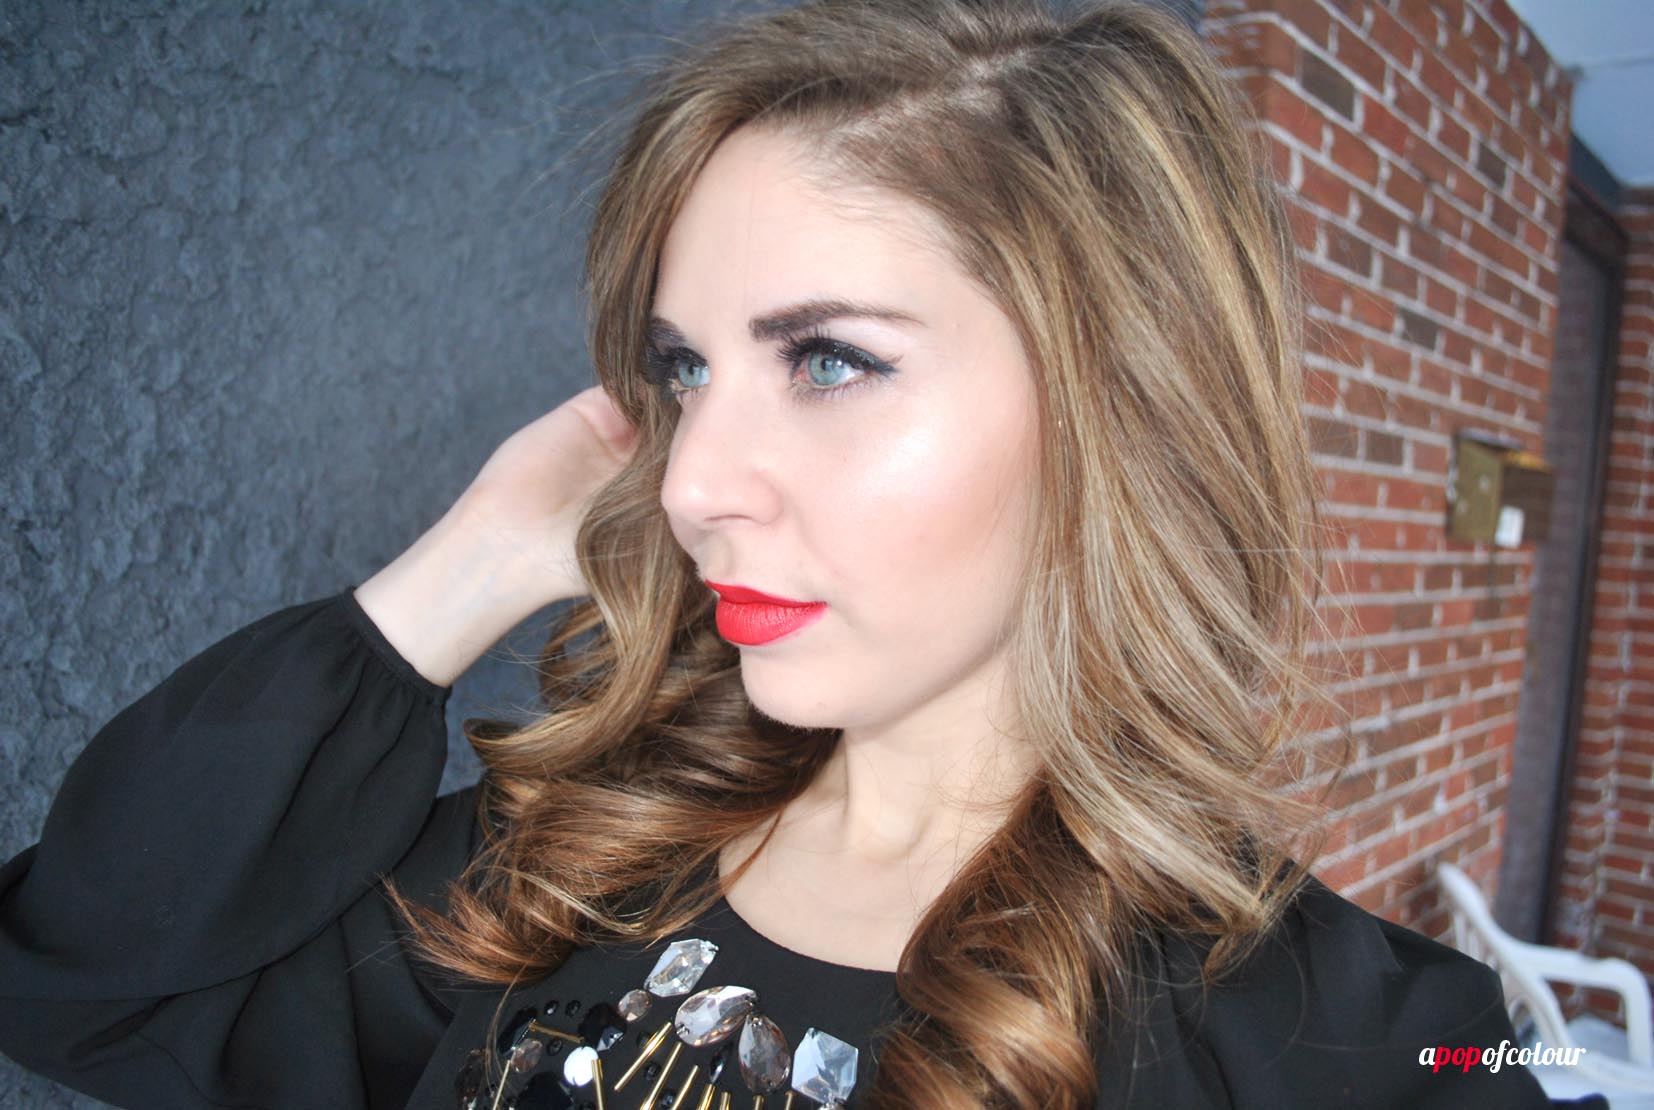
In honour of the new year, I wanted to start 2014 off right and do a makeup/outfit look. This particular one can be worn year round because it’s so classic: a winged liner and a hot red lip. Seriously, I would be more inclined to wear this during the day and then easily take it into the night. This one is also oh so perfect for the upcoming People’s Choice Awards on January 8, as nothing screams more Hollywood than a red pout.

Inspired by Christian Louboutin’s, I used Covergirl’s Passion lipstick and lip liner to create this sleek look. I kept the rest of the face neutral with a winged liner and some falsies to create a flirty look.
 Here’s how to recreate it!
 1. Since it’s the last day of the year, we want to step into 2014 smelling nice and clean. Before shampooing I often apply Matrix’s Exquisite Oil Tamanu Oil Strengthening Treatment to protect my strands. For extra shine, I used Pantene’s Smooth shampoo and conditioner, which is infused with Argan oil.
2. After the shower, apply an eye cream and moisturizer. I used Benefit’s It’s Potent and Olay Regenerist Micro-Sculpting Cream moisturizer which fights the signs of wrinkles and aging.
3. Starting with makeup, apply a primer and then your foundation. I used a full-coverage foundation for this look because we really want to make the focus on the lips. I used Covergirl Stay Fabulous 3-in-1 foundation in 910.
4. For concealer, I used a shade a bit lighter than my skin tone from the Make Up For Ever 5-Color Camouflage Palette and then went over that with the Olay Total Effects 7-in-1 Anti-Aging Eye Cream Line and Dark Circle Minimizing Brush, which adds a bit of highlight to the area. I love this stuff, I have been adding it over my concealer everyday. It’s like a cheaper version of YSL Touche Eclat.
5. To set everything, apply a powder foundation. I used Covergirl & Olay Pressed Powder in 320.
6. Fill in your brows with either a dark eyeshadow or brow pencil. I used a matte dark brown from the Smashbox Full Exposure palette then Benefit’s Gimme Brow to set everything. After, add a shimmery white to highlight your brow bone. I used Covergirl Flamed Out Shadow Pencil in 305.
7. Moving onto the eyes, apply either a primer, or a nude cream shadow. I used MAC Paint Pot in Nubile, which was limited edition. MAC’s Painterly would be a good dupe.
8. Using either a liquid or a pencil liner, line your upper lash line and wing it out. I used Covergirl Ink It! Perfect Point Plus All-Day Eye Pencil in 230 Black Ink. I chose to go with a pencil rather than a liquid or gel because I have a bit more control with this. This particular pencil is also waterproof so it’s not going to budge.
9. Curl your lashes, apply a couple coats of mascara and then pop on some falsies. For the bottom lashes, I lined my waterline with a nude liner (Rimmel London ScandalEyes Kohl Kajal liner in Nude) and then went over my bottom lashes with Covergirl Lash Blast Clump Crusher mascara, which I also used on my top lashes. False lashes are by MAC; try to keep the lashes wispy and natural looking.
10. Back to the face! Apply a bronzer to contour your cheekbones, taking the colour up onto your temples. I used Covergirl Clean Glow Bronzer in 120 Spices (love this bronzer!).
11. Since we want the face to look natural, apply a tan-coloured blush. I used NARS Madly.
12. Add some shimmer to your cheekbones to finish up the face. I used Benefit High Beam.
13. Now the main part, the lips! Line your lips and then fill them in with a red lip liner, like Covergirl Lip Perfection in 215 Passion. Then, with a colour the same shade or close to it, apply this to your lips, keeping within the lines! I used a Covergirl lipstick in the 305 Hot Passion.
14. This part is optional and can be done earlier, but pop on a pair of Crest 3D White Whitestripes 1-Hour Express on your teeth to make them appear whiter.
15. Now onto the hair! I usually apply a ton of products to my locks before I blowdry it. Not only did I use these in this tutorial, but I pretty much use all of these every time I wash my hair. I first start off with Pantene’s Smooth Argan Serum and then apply a split ends tamer, like Pantene’s Split Fix Instant Split End Repair Creme. After, I applied Pantene’s Ultimate 10 BB Cream to my hair and then finish up with Pantene’s Silky Moisture Whip, which I am actually obsessed with, it leaves your hair so soft. Because we will be using a blowdryer on it and then a curling iron, apply a heat tamer, like Vidal Sassoon’s Repair Spray Heat Protect & Shine. Right before my blow dry I like adding a volumizing mousse to my roots as well.
16. Blow dry your hair. I like sectioning off my hair and then use a round brush. By doing this, I’m always left with really silky locks.
17. Once your hair is completely dry, curl it using a one-inch barrel curler. I used Sultra The Bombshell One-Inch Curling Rod.
18. Spray your locks with hairspray and you are all done! I used Vidal Sassoon Flexible Hold Hairspray.

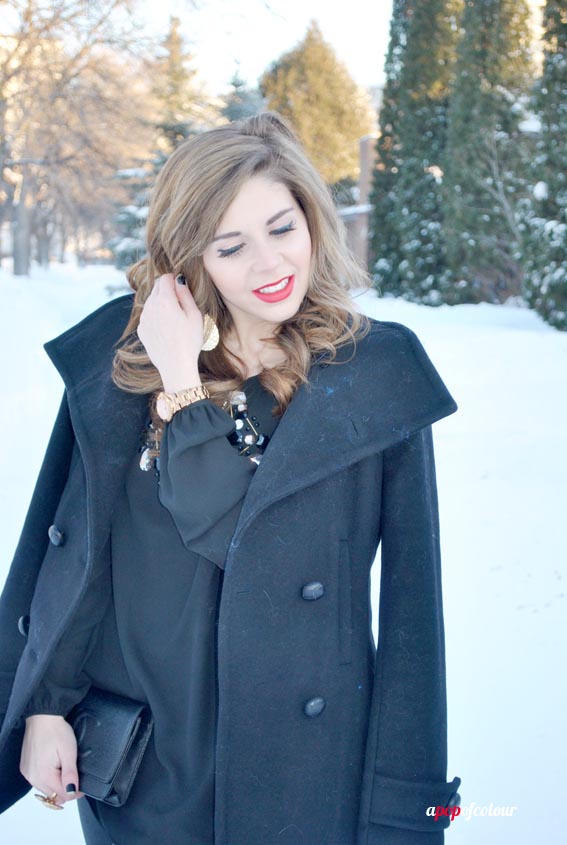
And that’s the final look! This was actually my New Year’s Eve outfit because I did something a little more low-key. Obviously though, that doesn’t mean that I had to scrimp on the glam factor.
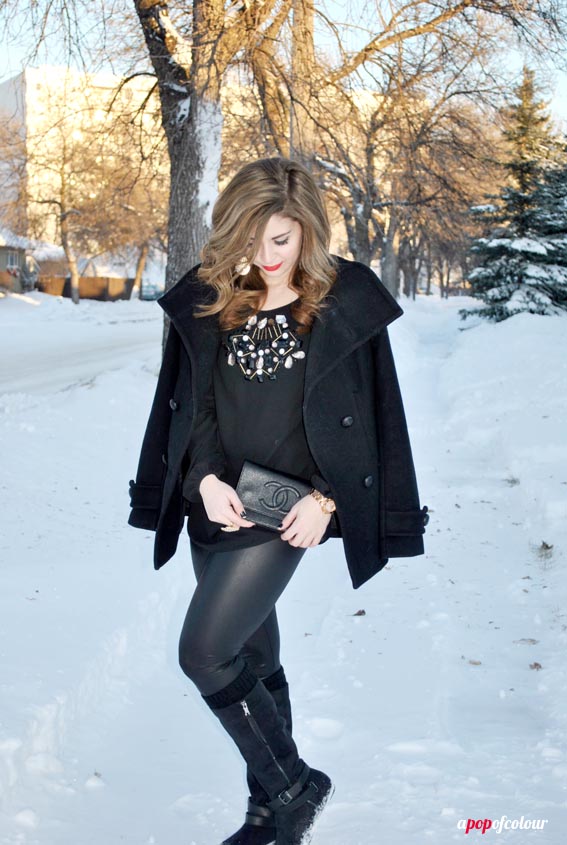
I wore this gorgeous EDIT by Jeanne Beker blouse that I have been eyeing forever and finally got on sale on Boxing Day from The Bay. I paired it with some faux-leather leggings and then because I was inside a house, I chose to skip out on the heels and wear these black boots instead, which are so weather appropriate since I live in Winnipeg.
Blouse: Edit by Jeanne Beker (on sale!)
Faux leather leggings: Garage (similar here)
Boots: Aldo (on sale!)
Coat: Aritzia
Earrings: Forever 21 (old)
Ring: H&M (old)
Clutch: Chanel
Watch: Michael Kors

Also, keep an eye out on my twitter as I will be hosting a giveaway on January 8 for the People’s Choice Awards! Here’s what you can win:
- Olay Regenerist Micro-Sculpting Cream Moisturizer
- Olay Fresh Effects Long Live Moisture Satin Finish Lotion
- Crest 3D White 1-Hour Express Strip
- Covergirl Clean Glow Bronzer in Spices
- Covergirl Lash Blast Clump Crusher mascara
- Vidal Sassoon Flexible Hold Hairspray
- Vidal Sassoon Repair Heat Protectant and Shine Spray
- Covergirl Lipstick in 305 Hot Passion
- Covergirl Lip Perfection Lip Liner in 215 Passion
- $25 Aldo Gift Card
Tweet with me on January 8 for your chance to win!
Happy New Years!
Disclosure: I am a #BeautyUnited blogger. As part of my affiliation with this group I receive products and special access to P&G events. The opinions on this blog are my own.
Like what you read? Check out these related posts: