With it officially being February, that means that Valentine’s Day festivities are out in full swing. I have been seeing pink and red and hearts everywhere I go and although I’ll be celebrating “pal”entine’s day this year, that doesn’t mean that I have to look any less fab.
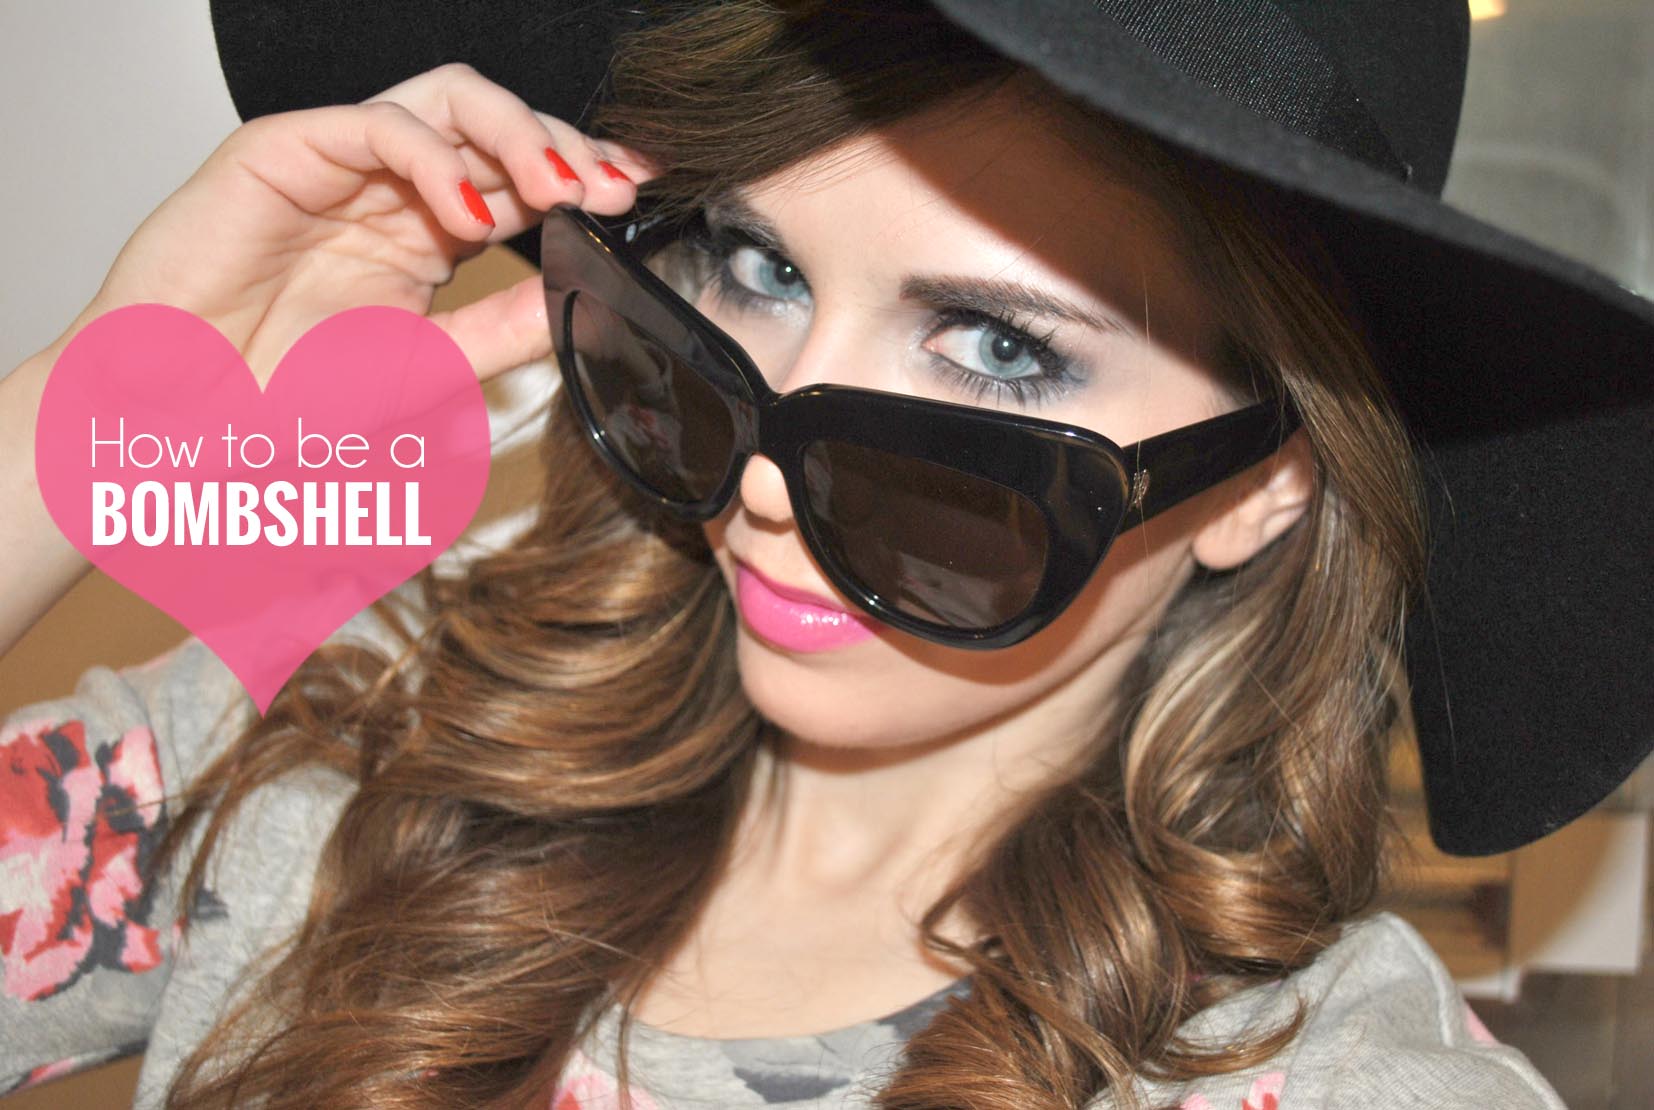
If you have been to the drugstore lately, or even just opened a fashion magazine, you may have spotted Covergirl’s latest Bombshell collection, consisting of a mascara, cream shadows, an eyeliner, and more. I received some of the products this month to try out and have been loving everything so far. Plus, the packaging is pink, who doesn’t love pink?!
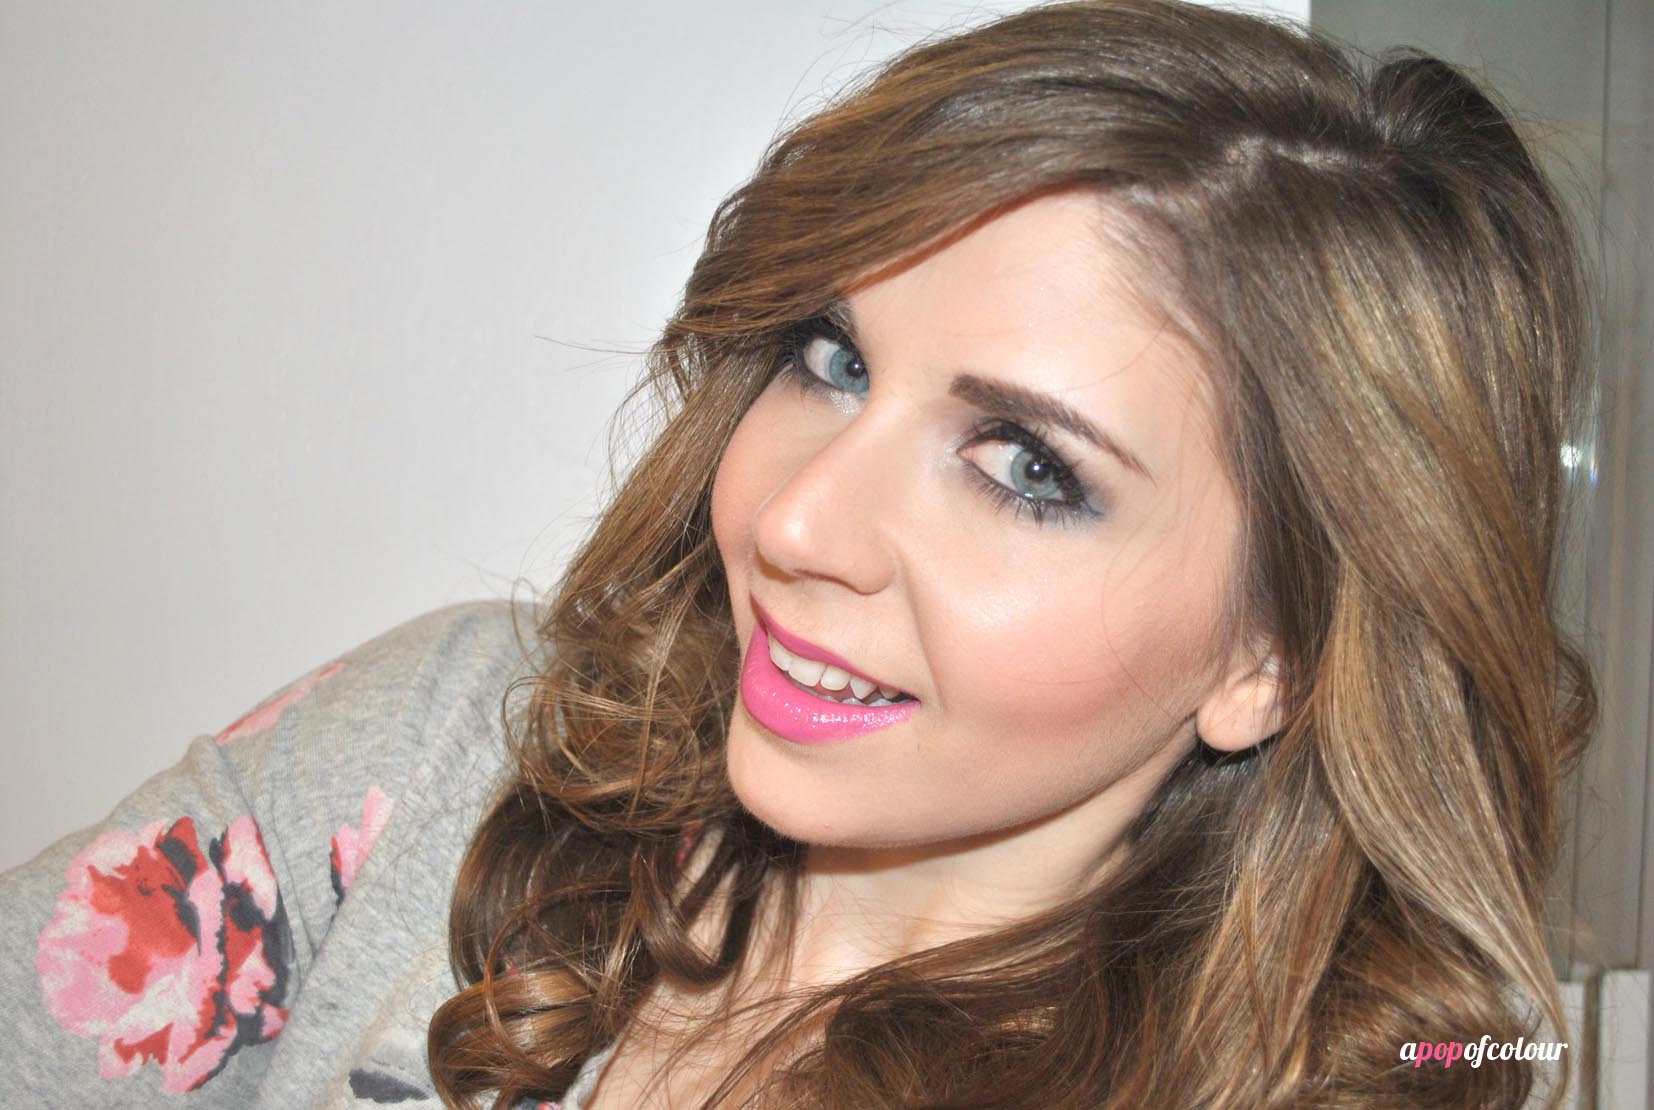
If you feel like bombshelling, this look is very affordable to recreate, as most of the products are from the drugstore and by Covergirl.

 1. Starting with the eyes, lay down a primer. I used Too Faced Shadow Insurance. Then, starting from the brows, fill them in and then lay down a white cream shadow along the brow bone to highlight. I used Covergirl Flamed Out Shadow Pencil in Crystal Flame.
2. Using a matte brown shadow and a fluffy crease brush, lightly apply this right under your highlight.
3. With a cream purple shadow, apply this to your lids. I used Covergirl Bombshell ShineShadow in Oh La Lilac (tip: a little goes a long way!).
4. With a black shadow and a crease brush (like a MAC 217), apply this lightly to your crease, building up the colour. I used Covergirl Flamed Out Shadow Pot in Molten Black.
5. Line your upper lash line, winging it out. I used Marc Jacobs Beauty Magic Marc’er in Blacquer, but Covergirl released a liquid liner in their Bombshell collection which seems similar.
6. Curl your lashes and apply a few coats of mascara. I used Covergirl Bombshell mascara (obviously). I will be doing a review on this mascara coming up, but I seem to get major lashes when I used side two first, then side one after; just a tip ;).
7. With that same black shadow and an eyeliner brush, line your lower lash line.
8. Apply the white cream shadow to the inner corners to open up the eye area. Also, line your waterline using a black pencil liner and then apply a coat of mascara to your bottom lashes. I used Covergirl Lashblast Clump Crusher on the lower lashes.
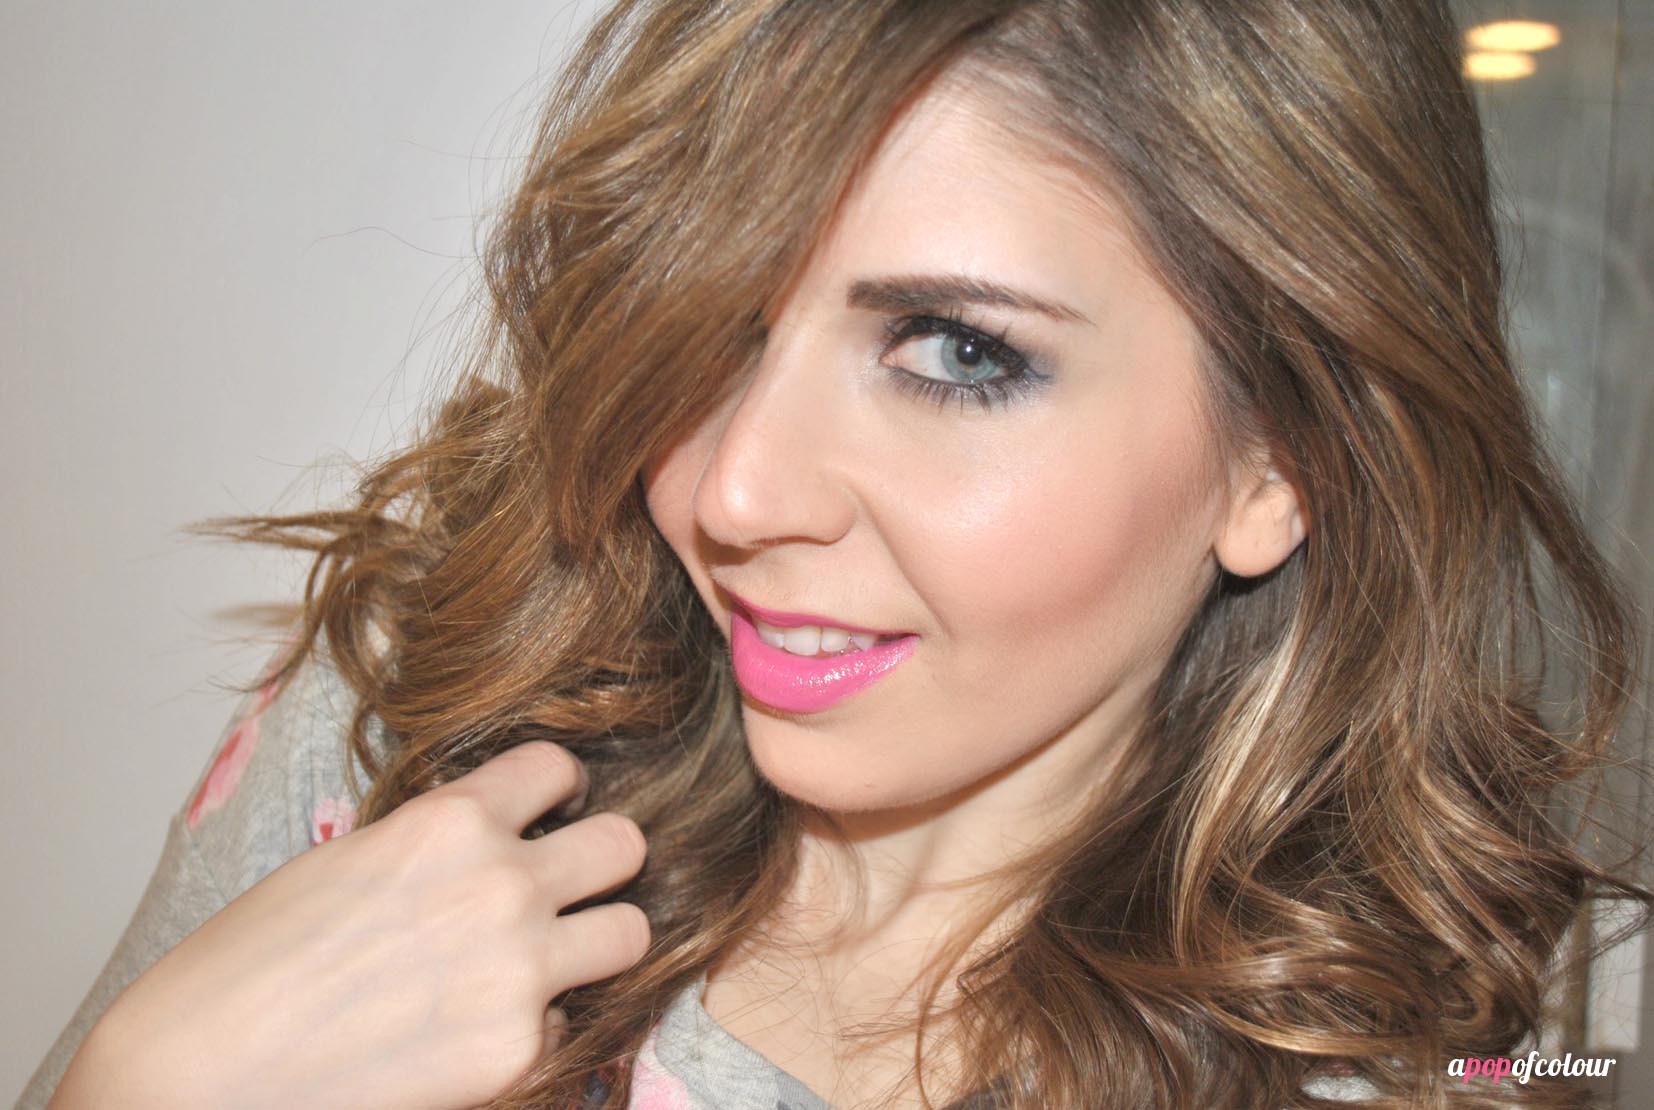
9. For the lips, I used Covergirl LipPerfection Lipcolour in Bombshell with Covergirl Lipslicks Smoochies Sizzle Gloss in Tickled Pink over top.

And that’s the final look! For the face, I used Covergirl Stay Fabulous 3-in-1 foundation, IT Cosmetics Bye Bye Undereye in Medium for concealer, Covergirl Clean Bronzer in Spices for my contour, NARS Angelika blush, and my Hourglass Ambient Lighting Palette in Dimlight and Iridescent Light. On my nails, I’m wearing Covergirl Outlast Stay Brilliant Nail Gloss in Ever Reddy (175).
I hope you enjoyed this look and happy bombshelling!
Disclosure: I am a #BeautyUnited blogger. As part of my affiliation with this group I receive products and special access to P&G events. The opinions on this blog are my own.
Like what you read? Check out these related posts:

So if you are a follower of mine on Twitter, you would have noticed me blowing up your feeds last Sunday. I was in Toronto at the Thompson Hotel with all my P&G Beauty United besties, talking, watching, and tweeting the Grammys and our favourite red carpet looks.
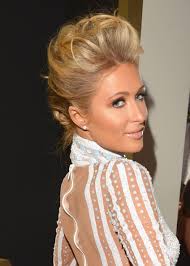
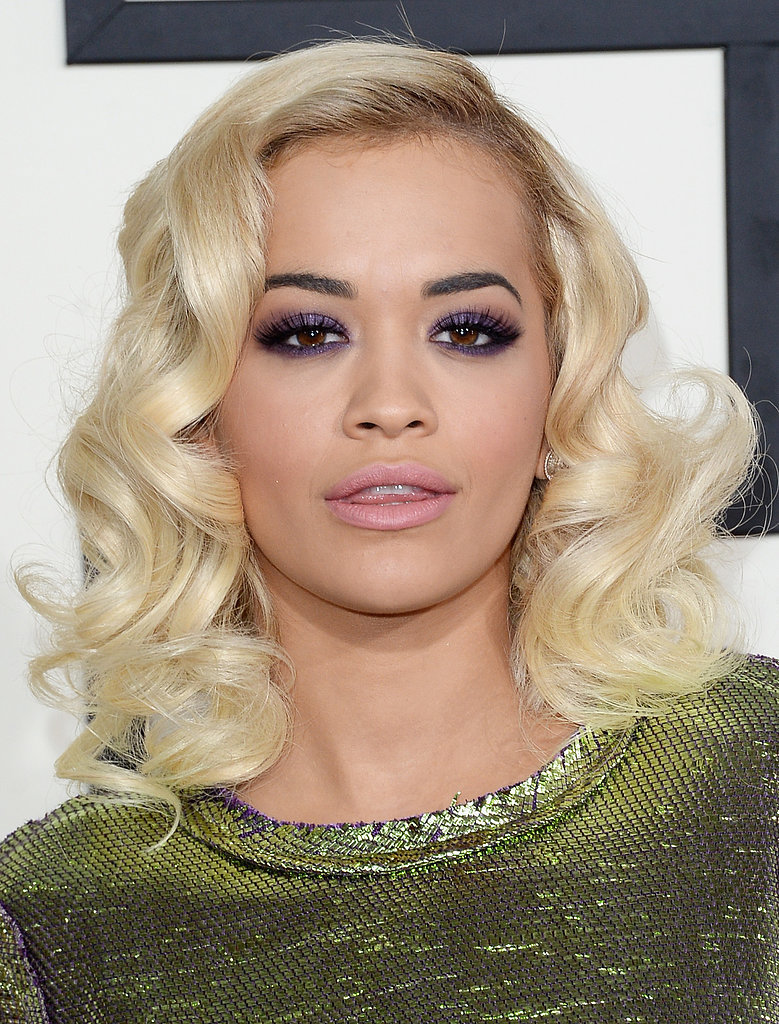
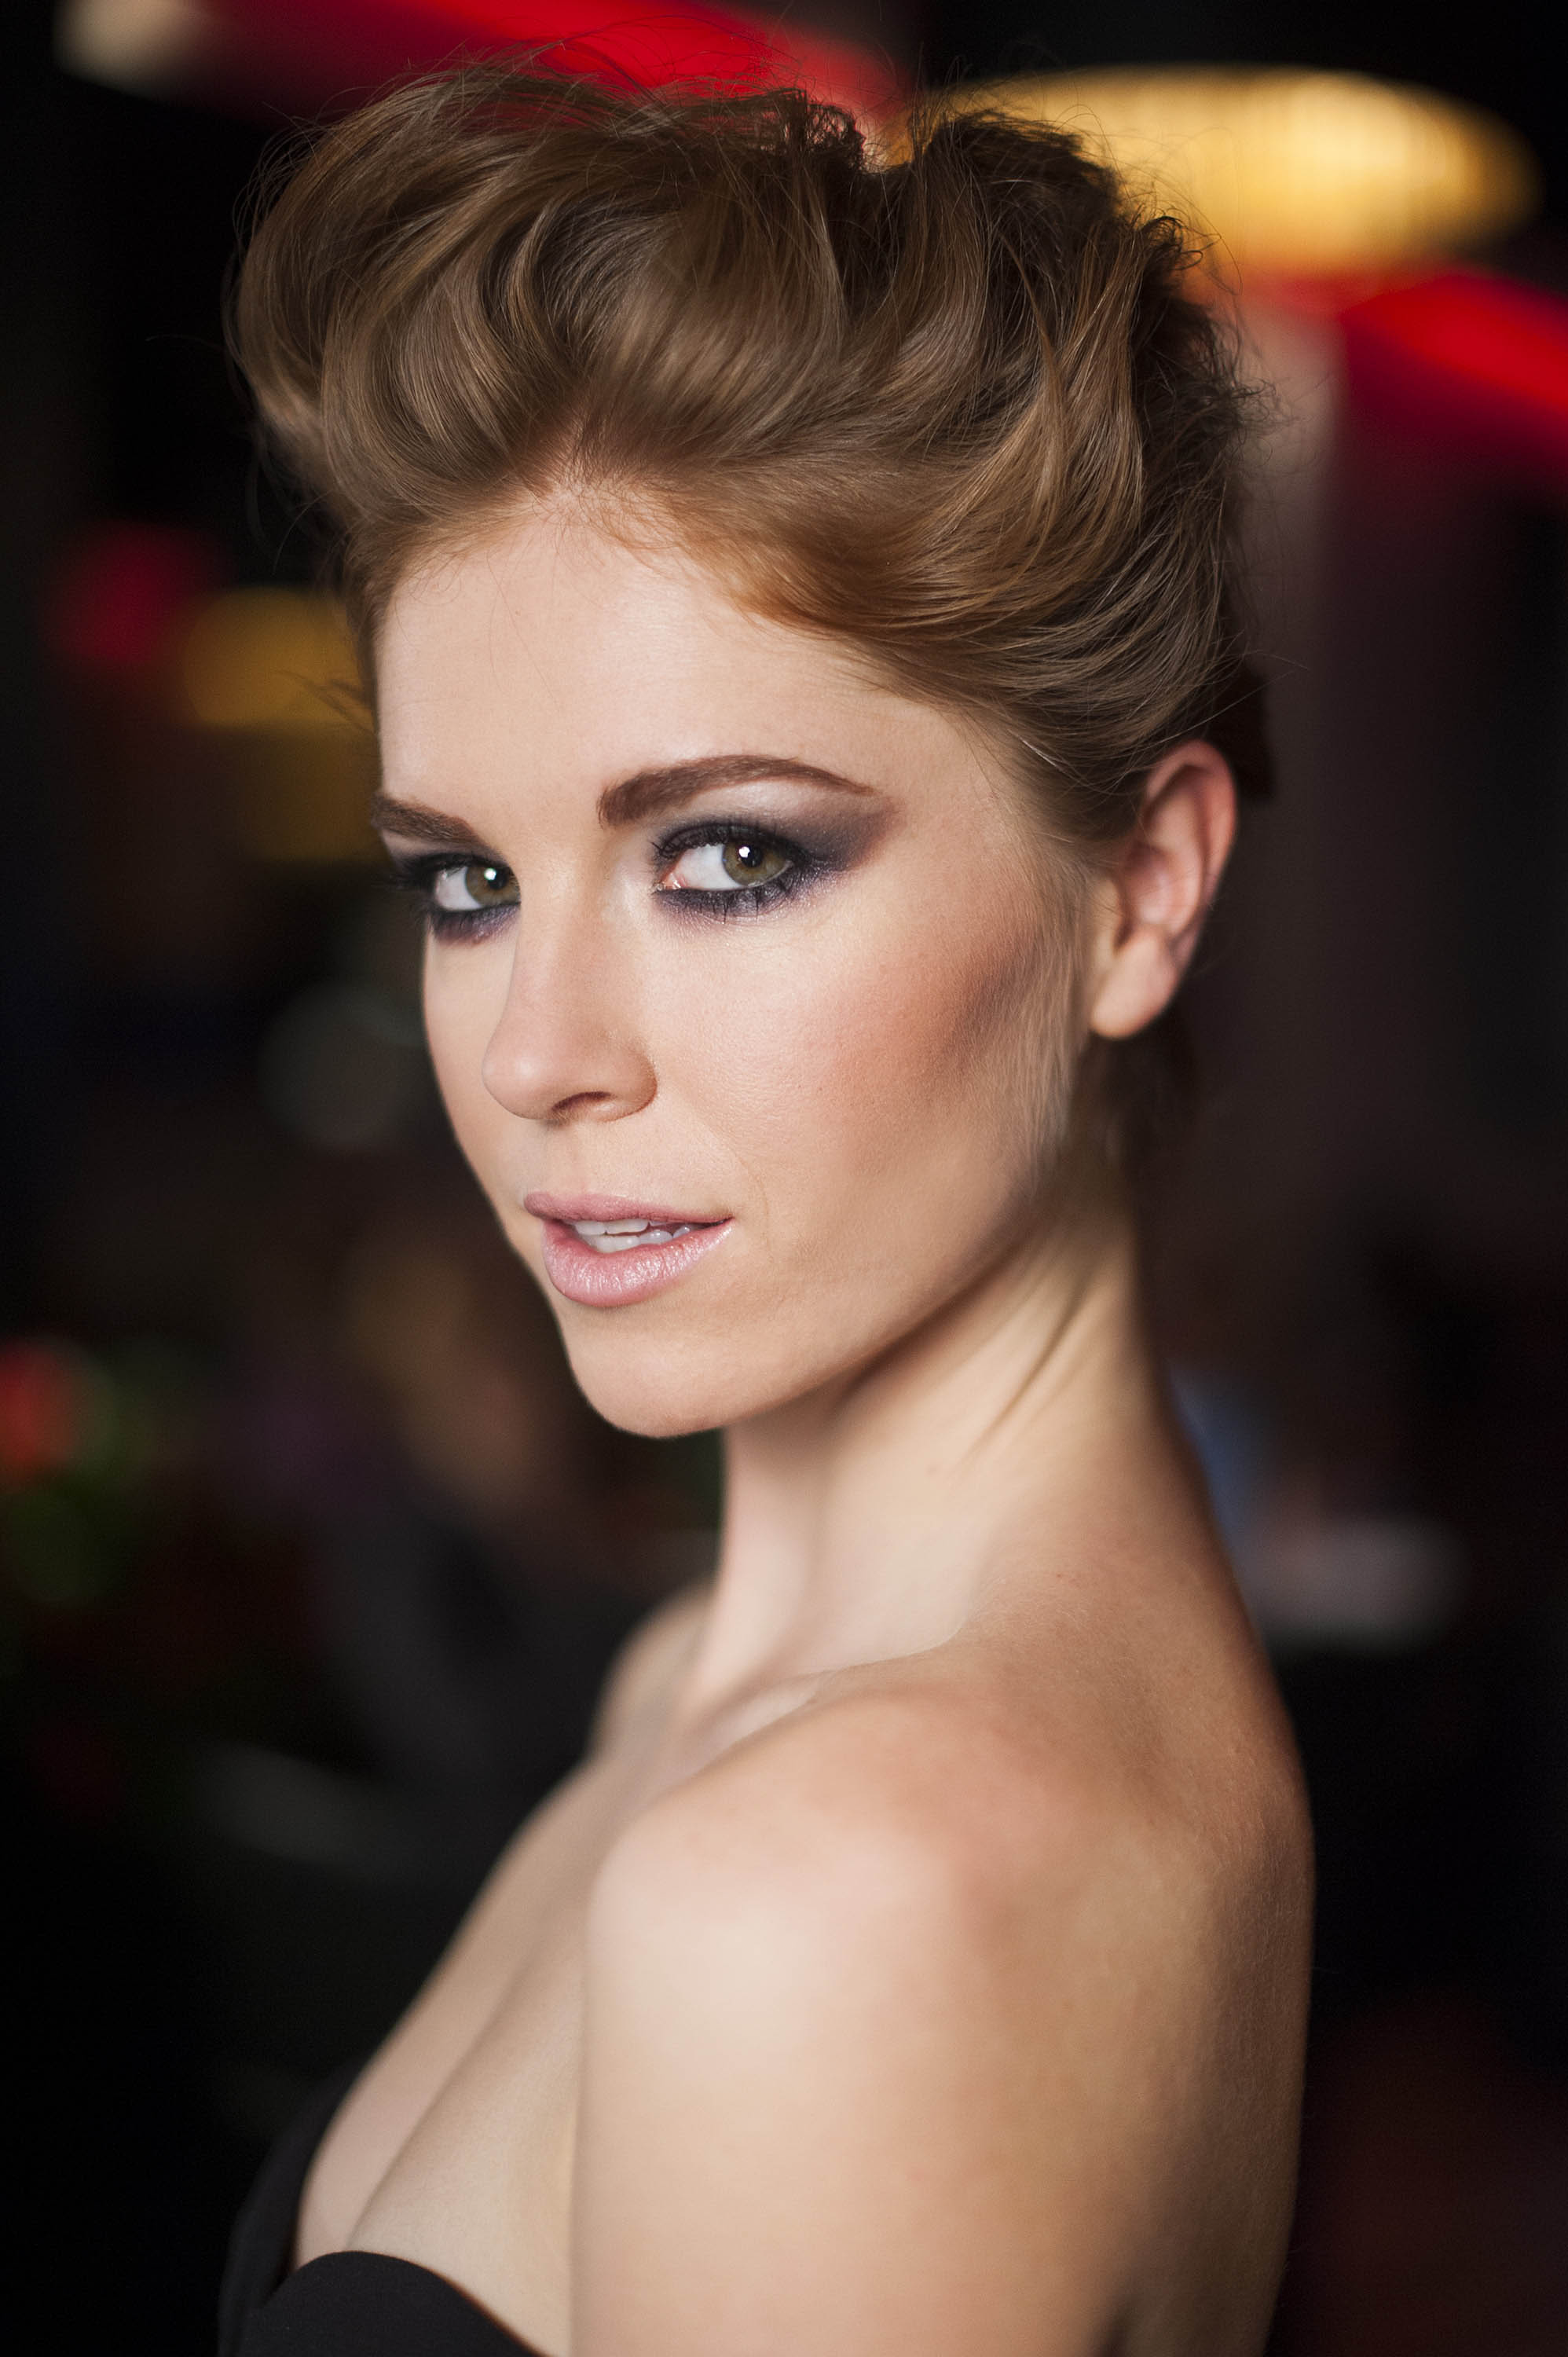
I’ll have a full post coming up next week about the whole event with tons of photos, but a big part of the event was talking about our fave looks from the red carpet. We all decided that Paris Hilton had the hottest hair with Rita Ora having the sexiest makeup. As a result, Justin German, Pantene Pro-V consulting stylist and Amelie Ducharme, Covergirl makeup pro, recreated the looks on a model at the event. So cool, right?!
Since it’s Friday and I usually love getting glammed up on the weekend, here are some tips on how to recreate their Hollywood looks!
 First, prepare by washing hair with the new Pantene Pro-V Damage Detox Weekly Deep Cleanse Purifying Shampoo.
Blow-dry with a round brush and pin in clips, like you would rollers – this will give you a great foundation for this updo. Set hair with Pantene Pro-V Stylers Anti-Humidity Mximum Hold Hairspray.
After a few minutes, remove clips and shake out curls. Spray in Pantene Advanced+ Keratin Repair KERAGLOSS Oil Mist to relax the look and build texture.
Now, part the hair in two sections. Start by collecting hair from temple to temple and pile it in a knot on top of your head.
With the remaining hair, gather and put into a ponytail just below the crown. While the sides are tight to the head, they are not slick. We want an undone look! Backbrush the ponytail, while misting with hairspray.

Photo by Arthur Mola.
Next, twist the ponytail downward and pin into the head all the way down. Finish by tucking in the ends with a few bobby pins at the nape of the neck.
Undo the top section of hair and backbrush with a few spritzes of the Pro-V Stylers Anti-Humidity spray. Then lift hair at the front, creating tons of volume, roll and pin into the top of the hair roll that was created with the bottom section of the hair – connecting the top and bottom into one.
For the final touch, using your fingertips, pull out a few pieces of hair from the front, lifting and spraying for even more volume and texture.
Finish with a few sprays of KERAGLOSS for extra shine.
 Now as much as I don’t like Rita Ora (usually hate her style, plus no one cheats on Rob Kardashian. NO ONE.), I have to admit that she was bombshelling on Sunday night. Not only was her makeup on point, but I loved her hair as well.
Here’s how to recreate the style.
To keep focus on the eyes, skin must look flawless. Create your base with COVERGIRL Outlast Stay Fabulous 3-in-1 Foundation with a foundation brush.
Even out any dark circles by applying COVERGIRL + Olay Eye Rehab CC Cream with a concealer brush. Apply in a triangular shape under the eye – from corner to corner and down toward the nose.
Next, lightly apply COVERGIRL Clean Sensitive Skin Pressed Powder under the eye to set concealer. Also apply on forehead, nose and chin for a natural yet matte skin finish.
With your finger, apply COVERGIRL Bombshell Shine Shadow in Ohh La Lilac all over the mobile lid up to the crease and along the bottom lashline with a flat shadow brush.
Using a shadow brush, apply COVERGIRL Flamed Out Shadow Pot in Molten Black to the outside corner of the lid and then from the inside corner, blending toward the center of the eye, connecting both sides in the crease. To create dimension, apply the plum shadow from the COVERGIRL EyeEnhancer 4-Kit Shadow in Prom Queen to the middle of the lid, just below the crease.
Also, sweep this plum colour under the eye. Then, rim the bottom of the eye, tighter to the lashline, with the Shadow Pot in Molten Black, blending slightly wider toward the outer corner of the eye.
Next, line the entire waterline with COVERGIRL LiquiLineBlast Eye Liner in Black Fire. To intensify the look, use this pencil to trace over the shadow on the outer corners of the eye and blend out and up using the sponge tip on the other end of the pencil. Using a shadow brush, connect the shadow from the top and bottom lids just beyond the outside corner, lifting up and out toward the temple, elongating the eye. The further out, the more dramatic the look!
Using COVERGIRL Bombshell Intensity Liner in Pitch Black Passion, trace along the upper lashline starting from the inner corner and creating a thicker line as you move to the outer corner extending just beyond the lash in an upward movement.
Coat lashes with COVERGIRL Bombshell Volume Mascara in Very Black. Start with multiple coats of Step 1 for extreme volume, then apply Step 2 for a pitch black glossy finish.
Finish the eye look by applying the silver shade from the Prom Queen palette under the brow.
For this smoldering look, you want to create a thick, strong brow. Fill in brows with COVERGIRL Brow & EyeMakers Pencil one shade darker than your natural colour.
To contour the face, use COVERGIRL Clean Glow Bronzer in Spices. Starting with the darkest shade of the palette, apply just under the cheek bone at the temple. As you move toward the apple of the cheek blend the middle and lightest shade.
Finally, prep lips by applying moisturizer topped with a thin layer of your foundation to cover any redness around the mouth. Then, fill in your pout with COVERGIRL LipPerfection in Yummy – a great pastel pink! For a more matte finish, apply a light dusting of Clean Pressed Powder.

Photo by Arthur Mola.
And that’s the final look! I will definitely be trying out the makeup look as I own a lot of those products already (if you don’t own a bottle of Covergirl Stay Fabulous foundation you are seriously missing out), and plus it’s sexy as hell.
Stay tuned for my #musicglam recap next week!
Disclosure: I am a #BeautyUnited blogger. As part of my affiliation with this group I receive products and special access to P&G events. The opinions on this blog are my own.
Like what you read? Check out these related posts:

I am a skincare fanatic. Seriously. No matter how lazy or tired I am, I will always wash my face in the morning and at night, as well as practice a good skincare routine. Cleanser, toner, eye cream, and moisturizer. If you have been a follower of mine for some time, you will know that I love my Clinique Three-Step System, something I have been using since I was 15. At the moment, I have been using the Philosophy Purity Cleanser with my Clarisonic Mia, but I always have the Clinique soap on hand in case I want to switch it up.
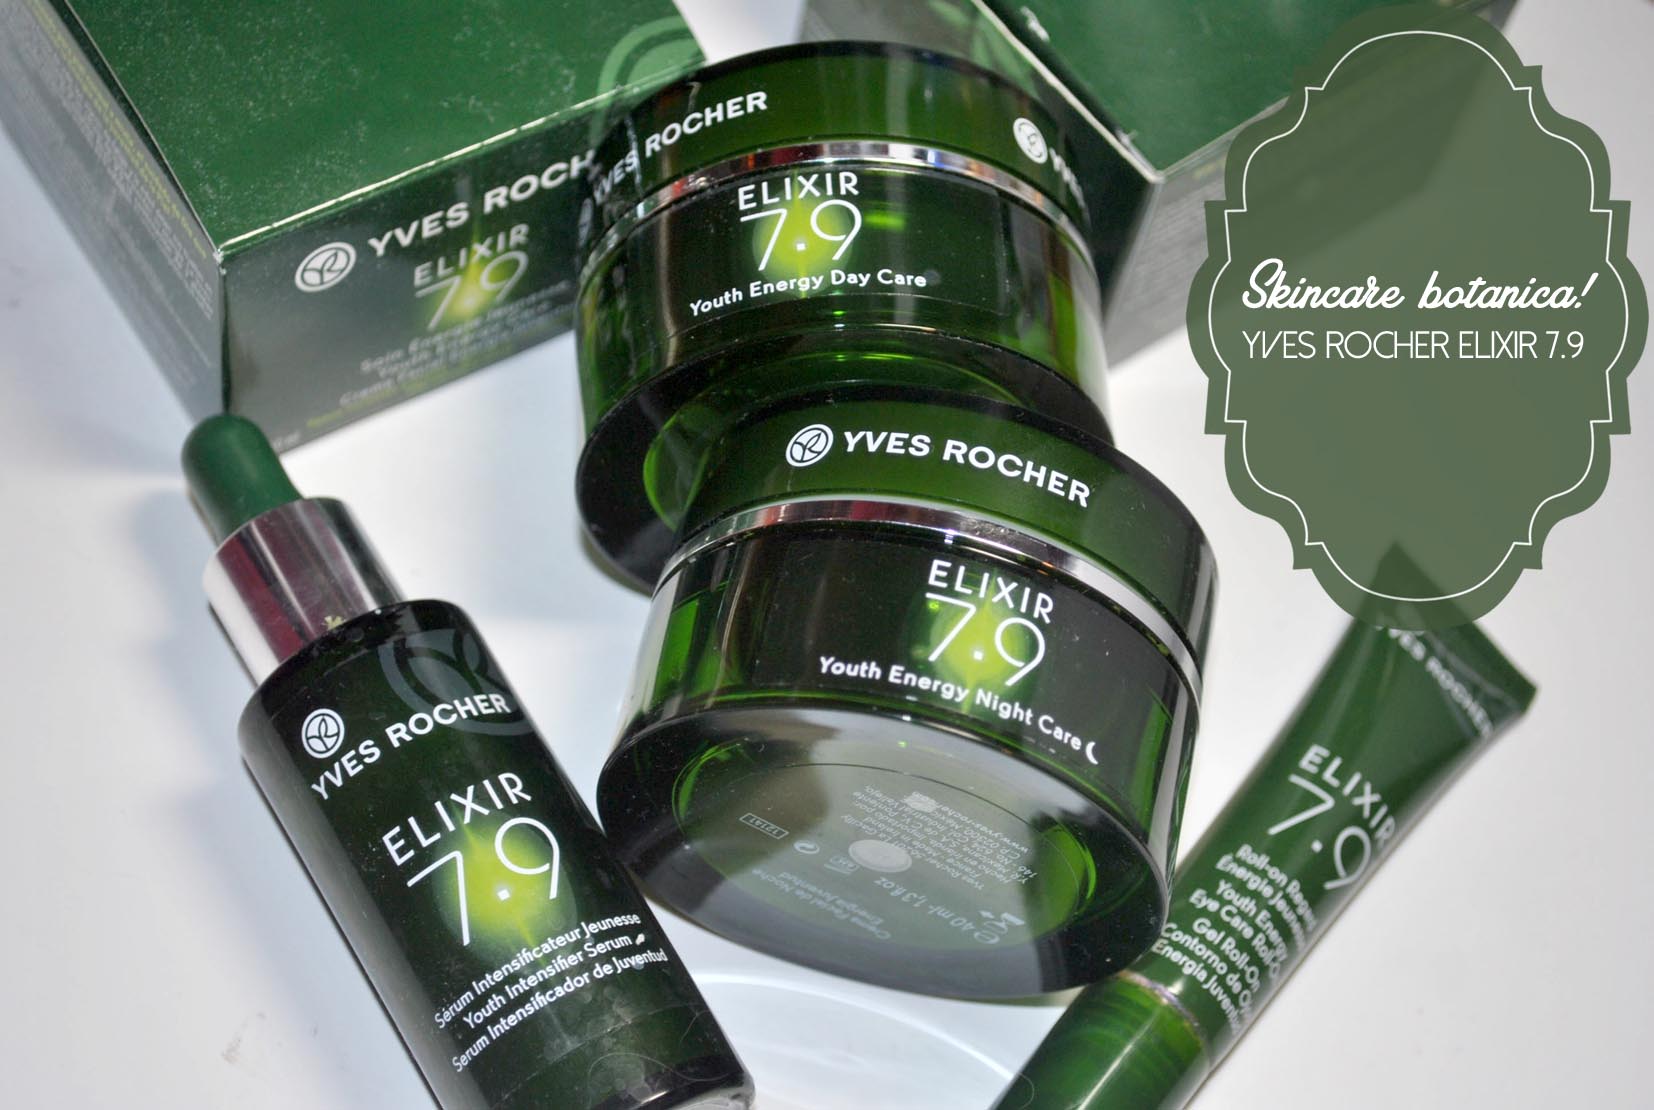
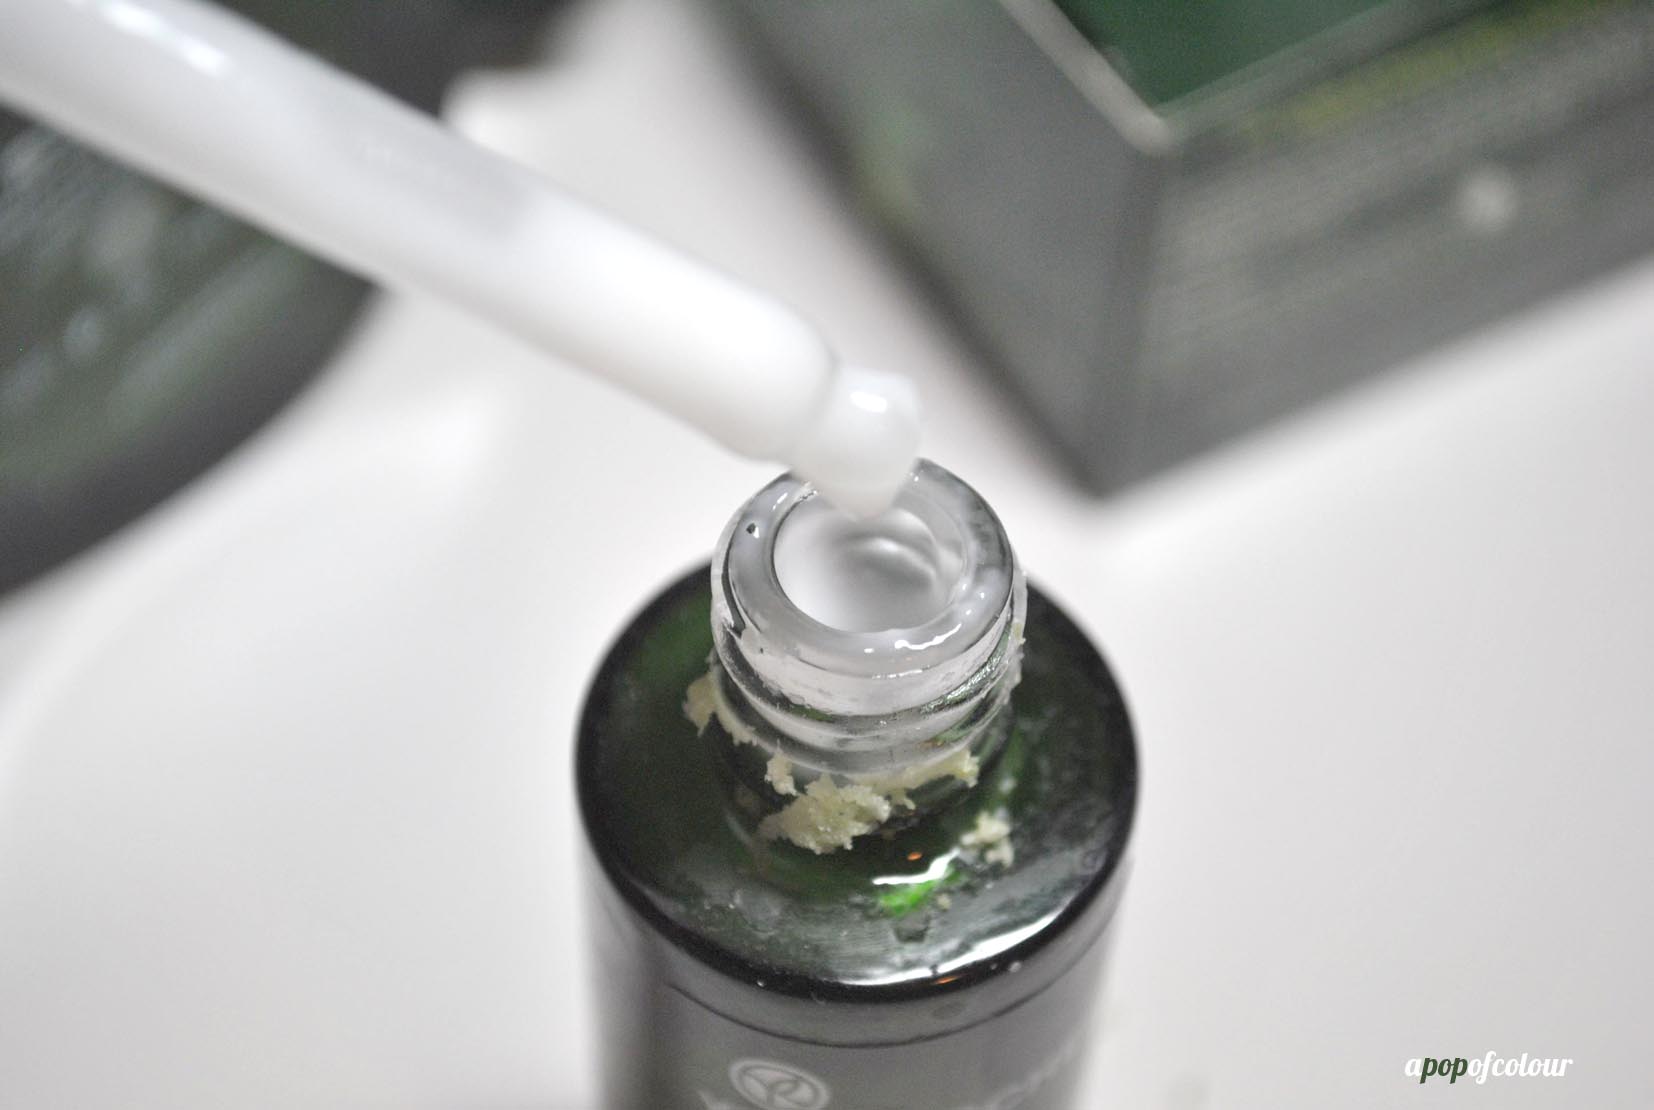
I was contacted by the people at Yves Rocher to try out their new skincare line Elixir 7.9. The line consists of three products (available for different skin types), a serum, eye cream, and moisturizer (one for day and one for night).
Elixir 7.9 took 12 years of research and is a combination of seven plants and nine patents (7.9, get it?).
The seven plants include:
- Apple Oligosides – smoothes wrinkles, boosts radiance and refines skin texture, and improves the global function of the skin.
- Aphloia Extract – Protects against environmental stressors.
- Beet Root Extract – Protects against environmental stressors and dehydration, and stimulates rehydration.
- Tara Seed Extracts – Improves skin’s cohesion between the derm and the epidermis. Fights against sagging skin and strengthens the dermo-epidermal junction.
- Aloe Vera Polyosides – Strengthens the deem, strengthens protection and hydration; consolidates the barrier function of the epidermis, and improves hydration.
- Sandthorn Seed Extract – Improves volume, elasticity, and density of the skin.
- Green Rice Inositol – Improves radiance and the overall look of the skin. Lets skin fully breathe.
Yves Rocher tested the line on 108 women before its launch and after one day, a lot of them felt that their skin appeared re-energized; after one week, first wrinkles appear smoothed; and, after one month, skin appeared radiant with youth. The products are paraben free, mineral oil free, and colorant free. The line is available in three formulas: normal to combination skin, dry skin, and sensitive skin.

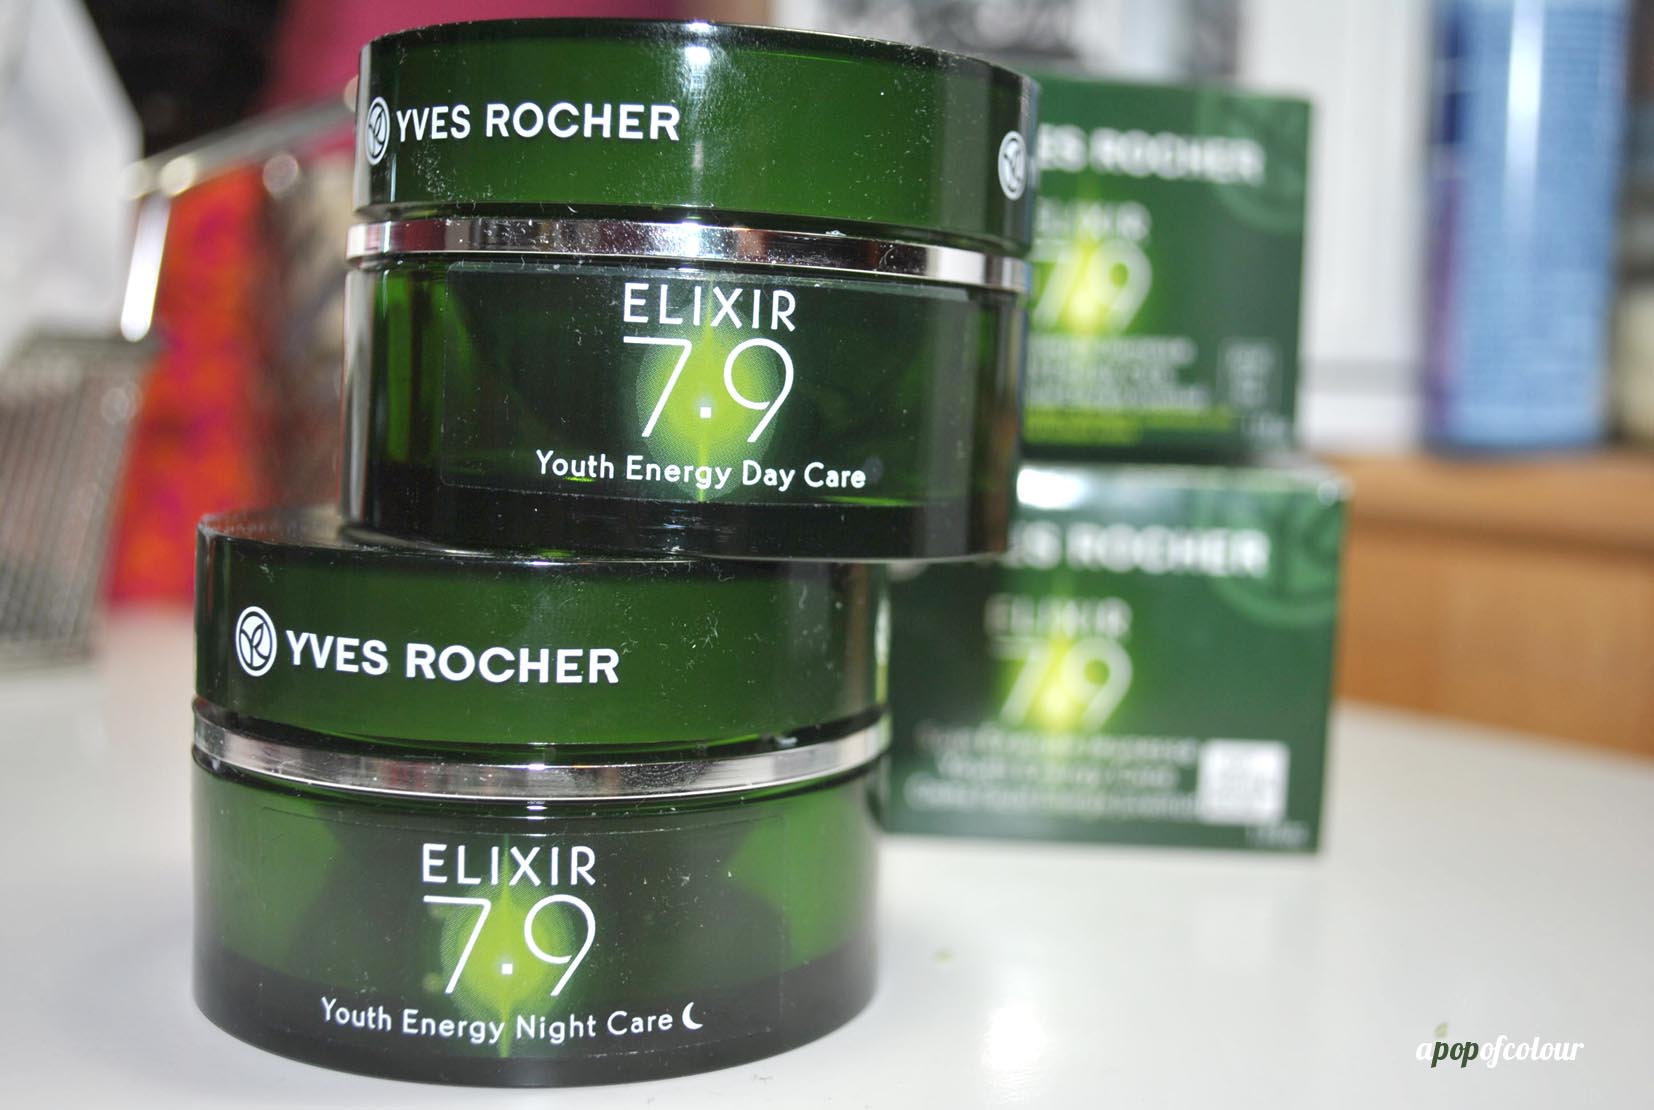
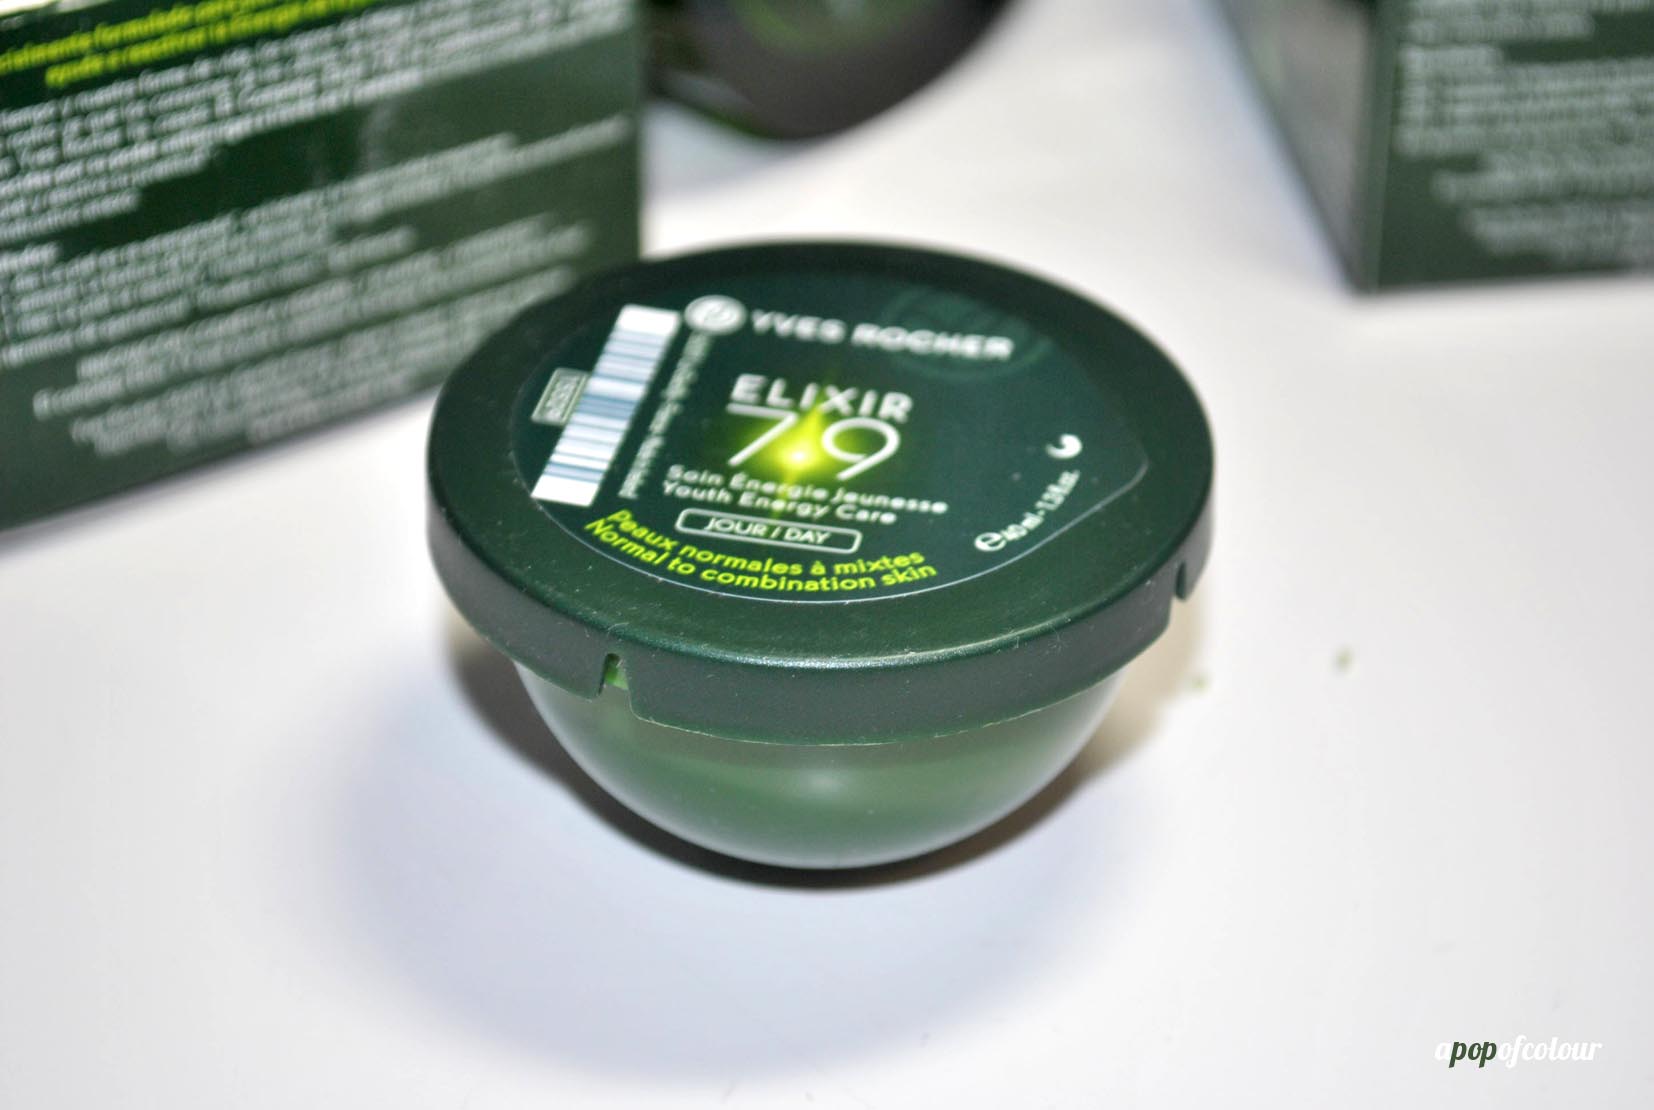
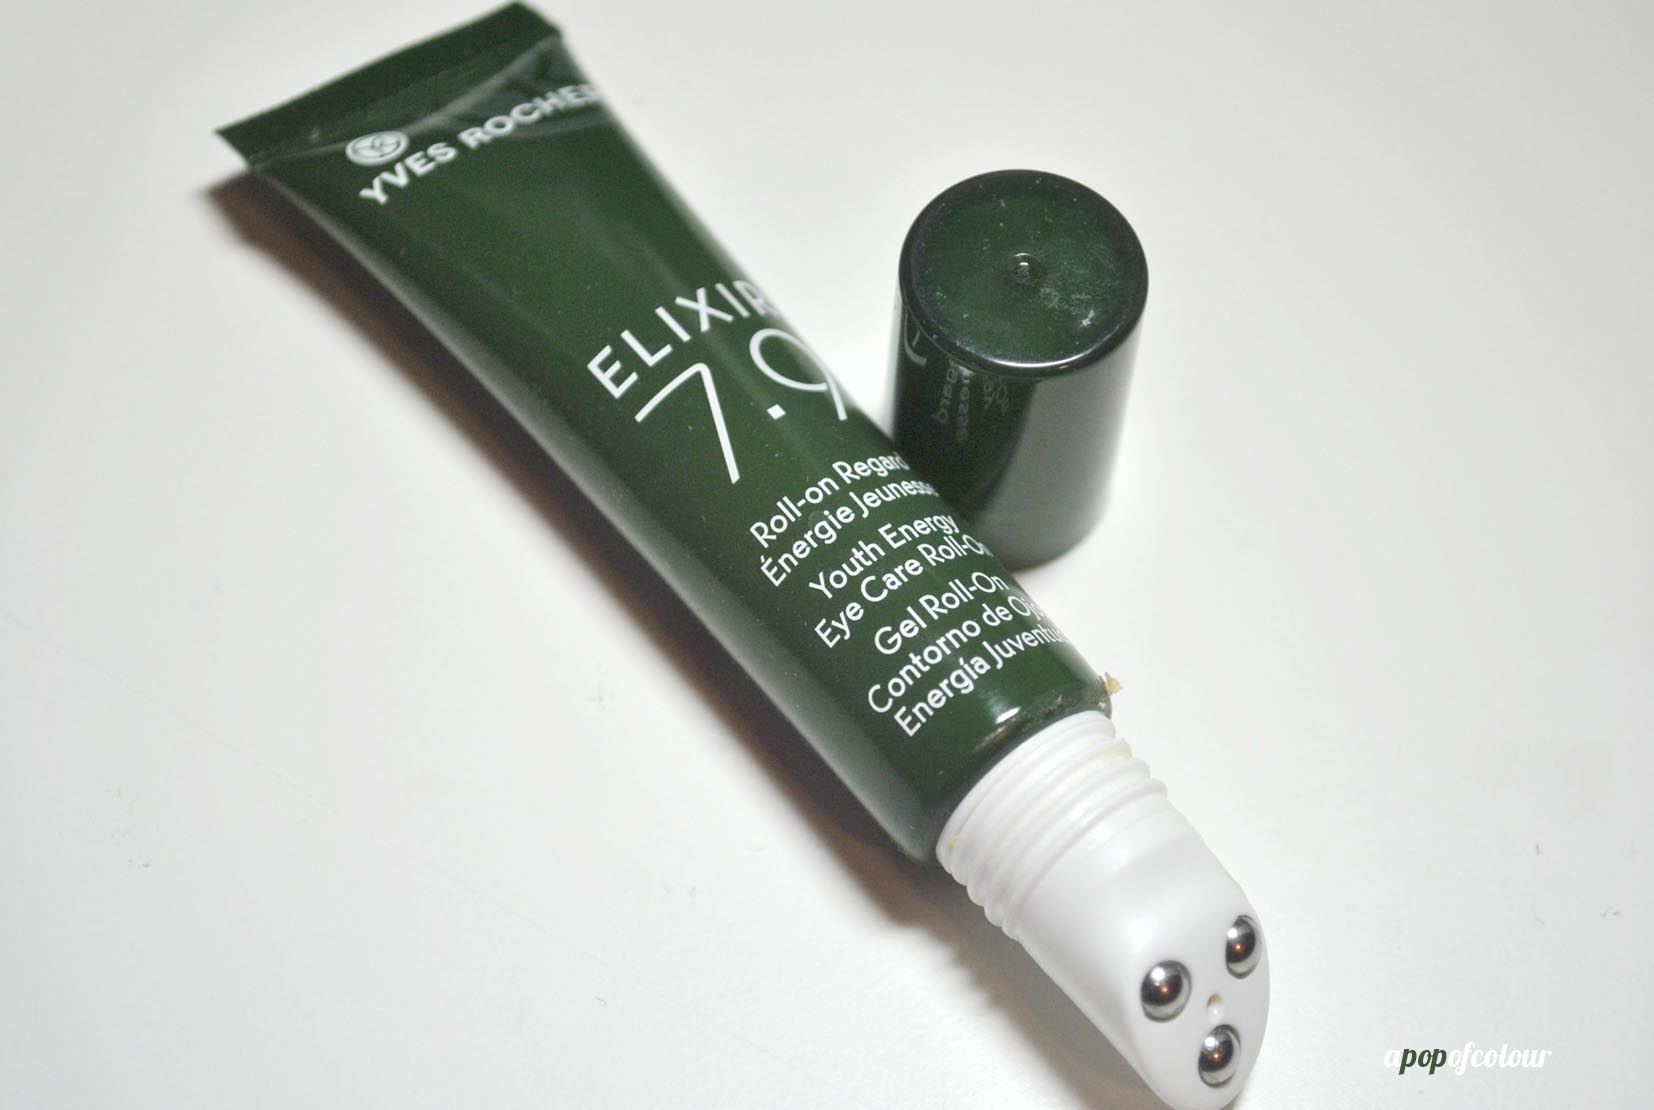
I received the whole line in the normal to combination formula. After my moisturizer and toner, I would first apply the Youth Intensifier Serum, then the Youth Energy Eye Care Roll-On, which has a three-bead applicator so it rolls right on your skin, and then apply the Youth Energy Care Day Cream in the morning and then the Youth Energy Care Night Cream before bed. The only difference between the two I found was that the night cream was way thicker than its day counterpart. I also received a refill of the day cream, which pops right into the jar once the product has run out. It’s actually a really cool concept, because this way it saves you money buying the refill and its better for the environment because there’s less waste.

I did try out the regime, however, I didn’t keep it up for 30 days as I found it actually broke me out a bit. I didn’t really notice any differences after a day or week, but then again, I have 25-year-old skin and have taken pretty good care of it for the past 10 years. With that being said, my mom has been using it everyday, day and night since I got it in December and she has said that her skin looks younger (and she’s nearing 60).
I do have to say that the line is very fragrant, so if you have allergies, it may be a bit strong for you. I personally really liked the scent.
If you are interested in the line, it’s available online at Yvesrocher.ca. The serum retails for C$56, but it’s on sale for $31; the creams retail for C$56, but on sale online for $31 each; and the eye cream is C$42, on sale for $22. I highly recommend buying it online if you are interested in the regime.

 Overall, although it didn’t work for me as well as I would have hoped, my mom has said nothing but positive things about the line, which I’m sure is more directed for women around her age than mine. I was super impressed by all the details that went into the products, so I would highly recommend giving it a try if you are interested.
Are you going to try out Yves Rocher’s ELIXIR 7.9? Tried it? What were your thoughts?
Note, this post contains products sent by PR. As always, all opinions are my own.
Like what you read? Check out these related posts:

 1. Starting with the eyes, lay down a primer. I used Too Faced Shadow Insurance. Then, starting from the brows, fill them in and then lay down a white cream shadow along the brow bone to highlight. I used Covergirl Flamed Out Shadow Pencil in Crystal Flame.