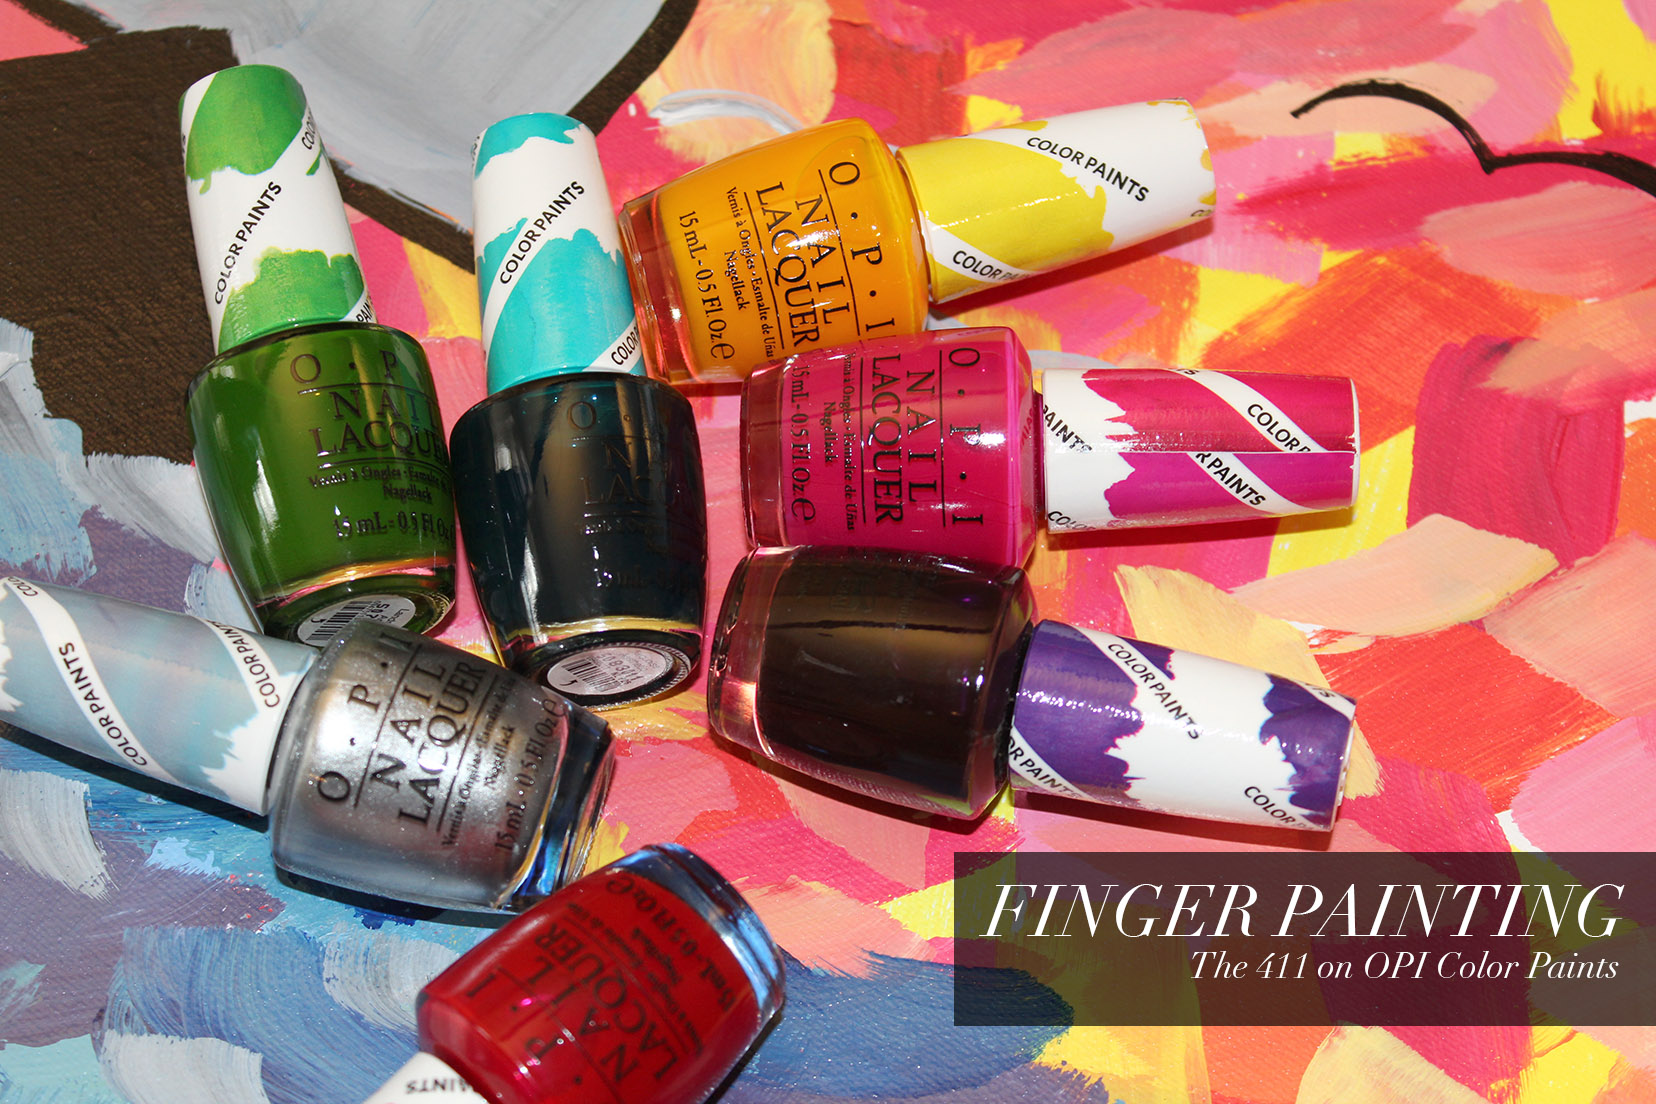
So when I first heard of OPI’s new Color Paints I was so confused. Is it nail polish? Is it nail art? Both?
Then I received them and was even more confused. It looks like nail polish, but the bottle caps are different and the colour is very sheer. So then I Googled it and nothing really came up on how to use these guys. I saw swatches of just the colours, I saw swatches of them over the silver. All I wanted was to just figure out how these work and what makes them so special.
Okay, so here’s the deal, this collection launched this month and are a line of polishes that are meant to be layered to create your own unique look. Each colour is very sheer and transparent with a jelly base, aside from the silver shade, which is the “canvas” shade, meaning that you paint on the silver first, then use the other colours to create whatever look you wish. The whole idea of the line is to mix and match and layer, so you can create custom looks.
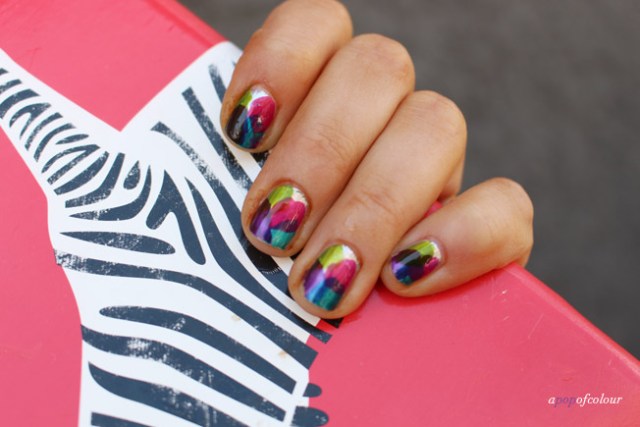
I dove in head first and created this asymmetric look, which to be honest, ended up looking like I was wearing nail decals. I cannot tell you how many people complemented me on my nails, more so than any other nail polish I’ve worn. They also asked if they were indeed, nail stickers. Nope, just this new line from OPI that lets you create your own work of art on your nails. Kinda cool, no?
With nail art being so popular, this is something new to the game. I believe OPI is the first line to introduce something like this. With that being said, I was at Sephora on Saturday and I saw that their Formula X line has a set similar, called Infinite Ombre, which comes with the silver and four colours. The OPI version has the silver, as well as eight shades. The only bad part is that they are sold separately. I think the concept is really unique and awesome, but I’m disappointed that you have to buy each shade separately. I mean you could wear these on their own, but I wouldn’t both wasting your money since the colour is so sheer. They are meant to be used over the silver canvas, meaning you have to pick and choose your colours wisely. I believe that OPI has released some sets that have multiple colours, as they usually do with their collections.

Overall, I think this is a really cool idea from OPI. At first I was super hesitant about them, but I can definitely see myself reaching for them again to create different looks. Grab a friend and have a painting party, it’s on OPI!
Will you be trying OPI’s new Color Paints?
Please note, I was sent these products from PR. All opinions are my own.
Like what you read? Check out these related posts:


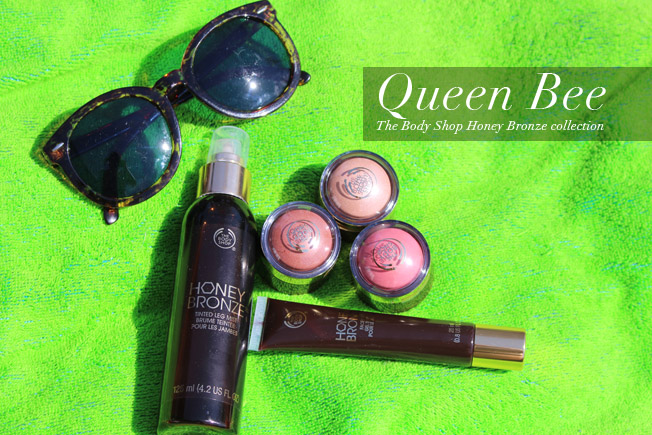
So the weather is getting warm but your skin is still stuck in winter? Honey, I got you covered.
We’ve been fortunate to have really nice weather lately (well, aside from this past week), so naturally the hem lines have been getting shorter. Since I’m fair, if I don’t have a little self tanner on I look incredibly white. So sometimes you need a little quick fix (no one has time to wait the four to six hours for tanner to develop, especially if you are going out). Enter The Body Shop’s Honey Bronze Collection.

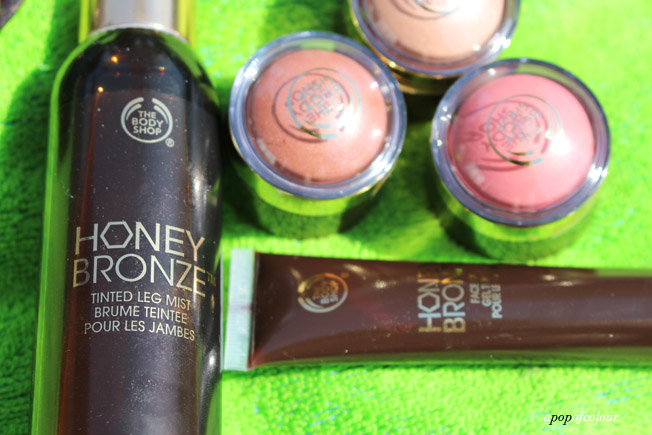
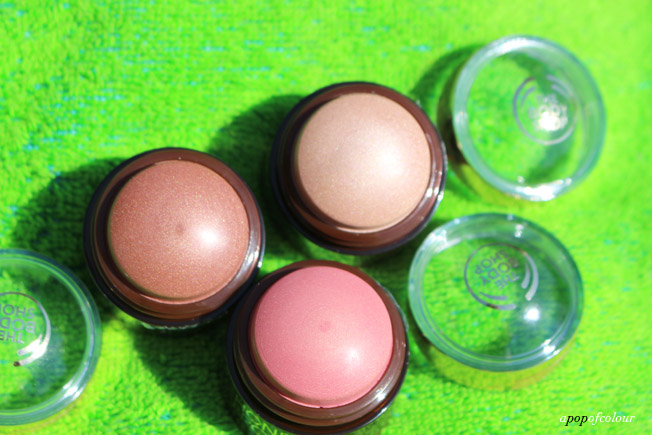
The honey-enriched collection creates a bronze look that suits every skin tone, all year round. The line is perfect for creating a gorgeous, bronzed glow, or to enhance an existing tan. Although there are multiple pieces in the line, I received the three new products: the Honey Bronze Tinted Face Gel, the Honey Bronze Tinted Leg Mist, and the Honey Bronze Highlighting Domes.
The Honey Bronze Tinted Face Gel ($16) is perfect for a subtle tan glow. This translucent lightweight formula leaves skin with a sun-kissed bronze matte tan that looks utterly natural, never orange or streaky. The refreshing gel texture quenches skin all day whilst its gorgeous fragrance takes you to the beach in seconds. This stuff is great for the face if you self tan on a regular basis. I notice that the first part of my body to lose the artificial colour is usually my face, so adding this on top will bring the colour back to match the rest of your body. You can also use this on your chest and neck (and anywhere else, really) if you are wearing something low cut with sleeves. Just match it with the tinted leg mist and it’ll give the appearance of a bronze body in seconds.
The Honey Bronze Tinted Leg Mist ($20) is a transparent gel mist which helps to create tanned-looking legs in seconds. Unlike tanner, this gives an instant, sun-kissed bronzed glow while leaving your legs feeling refreshed and moisturized. It’s non-oily (so it won’t transfer) and doesn’t include shimmer, so it looks more natural. I do like this product, however, if you are looking for a deep tan, look elsewhere. This gives my pale legs subtle colour, so nothing too noticeable. Also, the “mist” is deceiving. This just shoots the colour out and you have to manually blend it on your legs. Not the cleanest product out there. If you are looking for something that gives you a nice tan and makes your legs look nice, try the Sally Hansen Airbrush Legs.


Top to bottom: 01,02,03
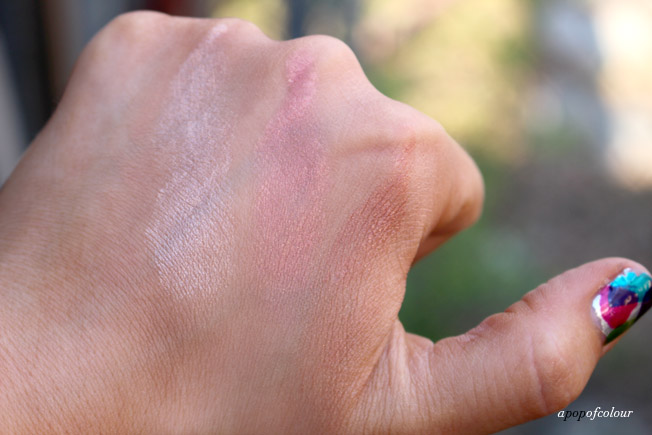
The Honey Bronze Highlighting Domes ($16 each) are available in three different shades. Highlight cheeks with a natural-looking flush of warm shimmer, whatever your skin tone. The creamy texture glides onto skin for a soft finish with a delicious honey fragrance. These are easy to apply and blend and leave you with a nice shinier highlight. The three colours are suited to different skin tones: a shimmering champagne (01) for light skin tones; a shimmering peach pink (02), which is universal for every skin tone; and a warm, shimmering golden bronze (03) for darker skins. I love the packaging of these because of they’re so easy of use, just take off the top and pat onto your cheekbones. Or, if hygiene is an issue for you, grab a brush and dust it on your face that way. You can also use the darker ones for blush if you apply them with a light hand.
Overall, the collection is okay. I really had high hopes for the leg tint, however, I just don’t think it delivered as much as it promised. I don’t think I would necessarily use the face gel that often (especially since you can just use a darker foundation or bronzer), however, if you are hitting the beach or pool this would come in handy (make sure to put on some SPF first though!). The highlighters are really pretty and I do like their ease of use.
Are you buzzing over the new Honey Bronze collection from The Body Shop?
Please note, this product was sent by PR. All opinions are my own.
Like what you read? Check out these related posts:

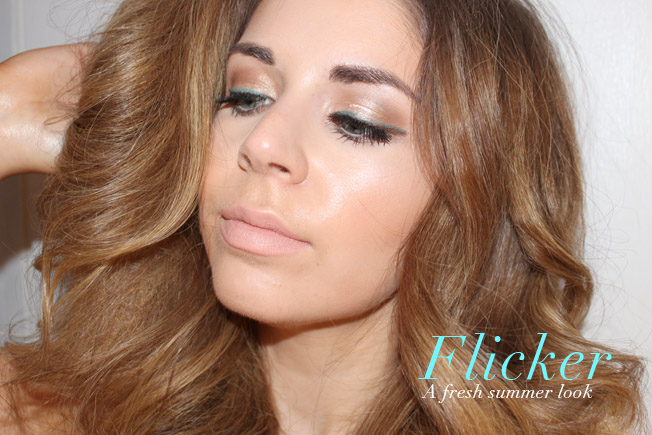
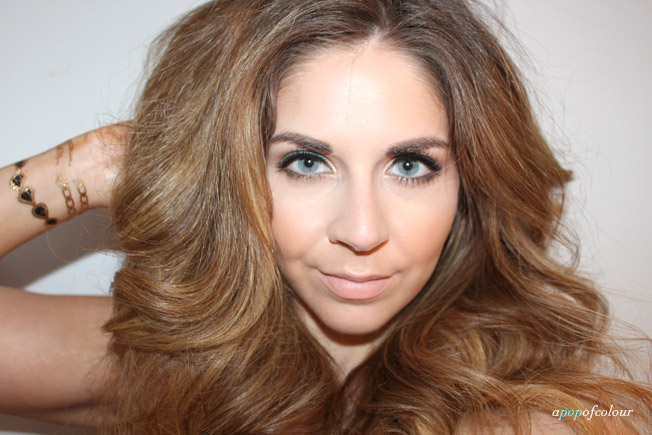
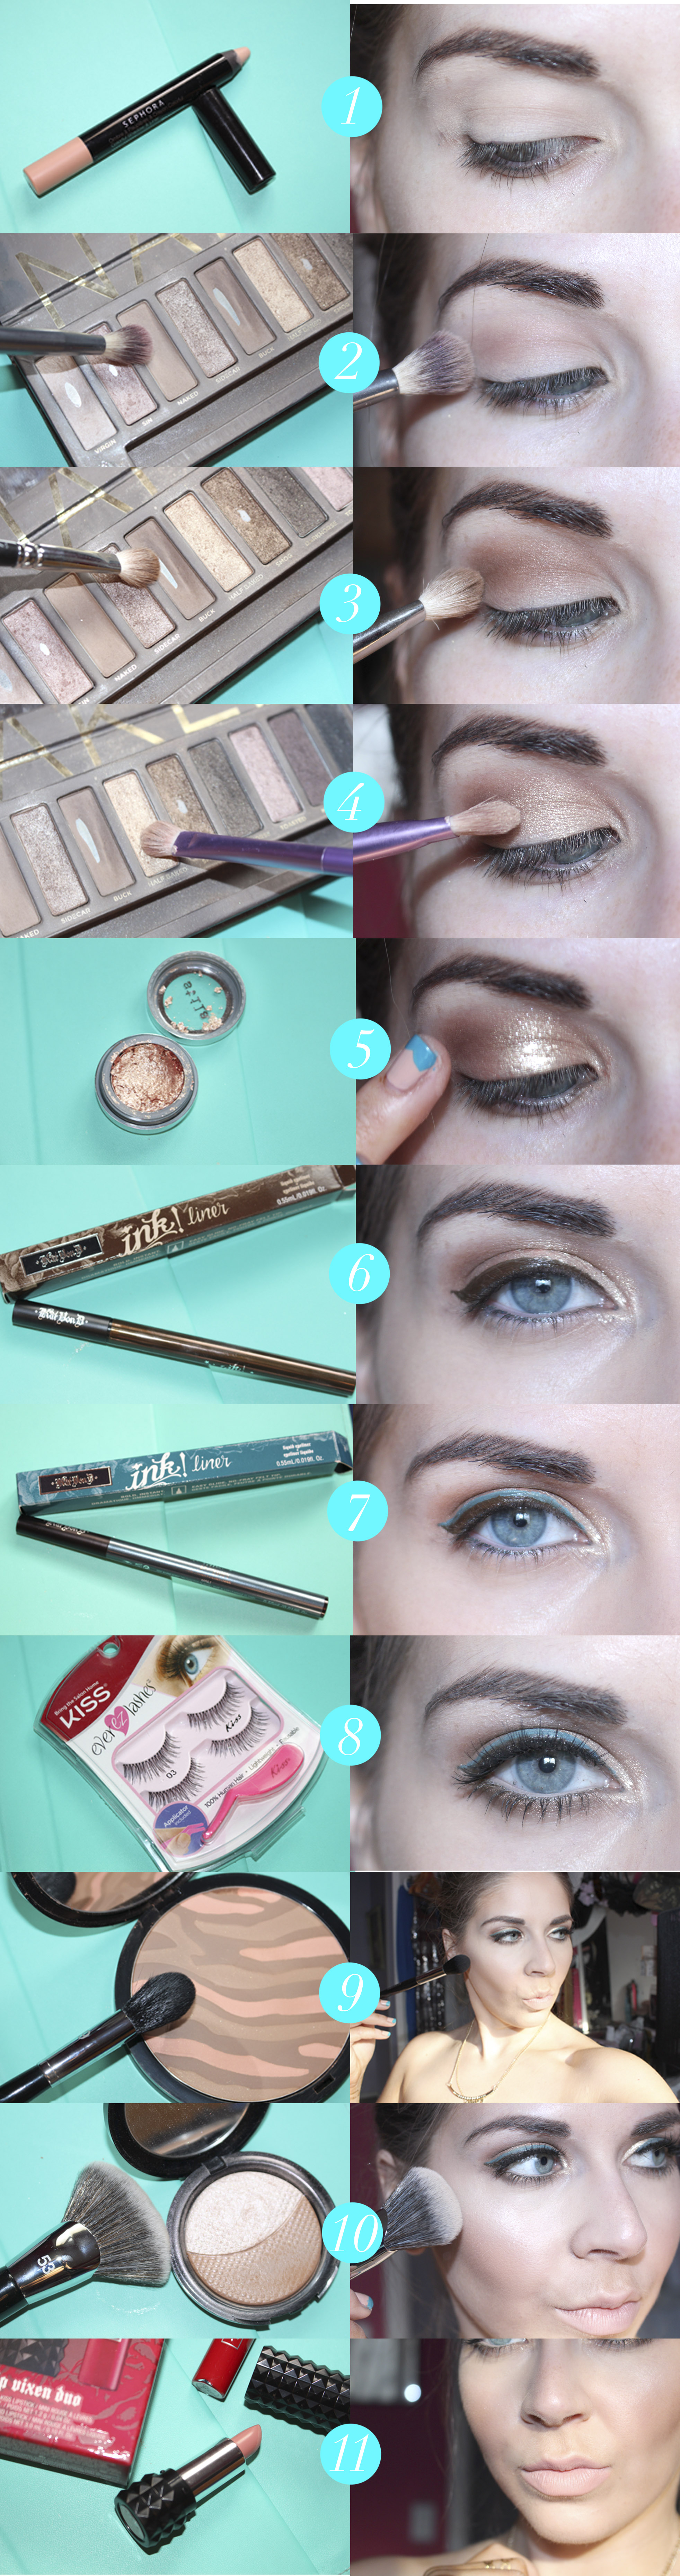
With the weather getting warm and festival season in full swing, I have been obssesed with colour. Since rocking a blue or purple eye isn’t really suitable for everyday wear (depending on what you do), I love adding a subtle pop into a neutral look to make this trend easy to wear and subtle enough that anyone can pull this off.
For this look I used Iiquid liners from Kat Von D, which is perfect to add colour into any look. I love layering a bright liquid liner over my black cateye to really add some flair to the makeup. I’ve been doing this trick for years and it really stands up and will make anyone look twice once you start throwing some winks.

 1. Lay down a neutral-colour primer. I used Sephora Colorful Shadow & Liner in Secret Boudoir. This cream shadow is a great primer as it matches my eyelid colour and is matte.
2. Using Naked from the Urban Decay Naked palette and a fluffy crease brush, apply this lightly in the crease.
3. With Buck from the UD Naked palette and a crease brush (like MAC 217), apply this in your crease area to darken it up.
4. With a gold shade, like Half Baked, apply this on your lids, blending it lightly into the crease.
5. To add some shimmer, I grabbed Stila Magnificant Metals Foiled Eyeshadow in Kitten and applied this on my eyes using my fingers. For this look I didn’t use the mixing medium, I just grabbed the product directly.
6. For the liner, first I used Kat Von D Ink! Liner in Bosch, a brown shade, winging it out.
7. Overtop of the brown liner, I applied a blue one. I used Kat Von D Ink! Liner in Dali.
8. Apply mascara and if you wish, some falsies. I used Kiss Ever EZ Lashes in 03. For the lower lash line I just put Buck down and then applied some mascara. I made sure to put a nude liner in the waterline as well.
9. Apply your foundation and concealer. I used NARS Sheer Glow in Vallarius with IT Cosmetics Bye Bye Undereye in Light. To contour I used Sephora’s Sun Disk Bronzer with a Sephora Pro Contour 79 brush.
10. For the highlight, I used Make Up For Ever Pro Sculpting Duo in #1 with a Sephora PRO Full Coverage Airbrush #53 brush (love this brush for the highlight).
11. For the lips, I used Kat Von D Mini Studded Kiss Lipstick in Noble. To set everything, I used Make Up For Ever Mist & Fix setting spray.

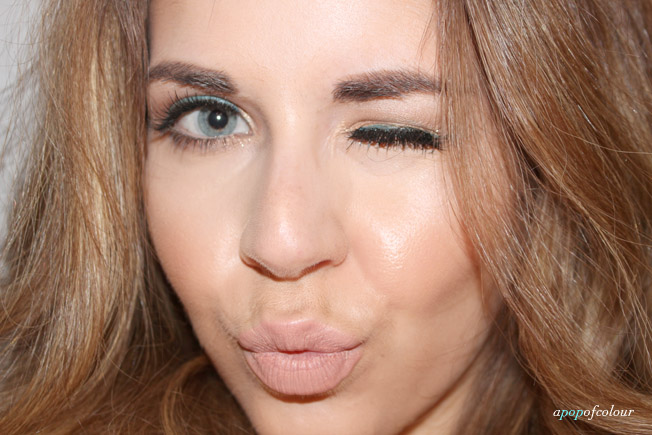
The thing I love about this look is that it’s so neutral, but that added blue liner really makes it pop. Switch out the liner for a different shade (like purple or pink) for the same effect.
How do you rock coloured liner? Will you be rocking this trend this summer?
Please note, this post contains products that were sent by PR. All opinions are my own.
Like what you read? Check out these related posts: