
Aug
2014
A New York state of mind
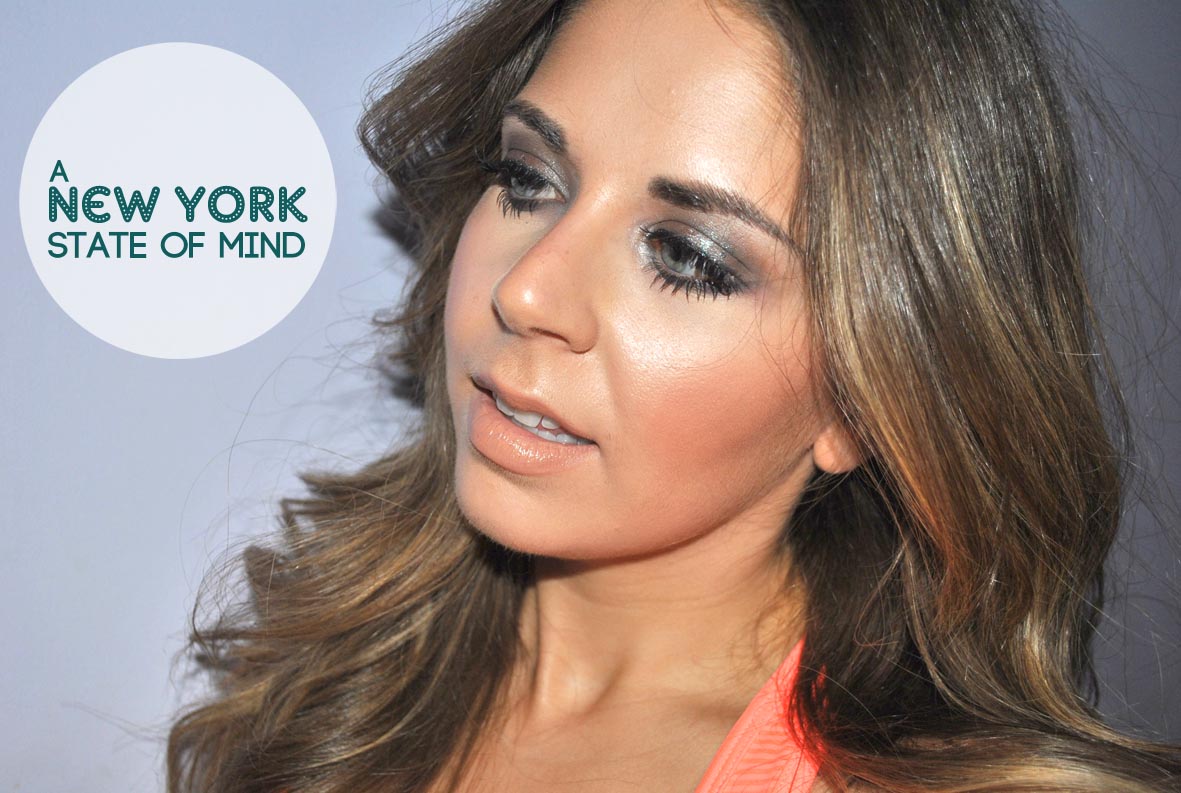
New York City. The glitz, the glam, the high-energy, basically everything I love about a major city.
I’ve only been to NYC once, in Grade 11 for a performing arts trip. I’m a big city girl, so it’s been on my hit-list of places to return to. Since then, I’ve been to many metropolitan areas, including London, Paris, Toronto, Vancouver, Mexico City, Rome, Las Vegas, but none hold a dime to the excitement of New York (except for maybe Vegas, who doesn’t like Vegas?!).
I’m happy to announce that I am a member of the New York Color Canada Beauty Pro Program, where a select few of us bloggers are tasked with challenges on how to emulate a certain New York-inspired look. For our first challenge, we were sent a box of products and we had to create something inspired by the madness that is Times Square.
 My favourite part of New York City was hands down Times Square. The lights, the bustle, the people, the atmosphere — everything about it is amazing. I’ve been to many places that seem similar (Dundas Square, Picadilly Circus), but none hold a card to the original.
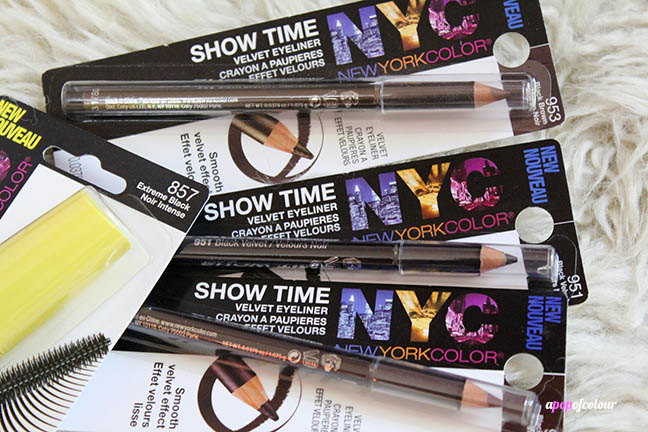
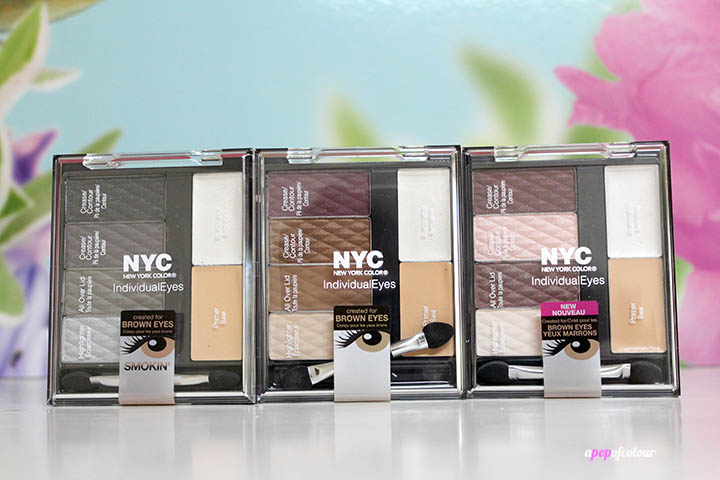
In our boxes, we were sent the Big Bold Volume by the Lash Mascara; three Show Time Velvet eyeliners in Black Brown, Black Velvet, and Black Wine; and three IndividualEyes Eyeshadow Powders in Midtown Mauve, Union Square, and Smokey Browns. All the palettes I was sent are designed for brown eyes. I have blue eyes, but it wasn’t a big deal to use the colours in the sets.
For this look I chose to make it smoky with glitter over top to up the oomph factor. Times Square is loud and glamorous, so obviously glitter and lashes had to make an appearance. Out of the three palettes, I chose to go with the smokey eyes palette. All three come with a primer base (such a good idea), an illuminator, and two shades which have an overlay saying where to place the colour.
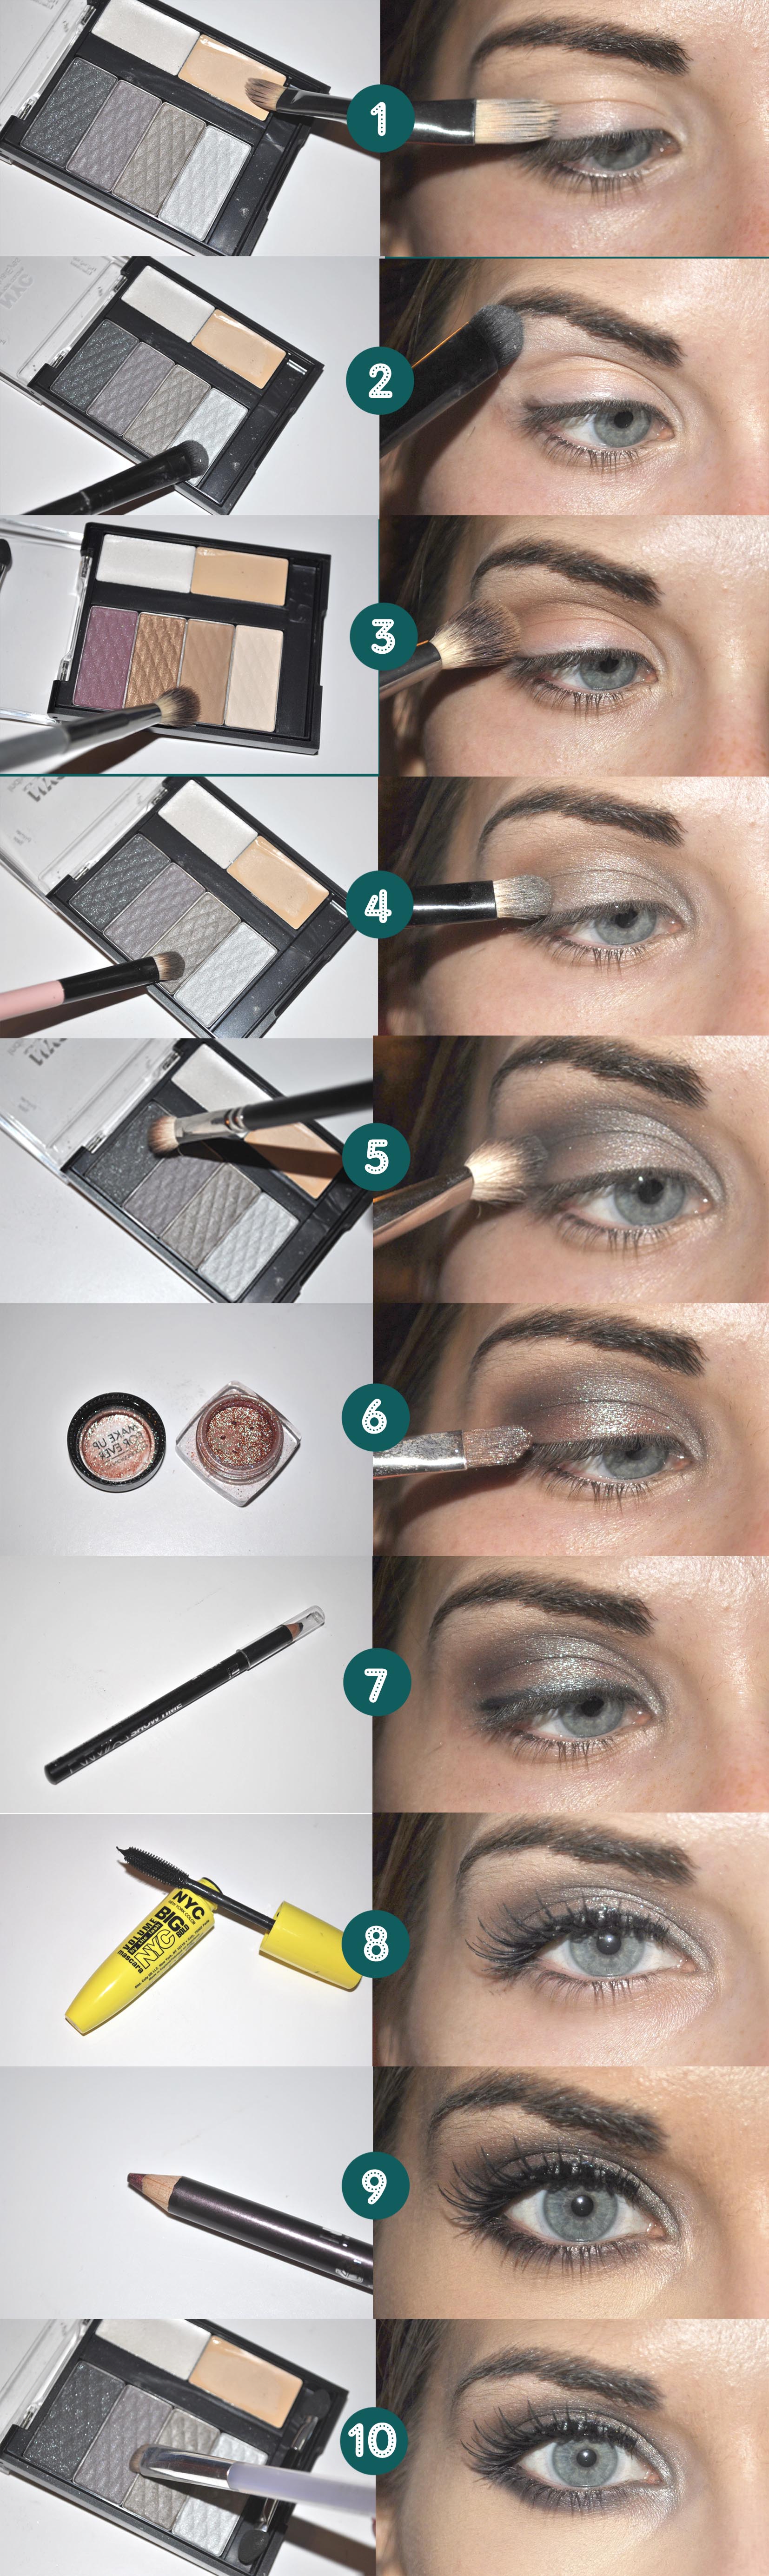
1. With the primer base from the palette, apply this all over your lid area.
2. Grabbing the highlighter colour from the Smoky Eyes palette (the silver shade), place this along your brow bone.
3. For a transition shade, I grabbed the All Over Lid colour from the Union Square palette and placed this right under the highlight but slightly above the crease. Any matte brown shade will do.
4. With the All Over Lid shade from the Smoky Eyes palette, place this all over the lid area.
5. With a crease brush, grab the shimmery black colour from the Smoky Eyes palette and blend this into your crease. Go light as we don’t want it to be too heavy.
6. With a flat eyeshadow brush sprayed with a setting spray, grab some glitter (I used Make Up For Ever Holodium Powder) and place this all over the lid area.
7. With a black pencil liner, I used NYC Show Time Velvet Eyeliner in Black Velvet, line your upper lash line and then smudge it out.
8. Curl your lashes and coat them with mascara, then pop on some falsies. I used NYC Big Volume by the Lash mascara.
9. Line your eyes with a shimmery brown, I used NYC Show Time Velvet eyeliner Black Wine.
10. With the dark grey crease colour from the Smoky Eyes palette, smudge out the liner on the lower lash line. Apply a few coats of mascara to your bottom lashes and you’re done!
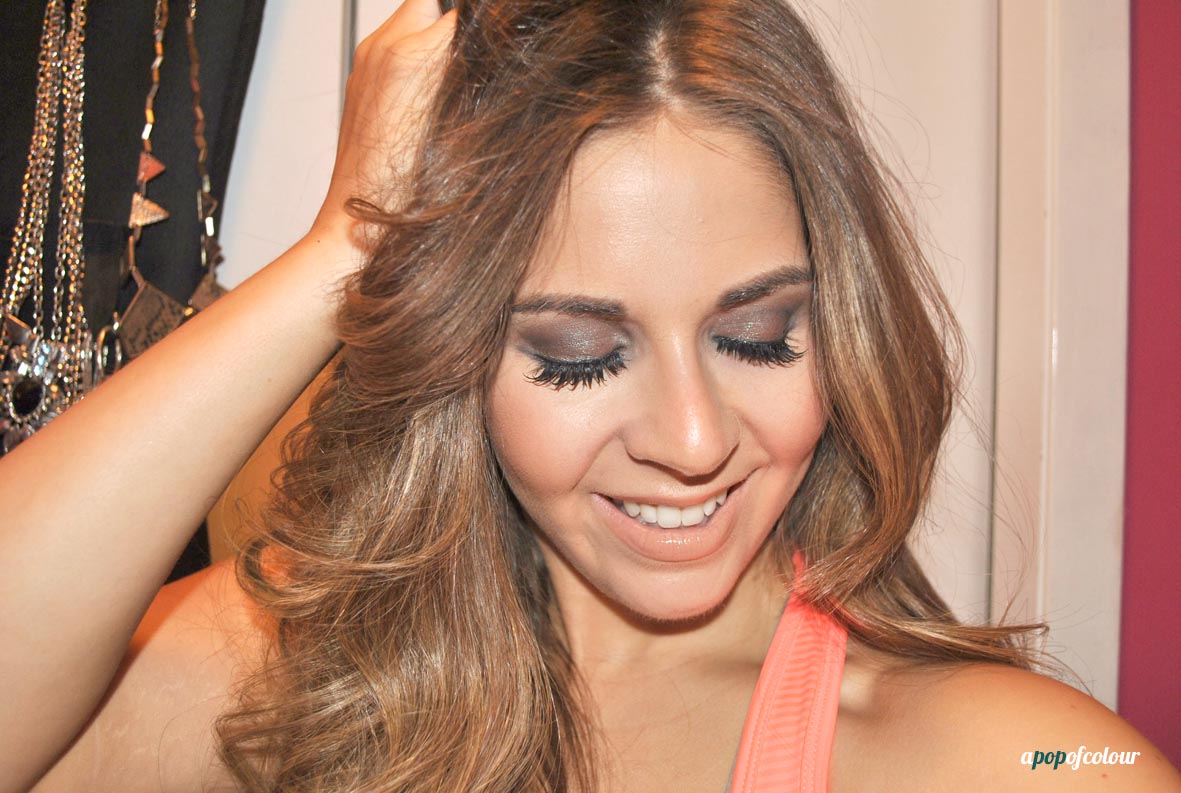
And that’s the final look! Make sure you pair this look with a nude lip so the eyes really shine.
This was my first foray into NYC eye products and I have to admit, they are quite impressive. The palettes are great because of the variety of colours, the pigmentation, and I absolutely love how they include an eyeshadow base, so smart!
Please note, products were sent by PR. All opinions are my own.
Like what you read? Check out these related posts:
- Bright and bold with Make Up For Ever
- St Tropez: Bronze meets turquoise
- My picks for summer 2012: face, body, hair… and dog?
- Beach sexy