Sep
2011
Go Flawless with Laura Mercier: A Tutorial and Review
 Hi guys! So in my last post I mentioned that I picked up the Laura Mercier Silk Creme Foundation, a foundation that has been getting a lot of hype recently. The foundation is full-coverage and is supposed to “increase skin luminosity and clarity for a radiant glow” (as per Sephora online).
I was a bit hesitant to pick this up because the stuff is just so expensive. It retails for $55 in Canada and $42 in the United States (I picked it up in the U.S.). Because of all the hype and good reviews I decided I would bite the bullet and pick me up a tube in the shade Bamboo Beige. I usually have a summer shade and a winter shade and it just so happens I ran out of my Joe Fresh foundation ($6 at Superstores) while on vacation so I thought I would give this one a try.
 Okay, so my thoughts? It’s pretty good, it definitely gives you full coverage and my face really does look flawless with this on. It’s very light weight and you don’t need a lot to cover your whole face.
Is it better than the Joe Fresh Light Weight Foundation? Well, it’s a bit thicker than Joe’s but I would say that the JF one could be a dupe for the Laura Mercier; both provide a full coverage look but at different price points.
Alright so now for the fun part! I thought I would do a quick little tutorial using this product to show how you can achieve a flawless face!
First things first, make sure you prime your face! I used Smashbox’s Photo Finish Foundation Primer (I got it as a sample at Sephora). When you use a foundation, always use a primer, it makes your foundation set better and fills in small lines. Your foundation should literally glide on your face.
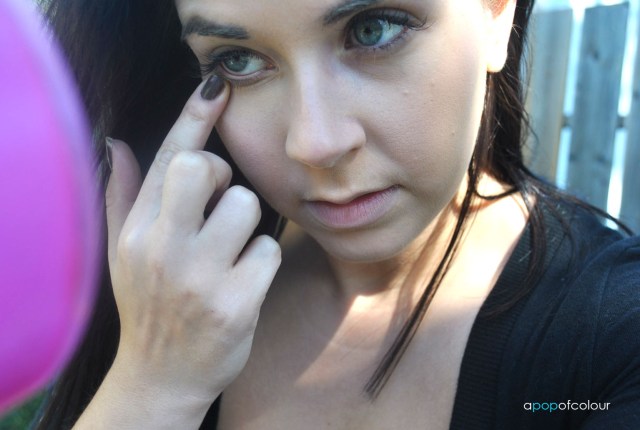
Next you are going to put a dab of your foundation on a face brush and stipple it all over your face. I used my E.L.F Flat Top Studio Powder Brush.

 Next, with that same brush buff the foundation in all over your face and blend down onto your neck.
 Once that’s done grab some concealer and apply it anywhere you see spots or blemishes. I pretty much only apply it under my eyes. I used my It Cosmetics Bye Bye Under Eye Concealer.
 Next you are going to set your makeup. I used Make Up For Ever’s HD Microfinish Powder. Use a light hand with this, you don’t need a lot. Basically you are just setting your foundation, too much of the powder can make your makeup look white.
 Now that that’s done grab your bronzer and contour your cheekbones. The easiest way to do this is by sucking in your cheeks and then putting the bronzer in the crevices in your face. All I can say is practice, practice, practice! It will take you awhile to achieve it.

 Finally grab your favourite blush and lightly sweep it on your cheeks. I used NARS’ Angelika, the light pink pictured above.

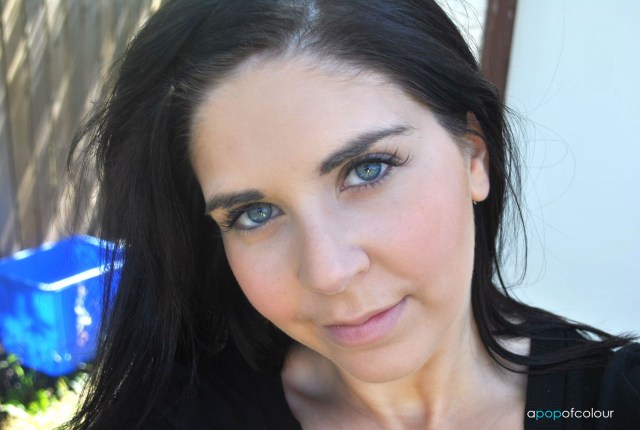
 And you are done! If you want you can stop here or go ahead and do your regular makeup routine!

Eyes: Urban Decay Primer Potion, MAC All That Glitters on the lid, Satin Taupe on the crease, Electric Eel on the lower lash line, and Liquid Eye Liner. On the lips I used NARS' Turkish Delight lip gloss.
That’s it! Let me know your thoughts on Laura Mercier’s Silk Creme Foundation. Have you tried it? If so, what were your thoughts?

